|
This post may contain affiliate links which help support our blog efforts. *Trade discount price.
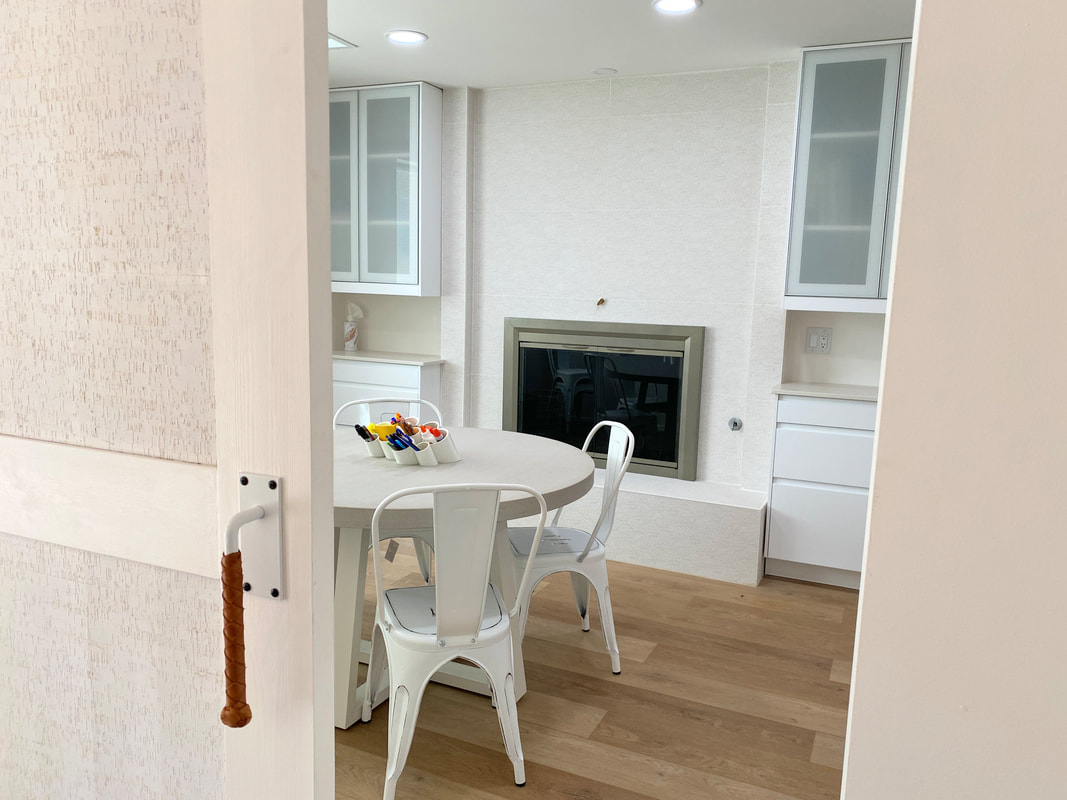
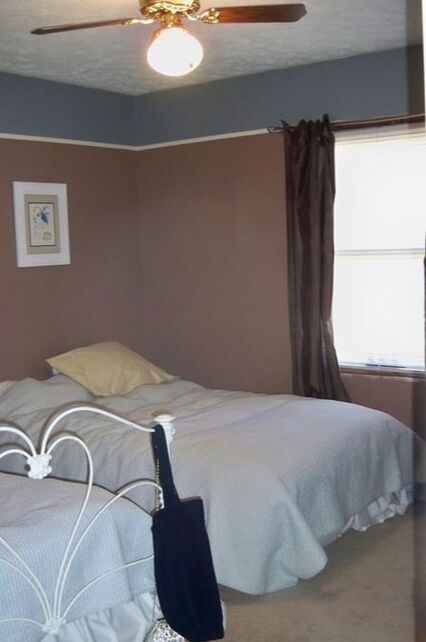
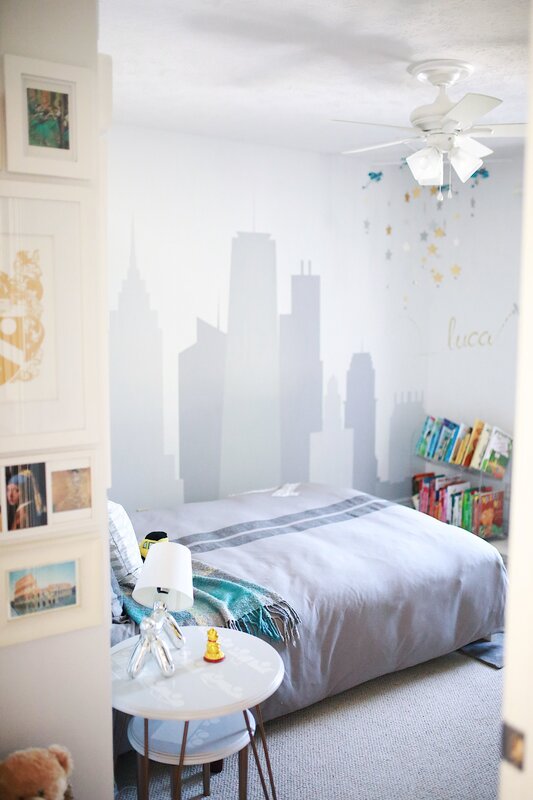
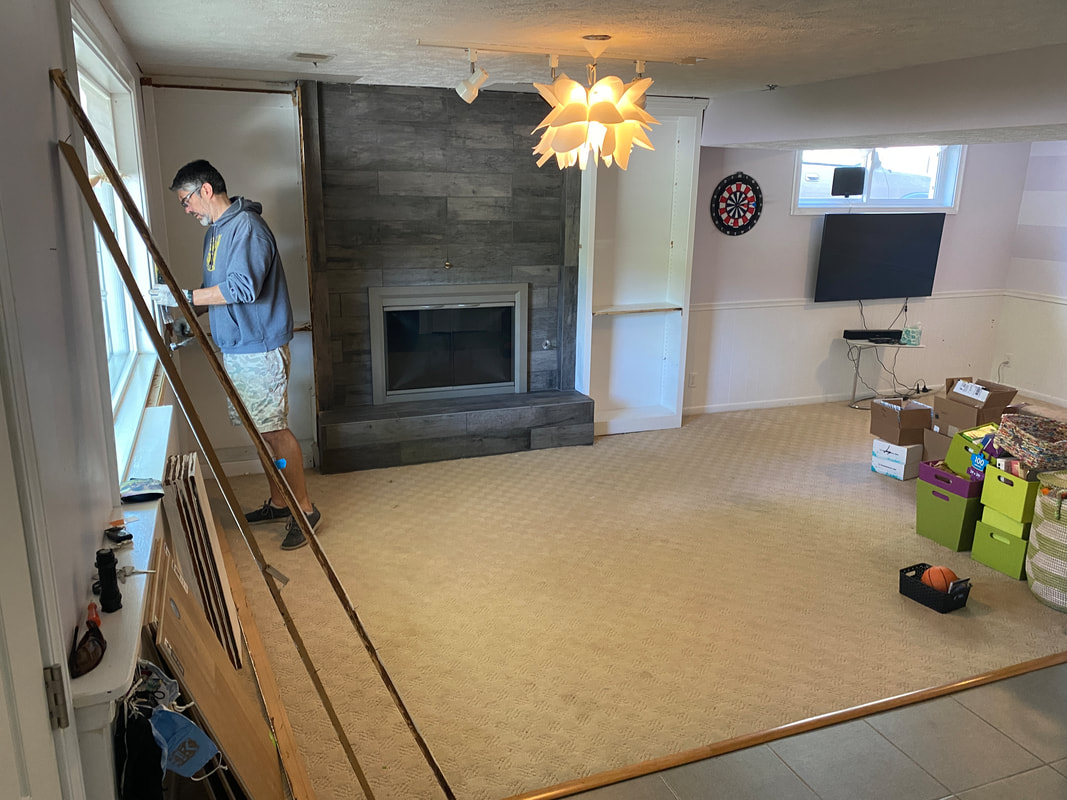
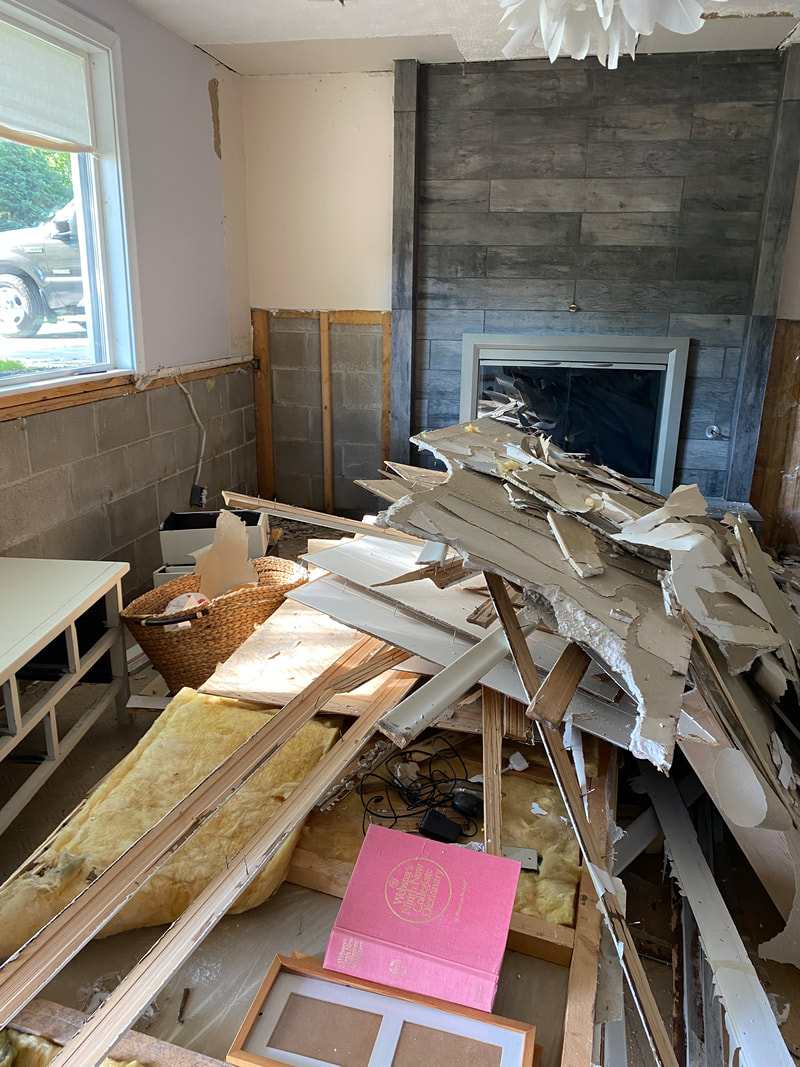
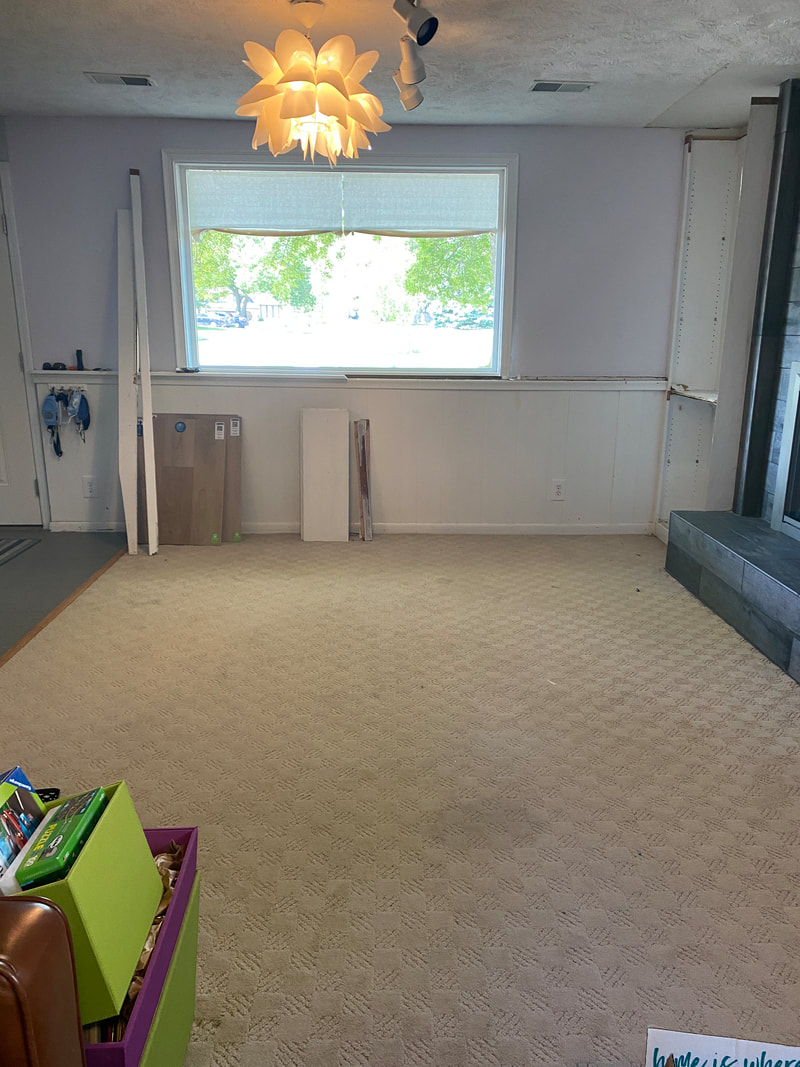
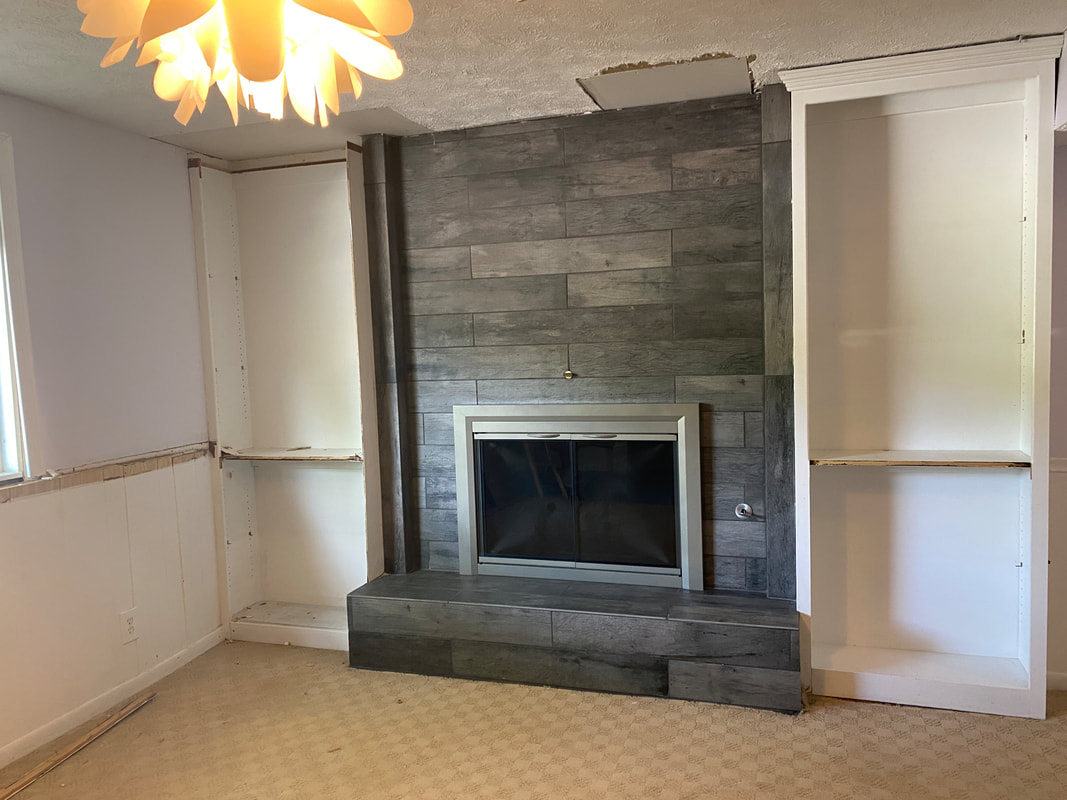
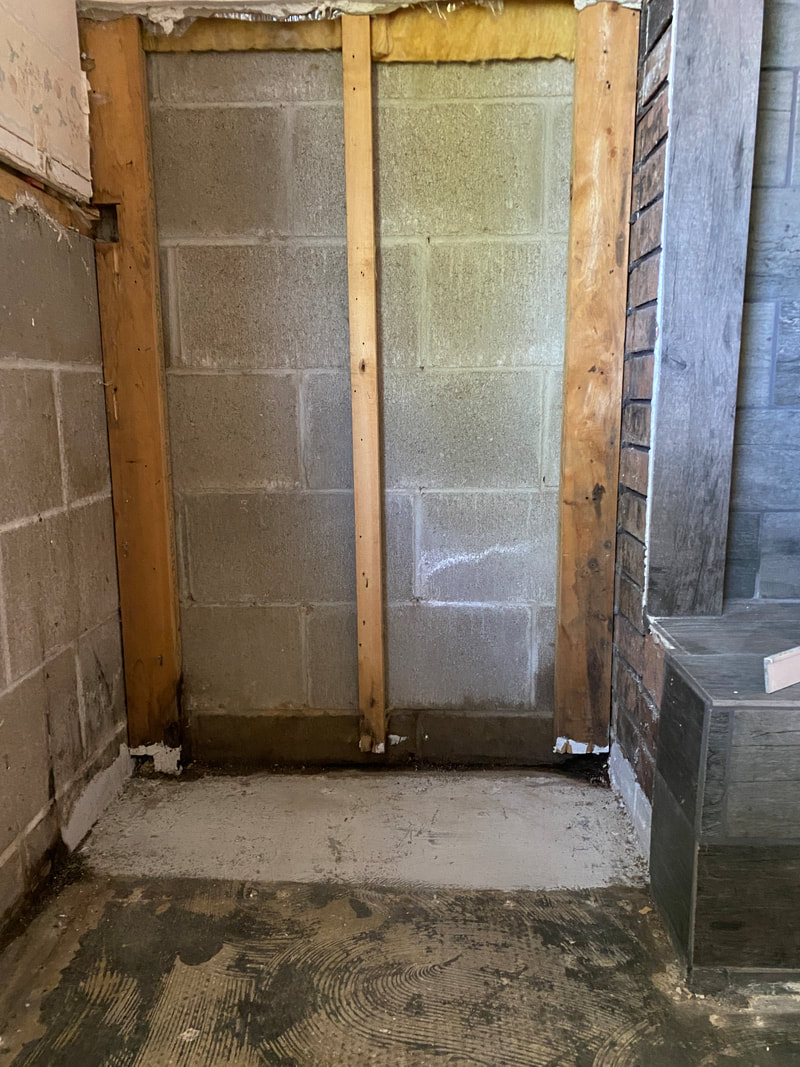
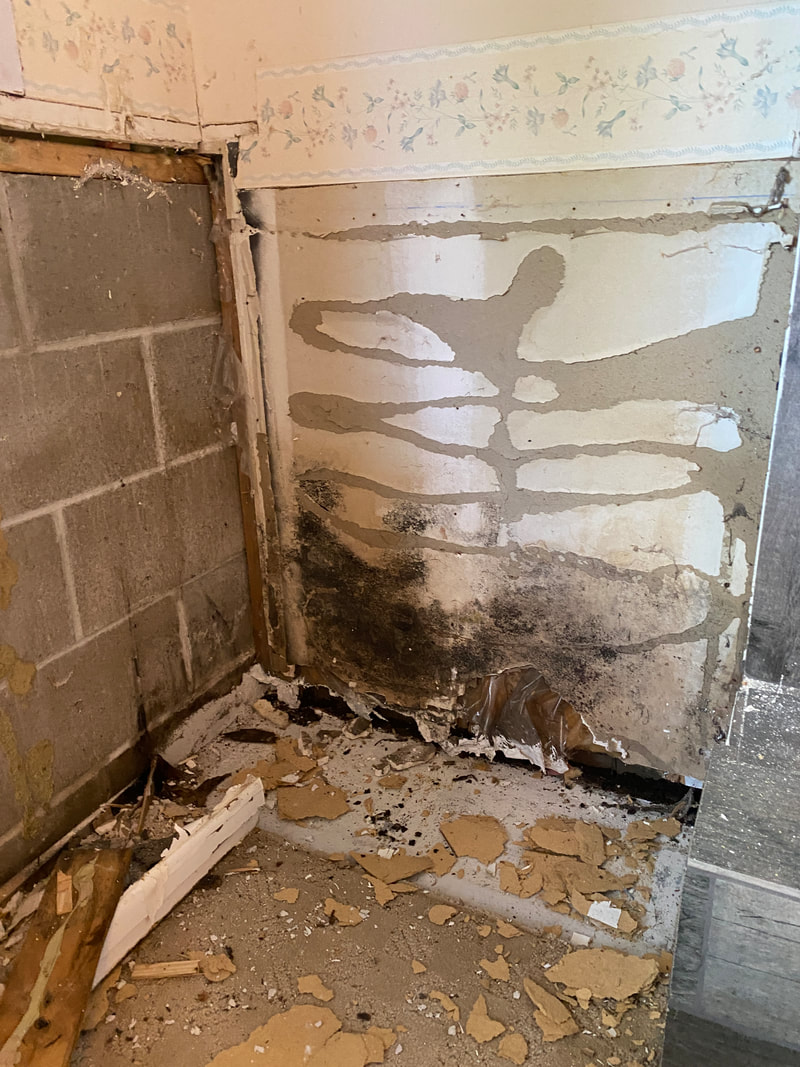
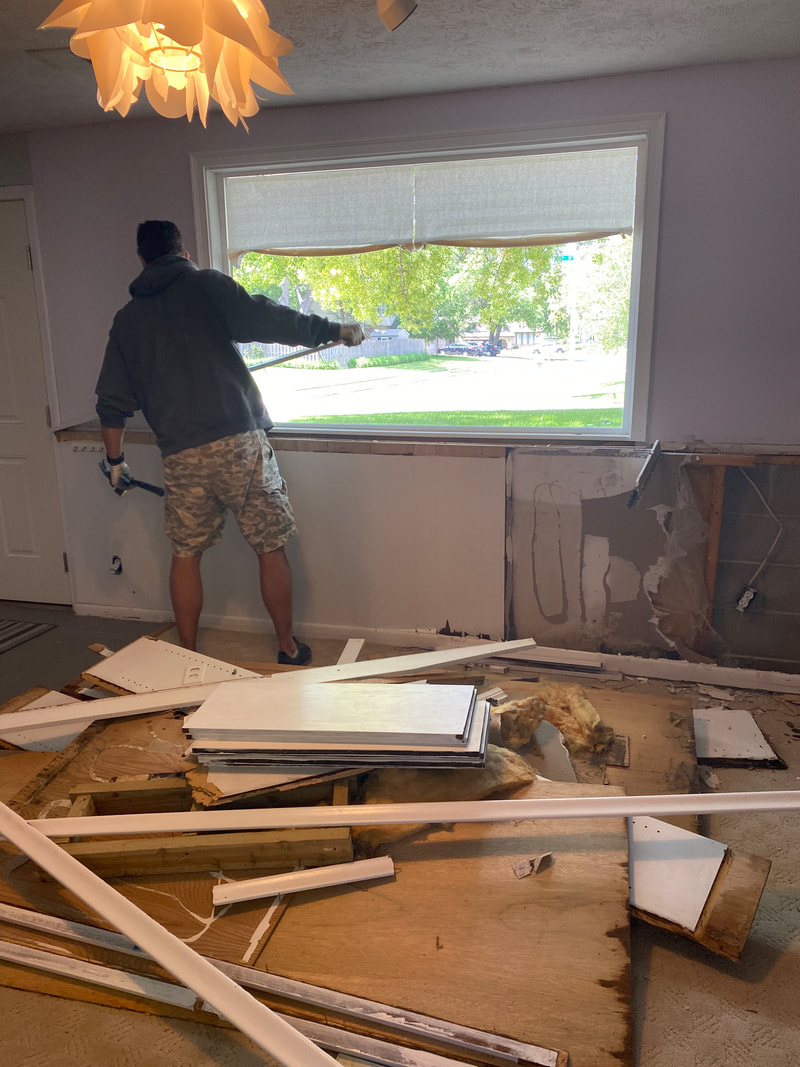
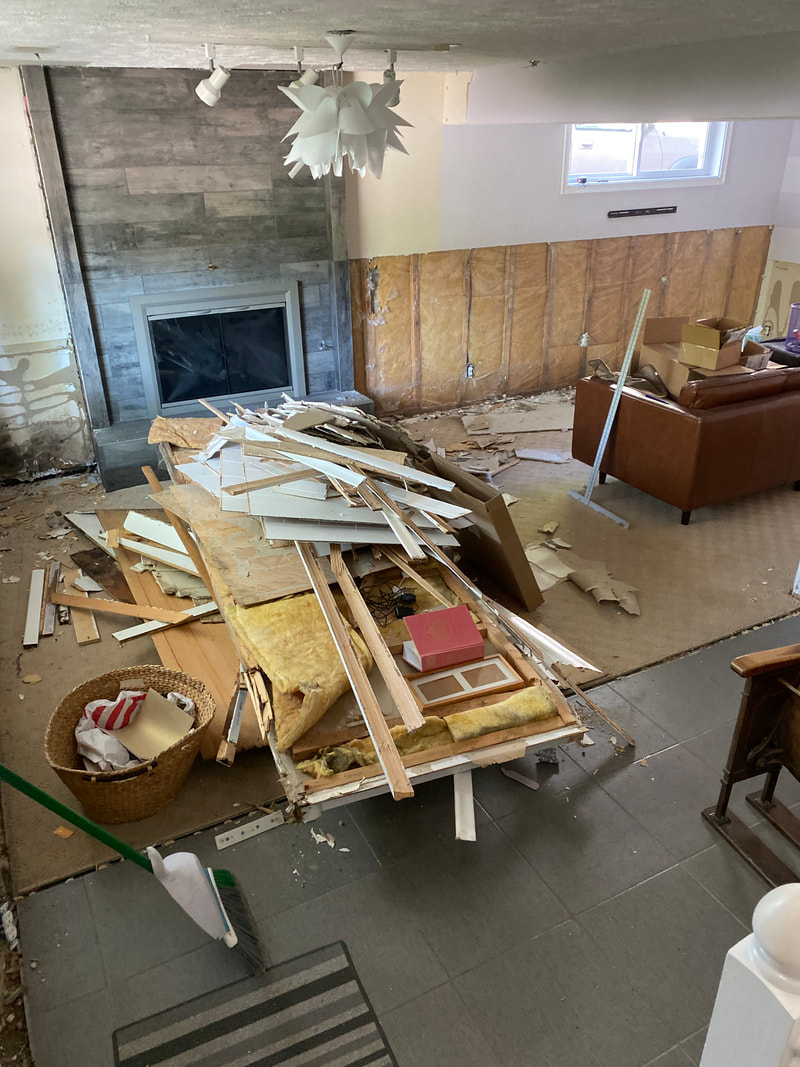
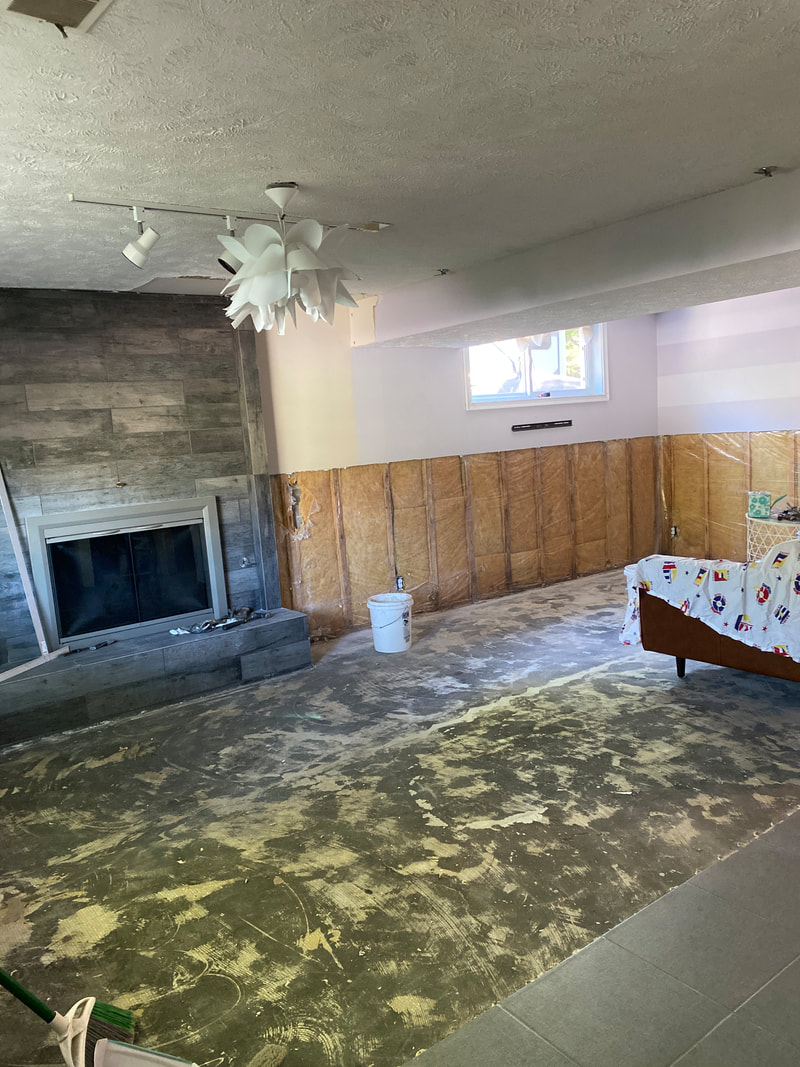
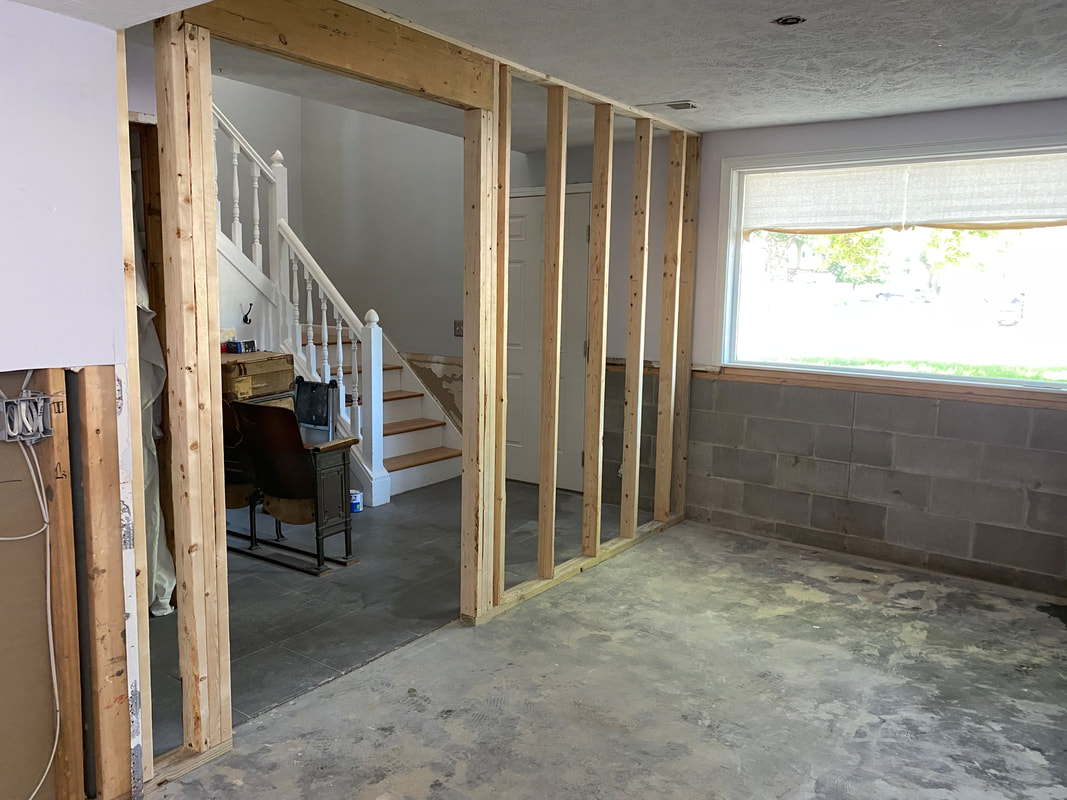
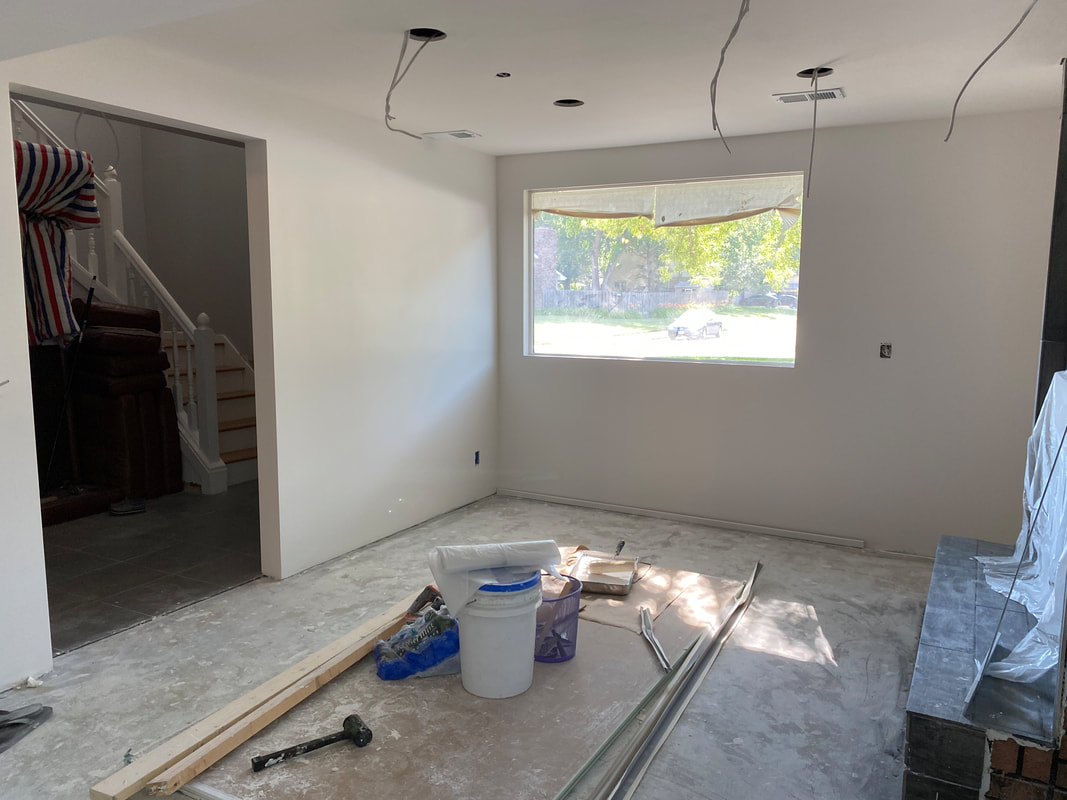
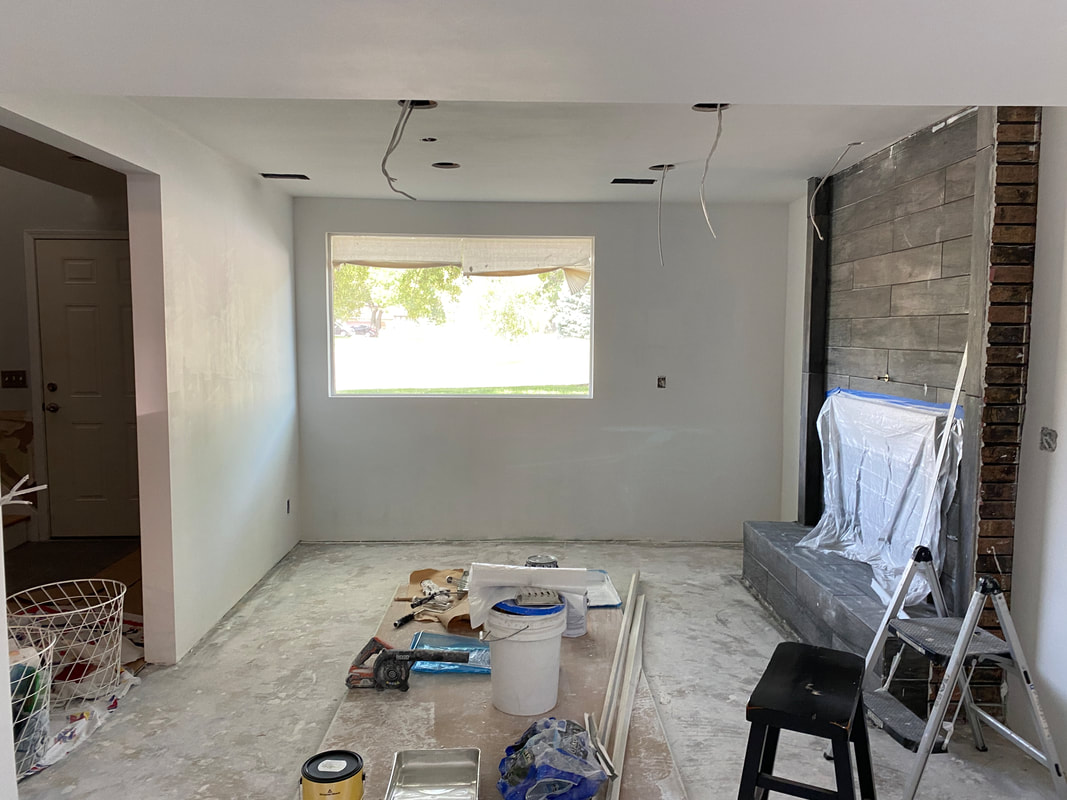
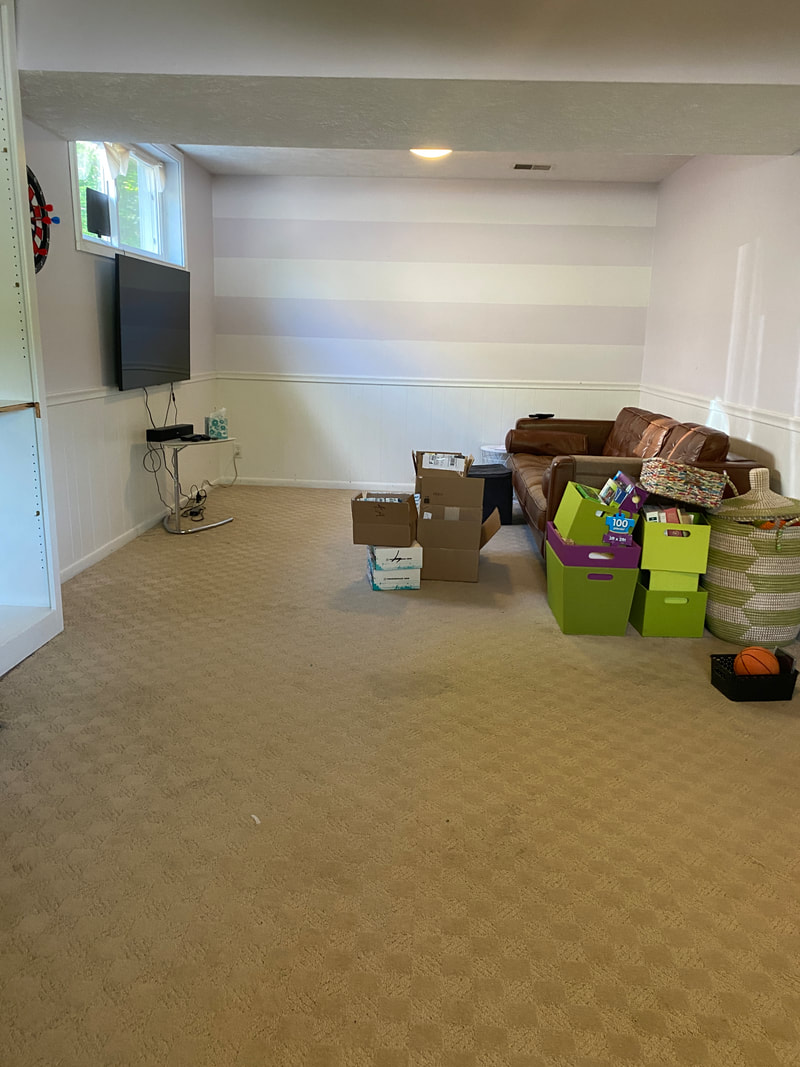
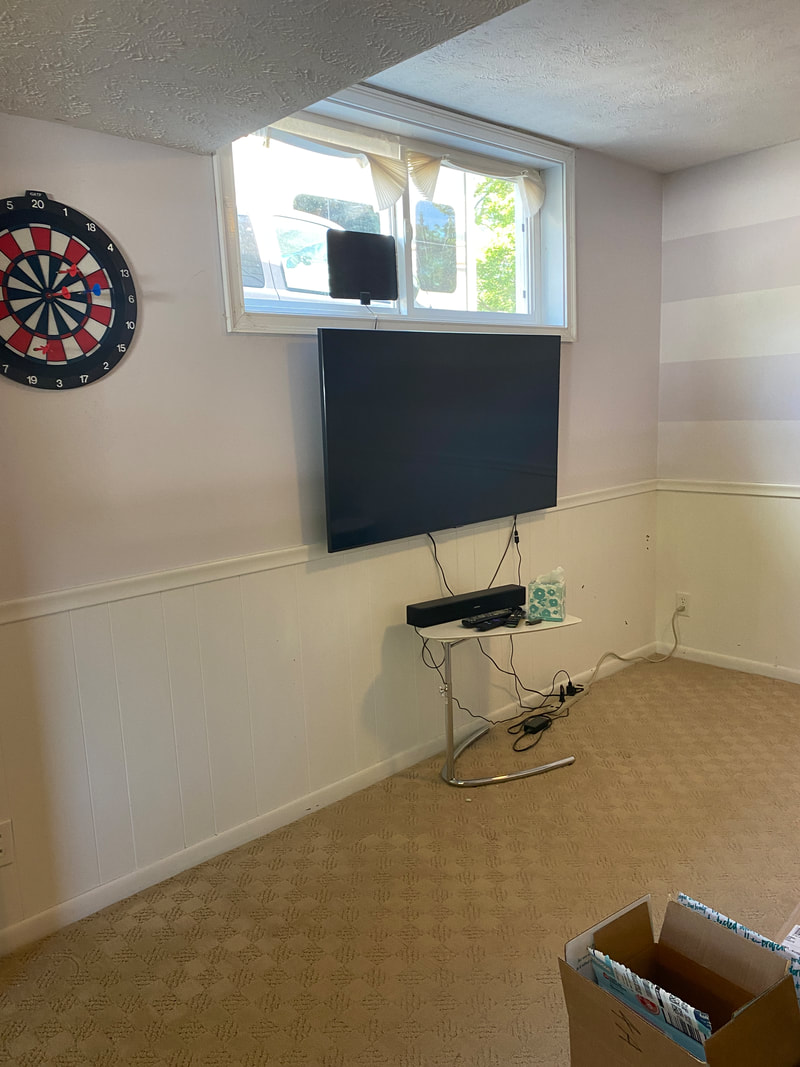
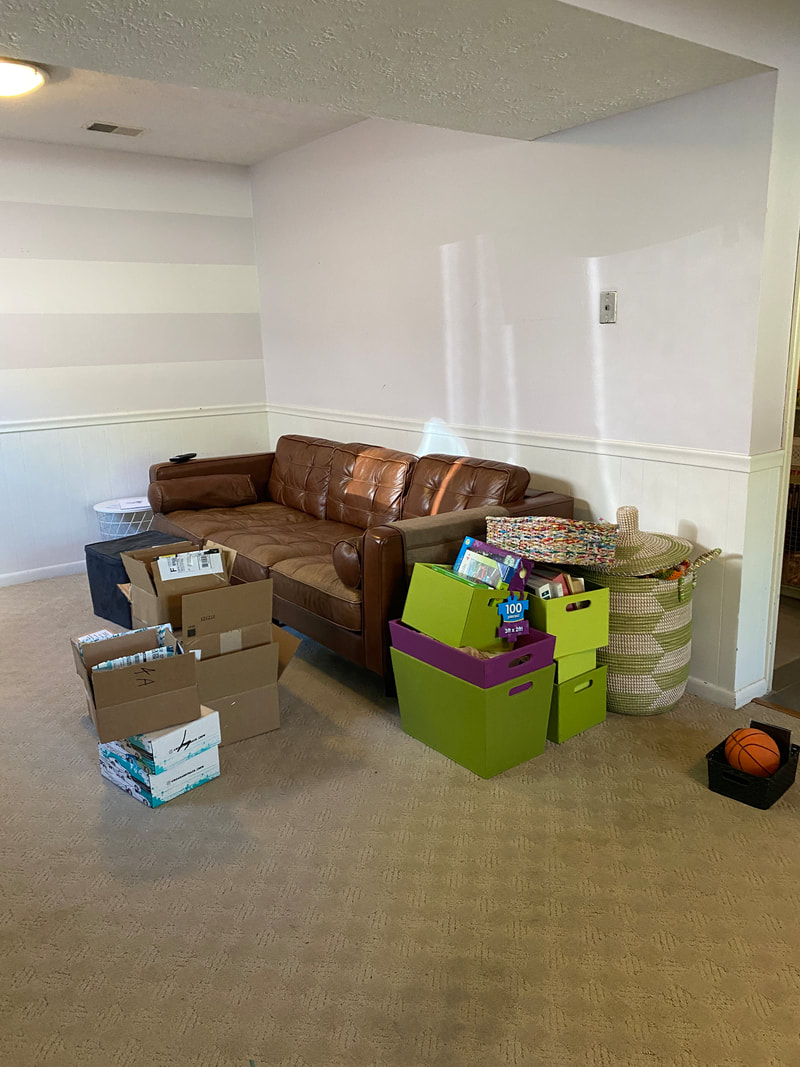
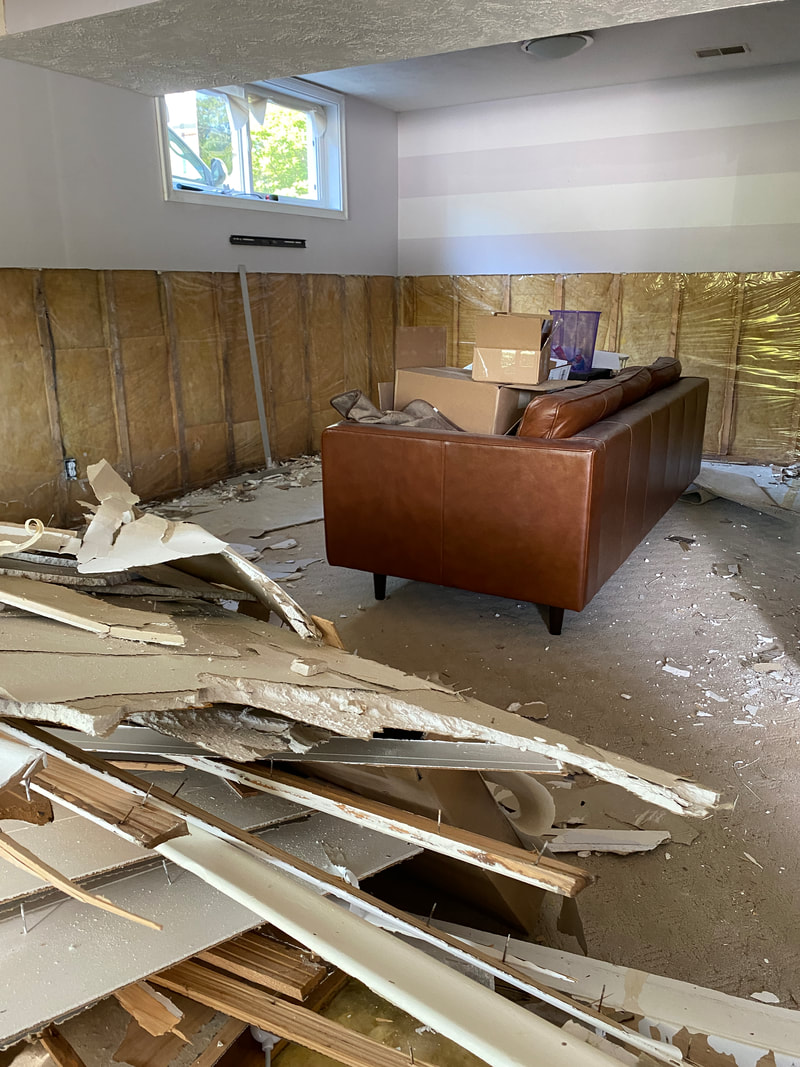
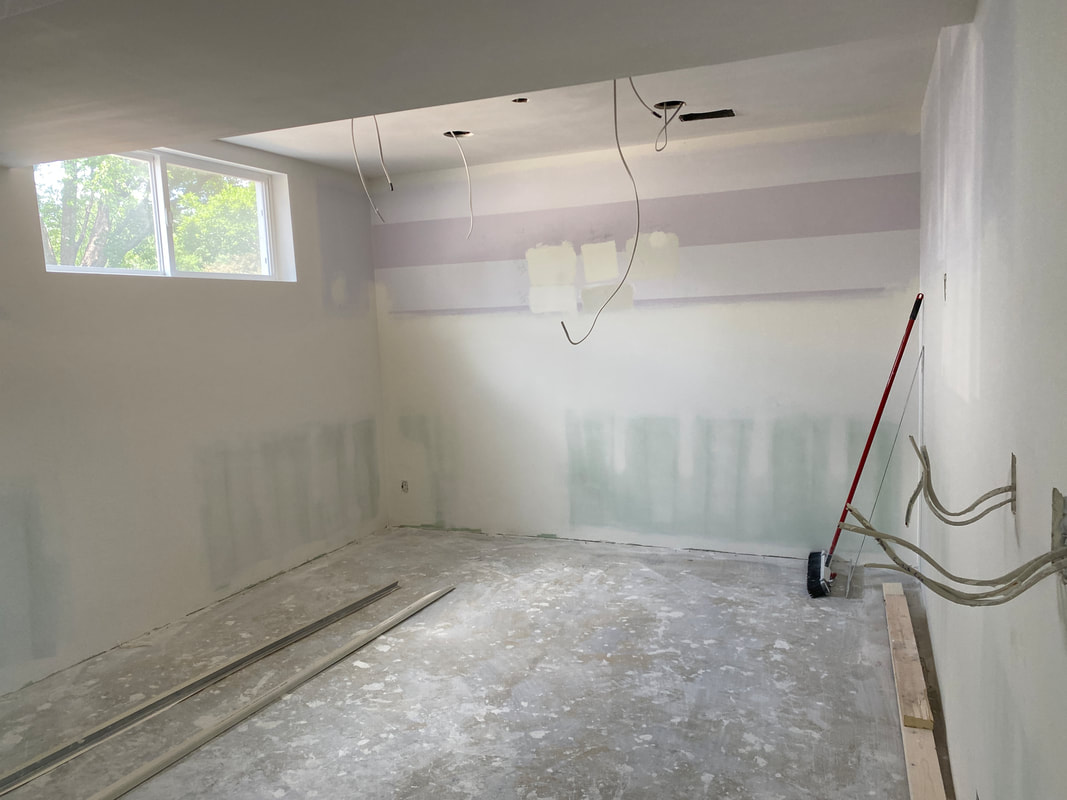
Some design projects we share on the blog hit close to home but the reveal I share in this post is my actual home. For over a decade I have had visions for how I wanted to update every square inch of the dated raised ranch we purchased in 2009. Early on there was my son’s nursery, and now big kid's bedroom, which has gotten a lot of attention with its super makeover. It was the room that inspired me to open YouthfulNest. This last summer was finally time for a family room remodel – taking it down to the studs and rebuilding it into my vision of Midwest Coastal. This space had become our son’s playroom and occasional hangout for the older kids to get their gaming on. It wasn’t just unattractive, the old carpet was nasty and smelly. There was water damage behind the fireplace built-ins and most certainly mold growing in places we could and couldn’t see. I hated being down there myself; it made me depressed. Except I couldn't ignore it since it was the first thing guests in our home saw and more importantly where kids played. It could no longer be ignored.
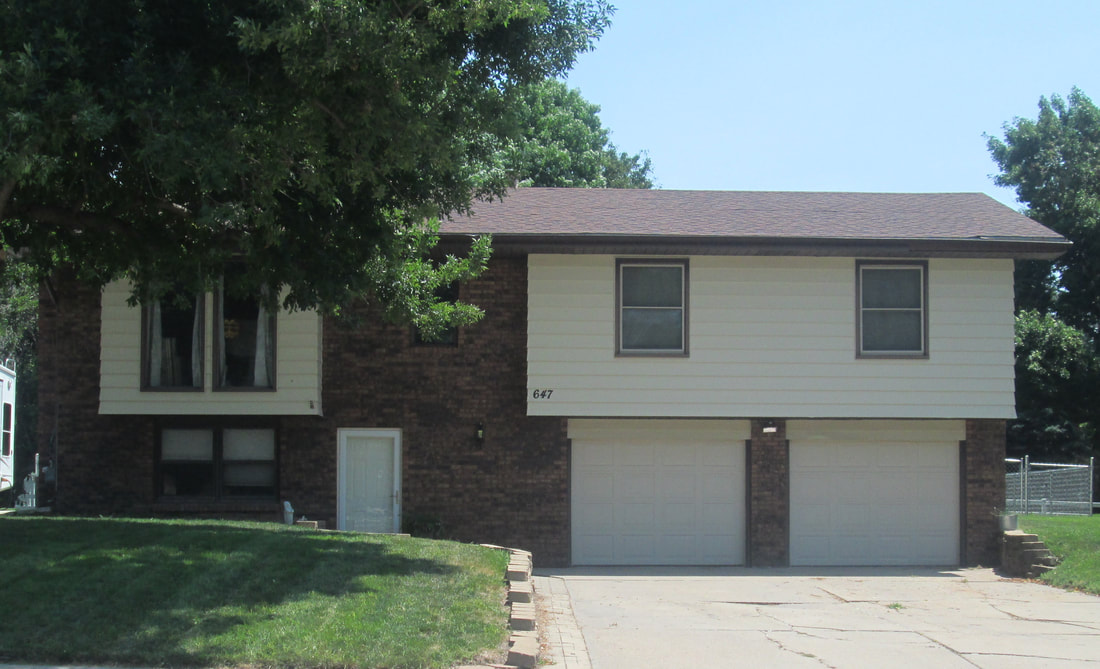
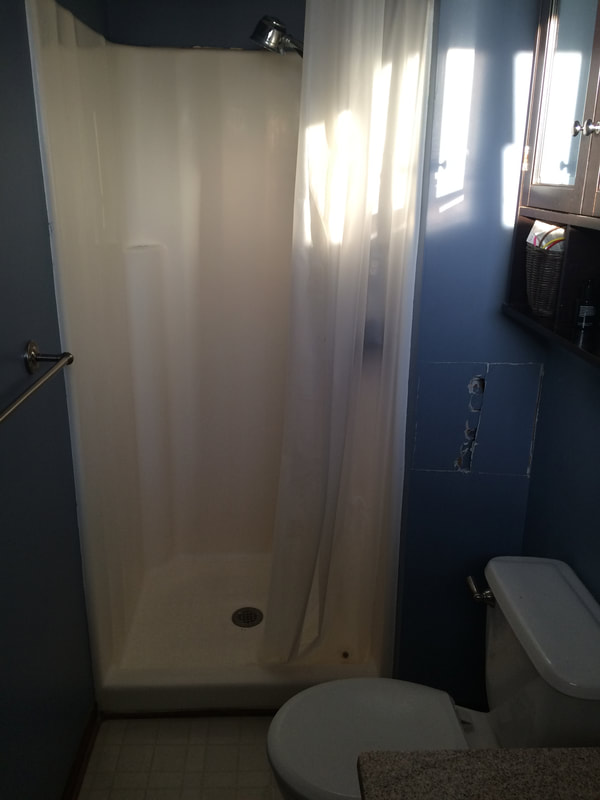
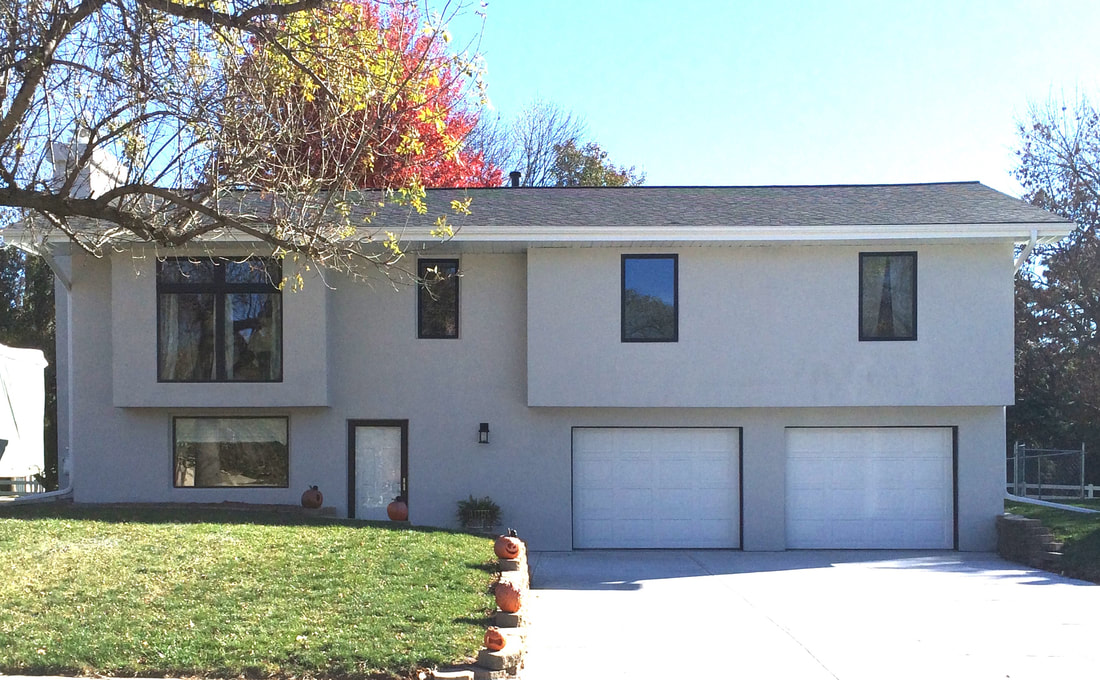
Over the years we have been able to make some significant home improvements inside and out. Of course there is our youngest son's nursery, now big kid bedroom. Before that we tore down walls on the upper level, opening up the entire kitchen, dining and living room. We've demoed our tiny primary bathroom and gave it the spa treatment. And finally we gave our exterior a facelift, taking its tired retro 70’s vibe of siding and brick, to a youthful, California cool style of light grey stucco and new black trim windows. But until this year we have not been able to tackle the family room. One of the most underused spaces and eyesores of all. The main floor’s entryway which flows right into a long narrow and awkward living space.
Inspired by the Beach
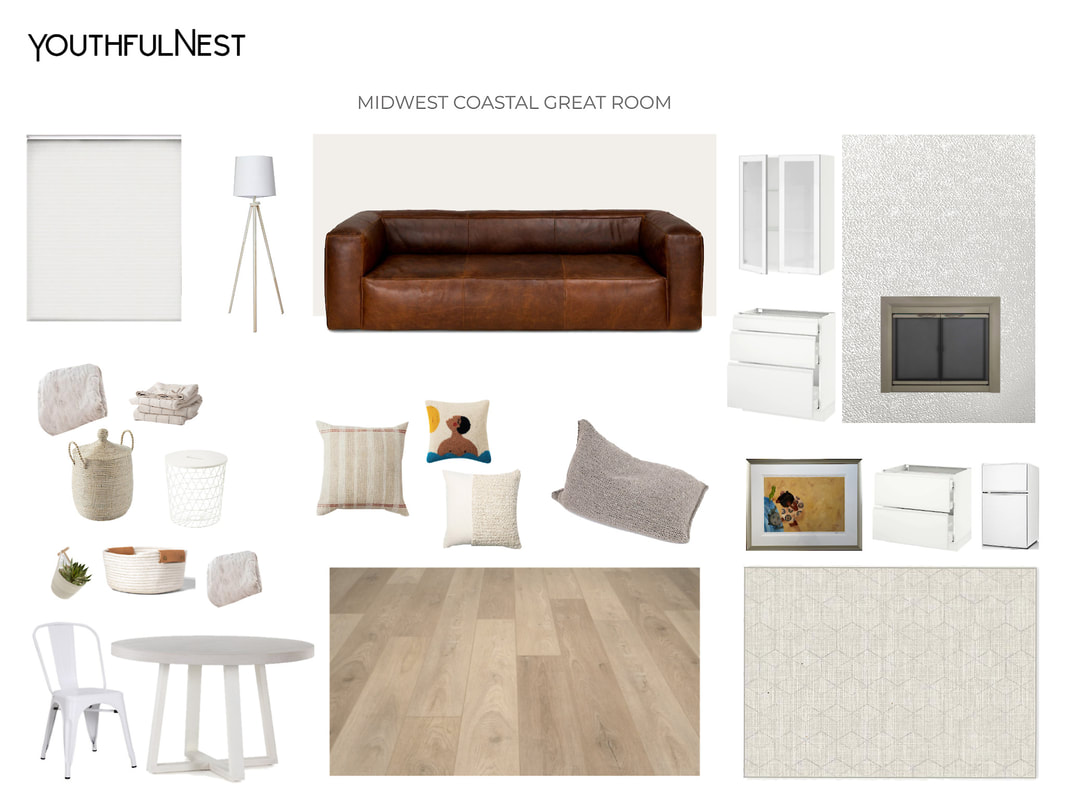
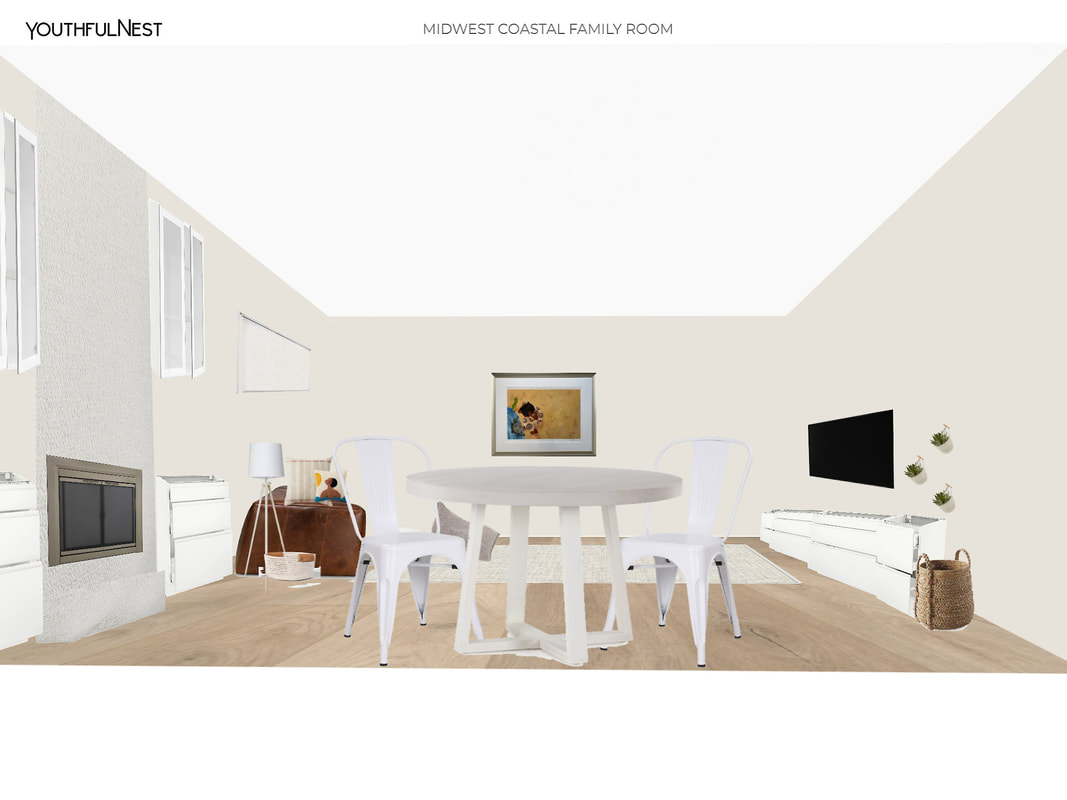
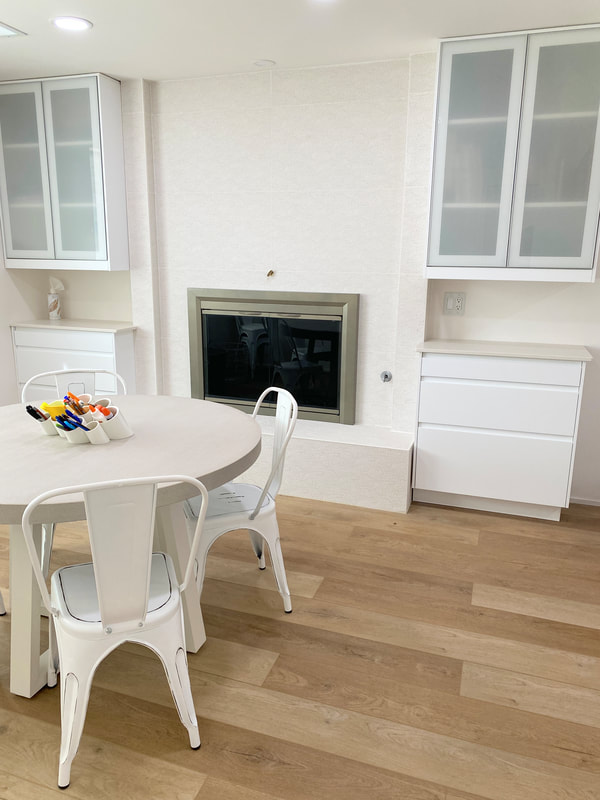
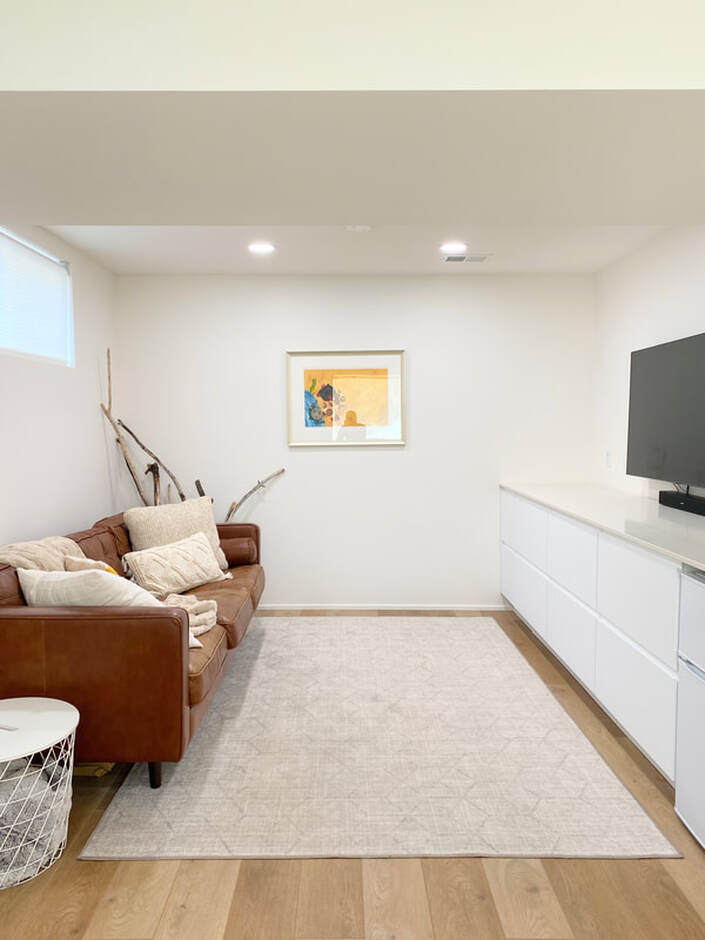
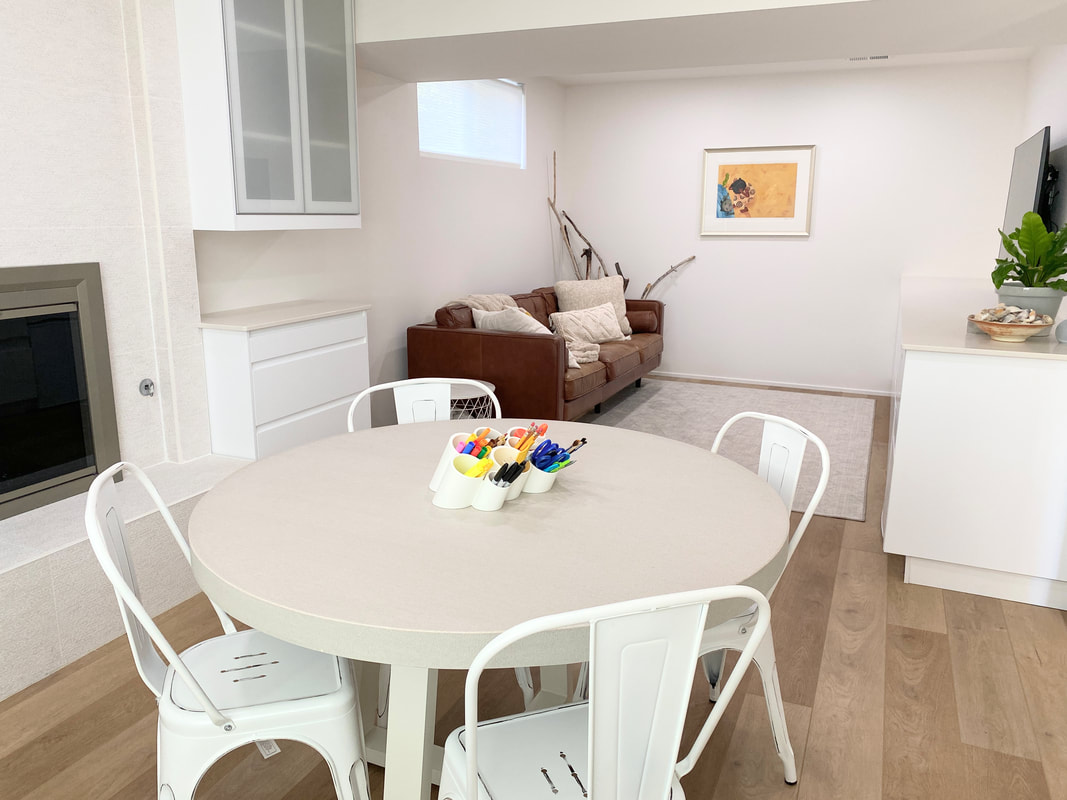
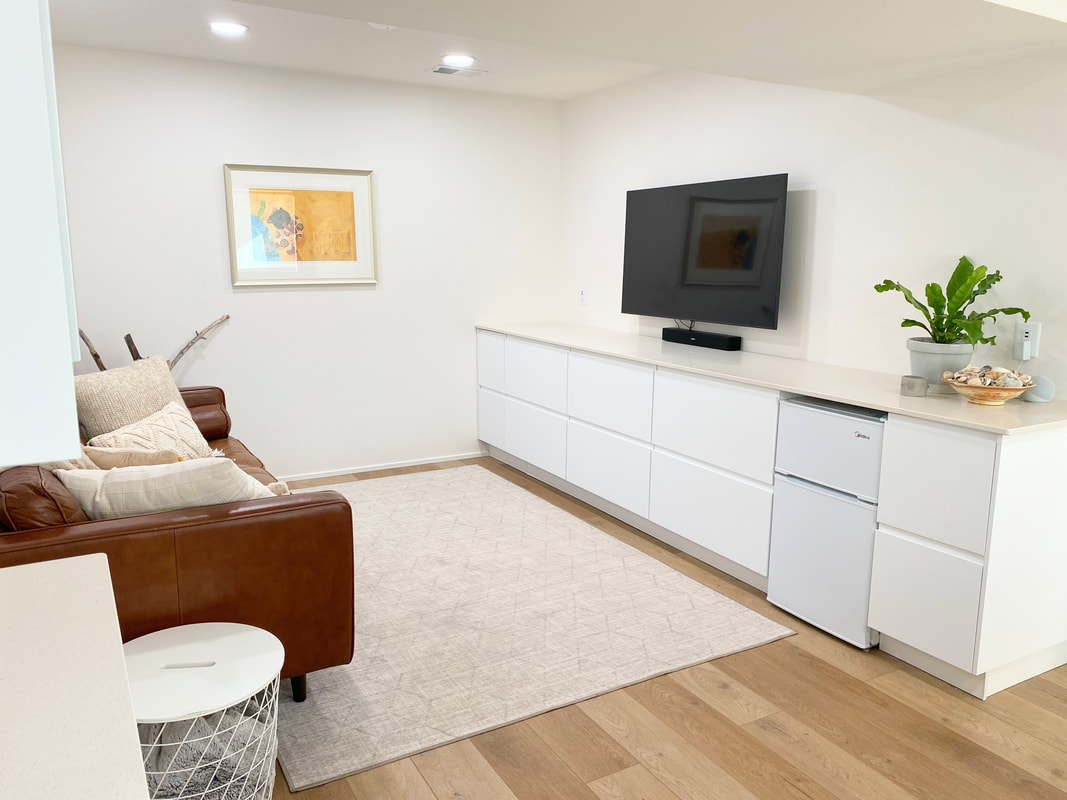
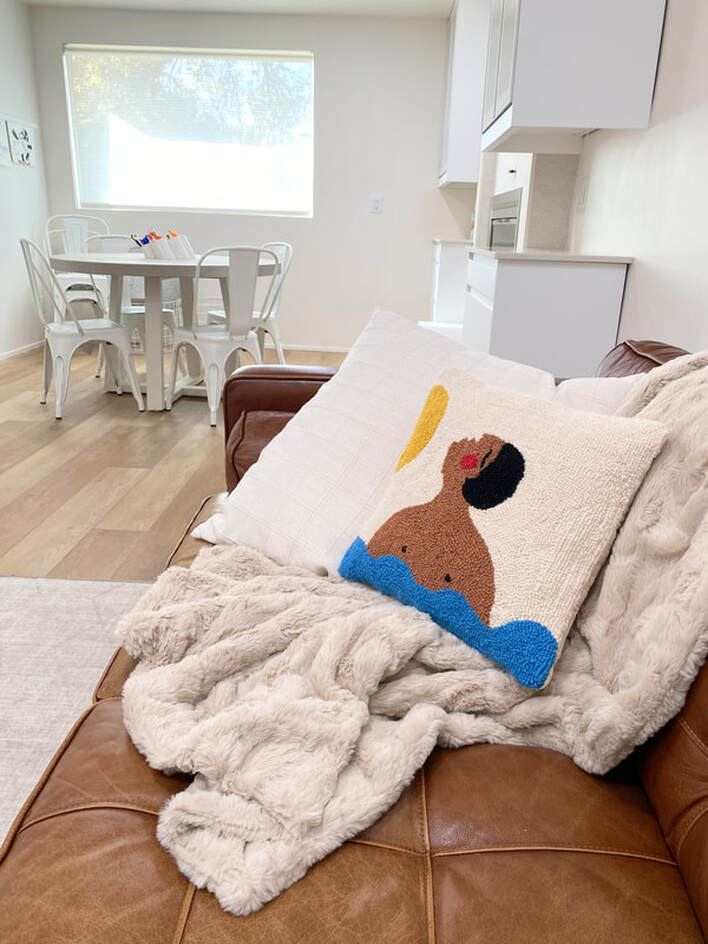
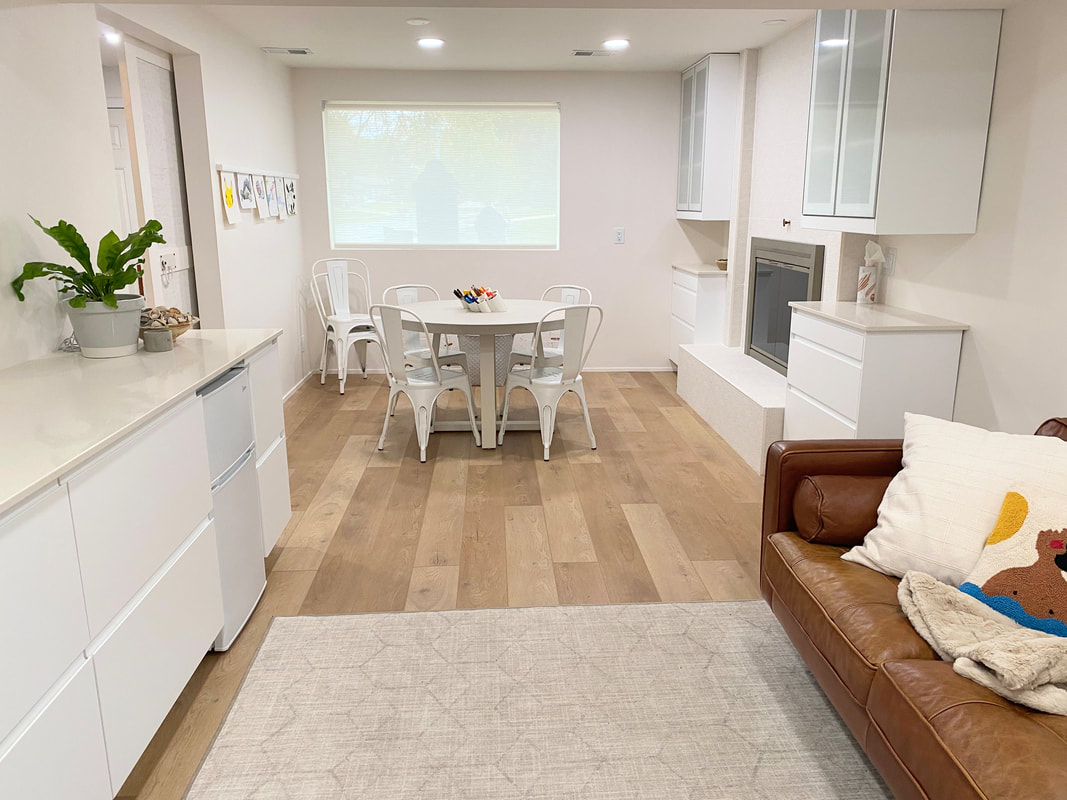
In this post I’m going to walk you through the full family room remodel. This room renovation is sort of test project for the extensive home addition and remodel we have planned for the upcoming year (2022). My vision for this home is for it to be light and relaxed inspired by our favorite place – the beach. I’m calling the style Midwest Coastal. There is lots of warmth coming from a mix of textures and natural elements like sand, shells, leather and wood. All this is layered within white walls and other soft neutral finishes.
Punch LisT
As many of you know, finding the labor to do home remodels was a challenge this past year. Everyone from the best to the worst were busy. After a couple months of reaching out to a dozen individual subcontractors, I finally found my guy, Brook, the Bearded Man. (That’s his construction business name.) He could do it all or brought in amazing subs for things he didn’t do, was fairly priced and most importantly showed up when he said he would. The project was completed in over a four month’s time period due to a couple of product issues. First setback was a shipment of broken fireplace tile and waiting for three weeks for replacements. The other delay was getting all the IKEA furniture for the built-ins and once installed getting the countertops measured and installed. Otherwise the project was completed on time and to our satisfaction. STYLISH, BUT MAKE IT Kid-Friendly
White? Really? I can’t tell you how many times my husband or other family and friends questioned my color choices for this family room. Because of my extensive knowledge of kid-friendly materials and products I was confident I could get away with lots of white. If there is one thing I know it's how to get this look selecting the functionality of wipeable, easy to clean surfaces and materials that can take a beating from whatever kids throw at it. Literally. And for everything else there is a Mr. Clean Magic Eraser and a can of paint for touch ups.
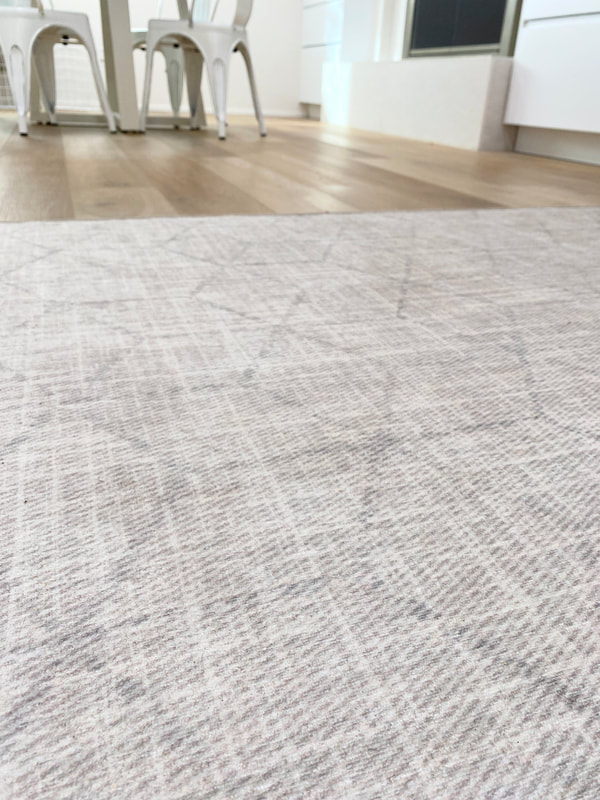
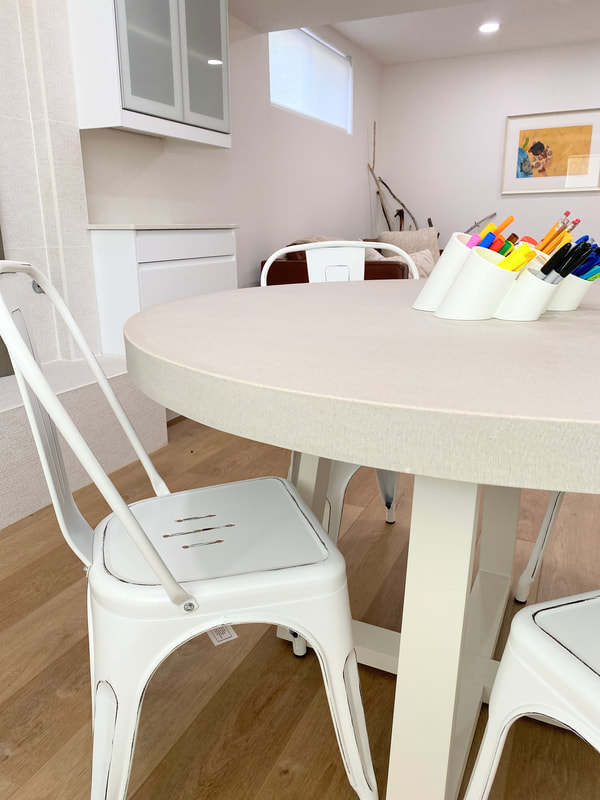
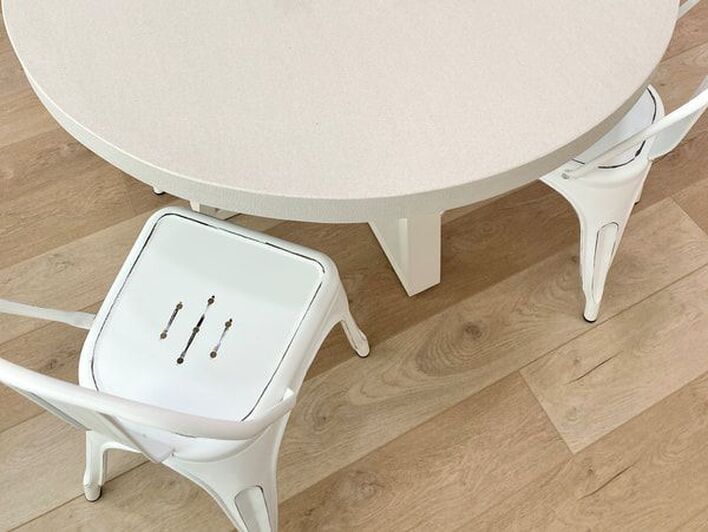
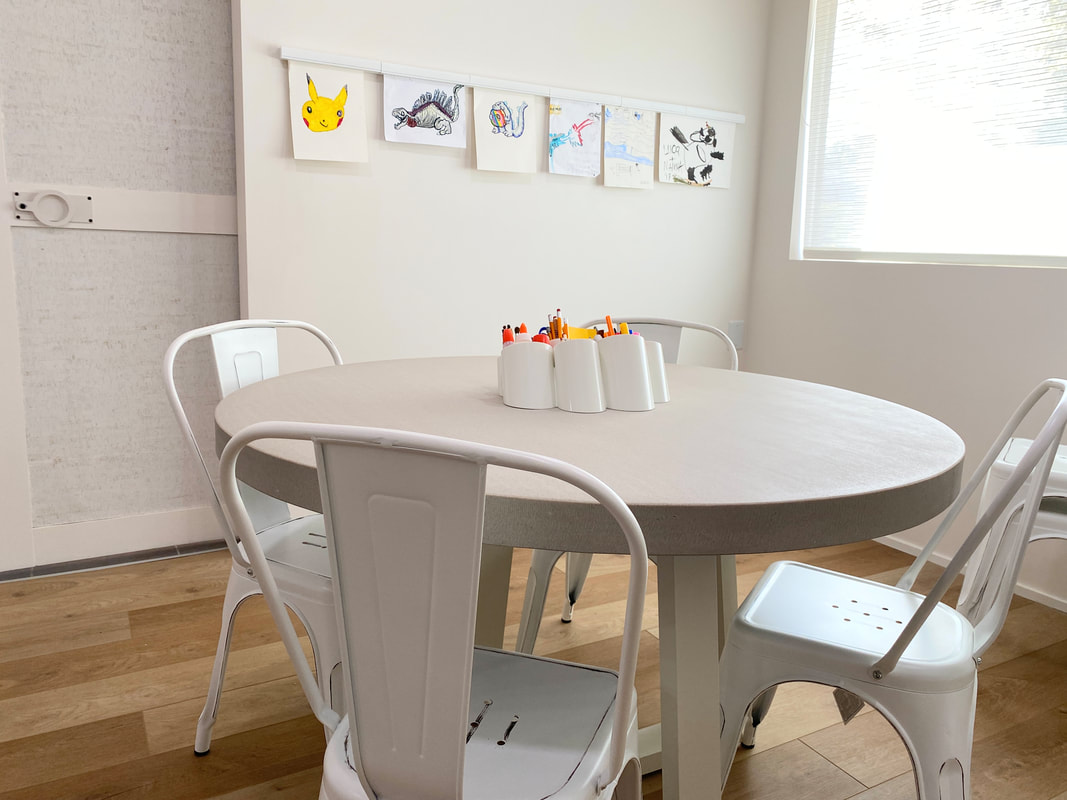
These are the kid, dog and husband friendly items I selected: Ruggable, machine-washable area rug Provenza, 100% waterproof luxury vinyl plank flooring West Elm, round edge table Amazon, waterproof fitted table cover Wayfair, sturdy metal chairs IKEA, wipe clean and scratch resistant cabinet fronts CKF, solid quart countertops PAINT
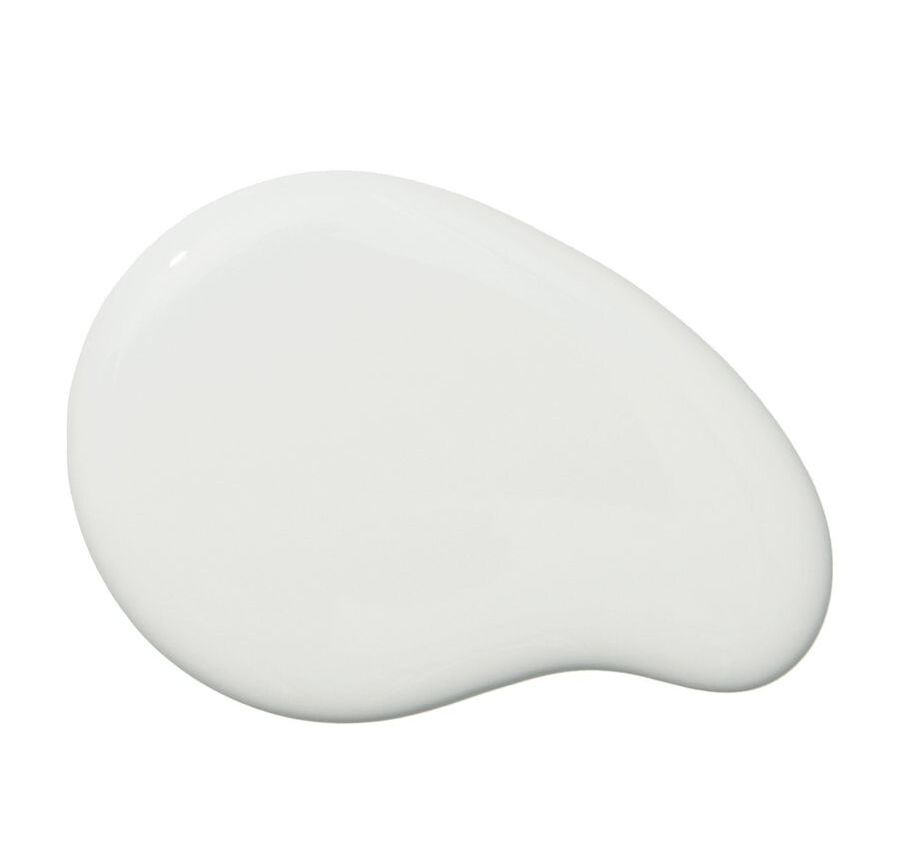
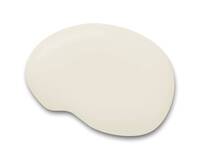
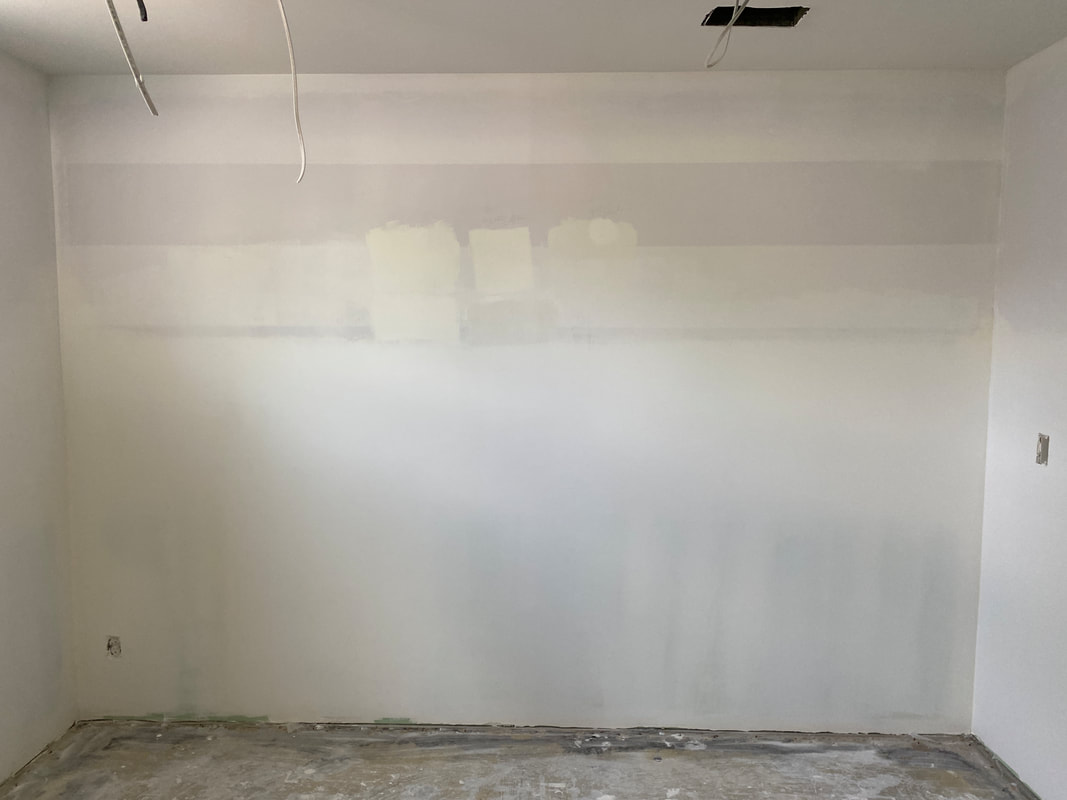
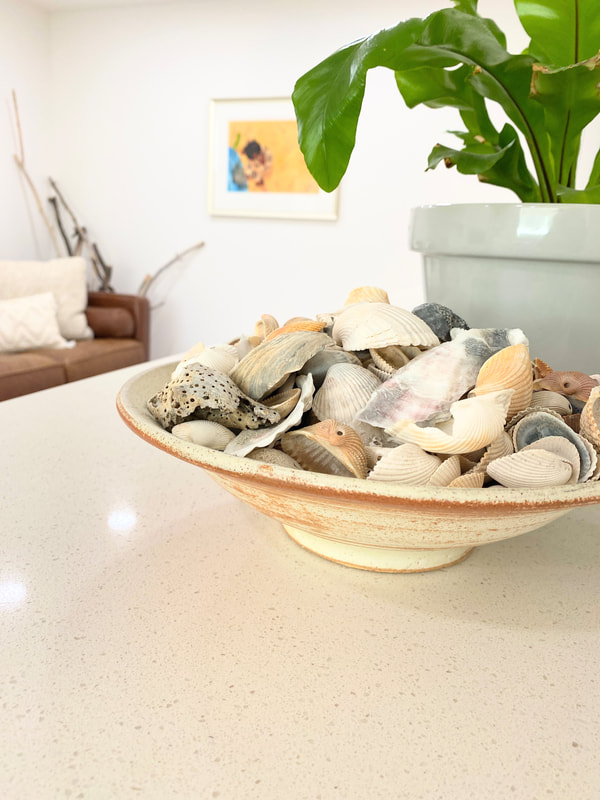
White paint can be tricky. Because of course it isn’t simply white. There are warm whites and cool whites. White paint changes in the natural daylight, with different installed lighting, in the shadows and when other furniture and materials bounce off the painted surface. I landed on the most PERFECT white for my new family room space and also for the rest of my entire home. Since the whole house aesthetic is to be inspired by the beach, and specifically a hand-thrown pottery bowl that contained shells we’ve collected, I loved that Sherwin Williams “Shell White” was a top three contender. But then I tested Benjamin Moore “Atrium White” and Clare Paints “Classic” and the winner was Benjamin Moore “Atrium White”. It stayed truest to its hue in all sorts of light without going too yellow, pink or gray. It stayed clean and white with the perfect hint of warmth without looking cream.
FLOORING
While I love the warmth of carpet and a soft surface for kids to play on, I am not ok with the dirt and odors carpets trap in. I considered carpet tiles from FlorTiles. They are great for high traffic rooms because if they get damaged or stained you can easily replace just the tile/s that you want. Unfortunately, even with my trade discount the cost pushed beyond my budget.
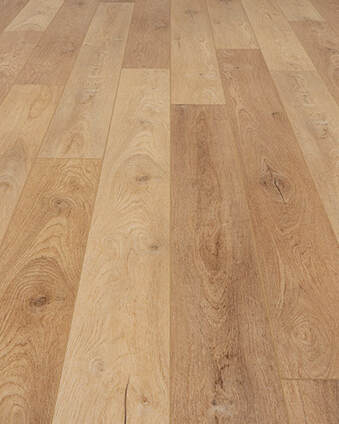
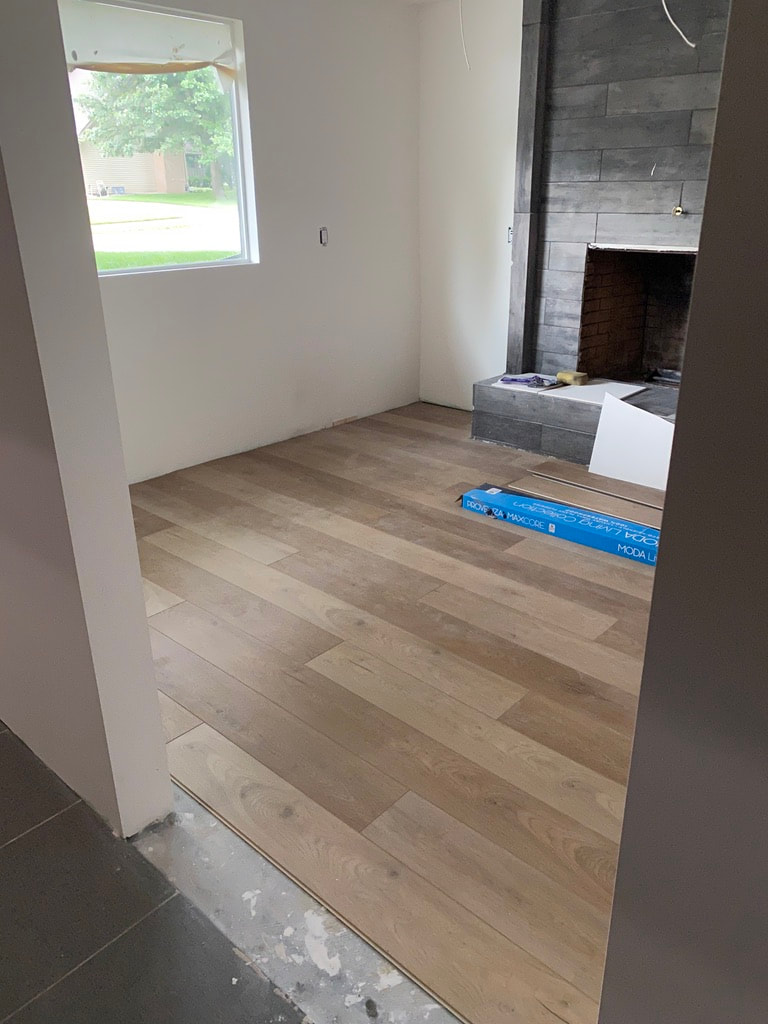
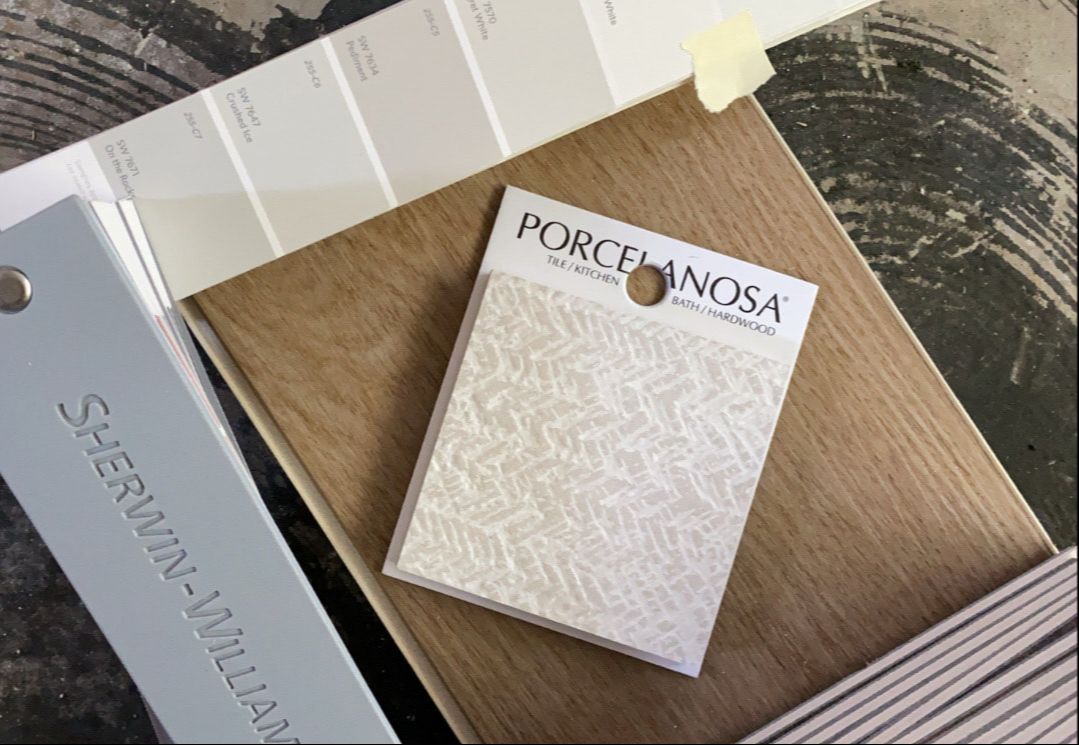
I really wanted to do hardwoods, but when covering a cement slab foundation laminate was our only other truly viable option. I was introduced to a high quality LVP (Laminate Vinyl Planks) by the brand Provenza. My local boutique flooring and tile shop had large samples I could bring home. I paired them next to my other samples of fireplace tile, wall paint, cabinetry and area rug. I chose the color Sweet Talker because of its light caramel sand coloring and more even tones. It looked more modern than some other styles that had heavy knots and veins and leaned more toward country or farmhouse. This LVP is perfect for kiddos, cars, balls, crafts and dog nails. It is also waterproof which is a step above most laminate floors which are only water resistant. It's simply a solid choice for a basement or below ground level room such as this. FIREPLACE FAcelift
Design is my domaine, but of course my husband has opinions and his own tastes when it comes to our home. Fortunately, he has come to trust mine. He tends to gravitate towards warmer more traditional styles with heavier handed decor and finishes. Where as I love modern clean lines and have minimalist approach to decor and color. We kind of gravitate towards very different aesthetics. Not to mention why on home projects there always seems to be one point of contention for us. In this space it was the fireplace.
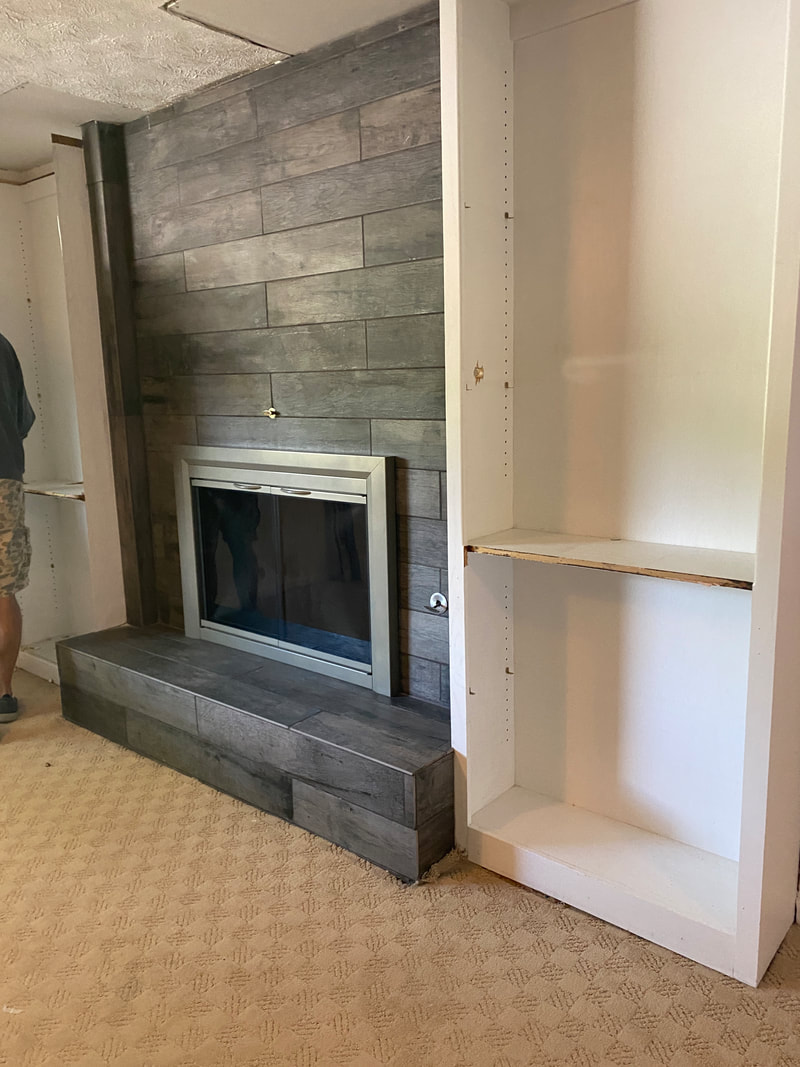
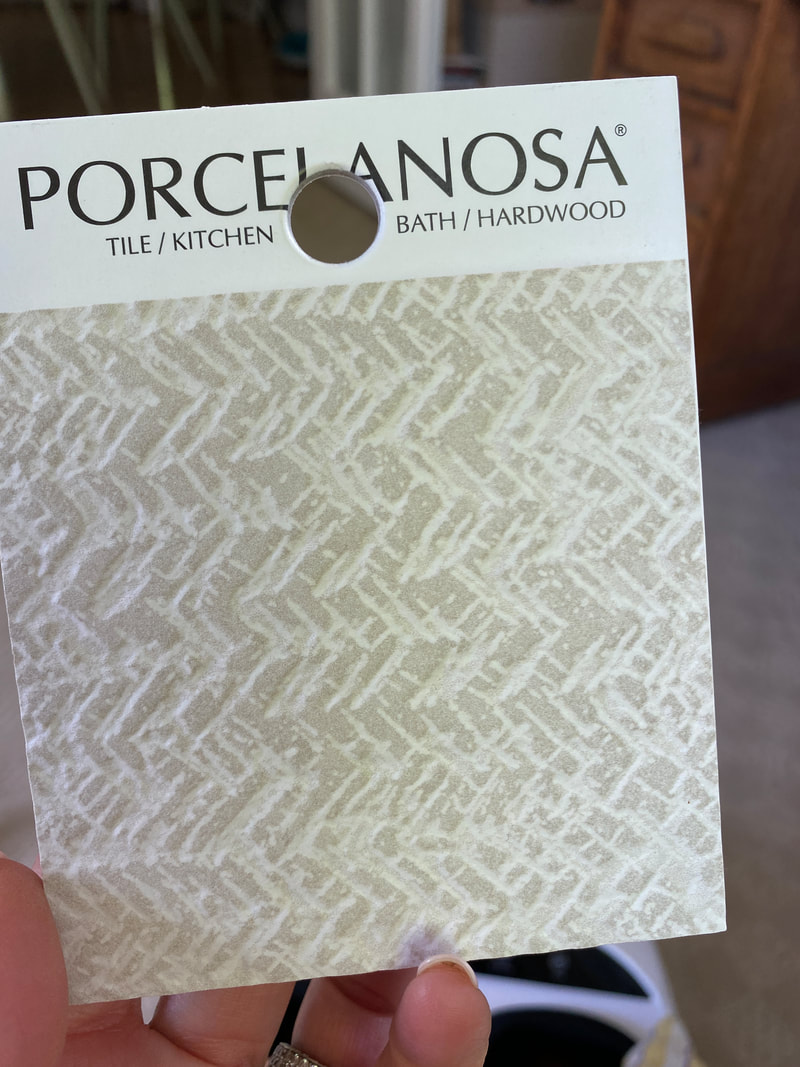
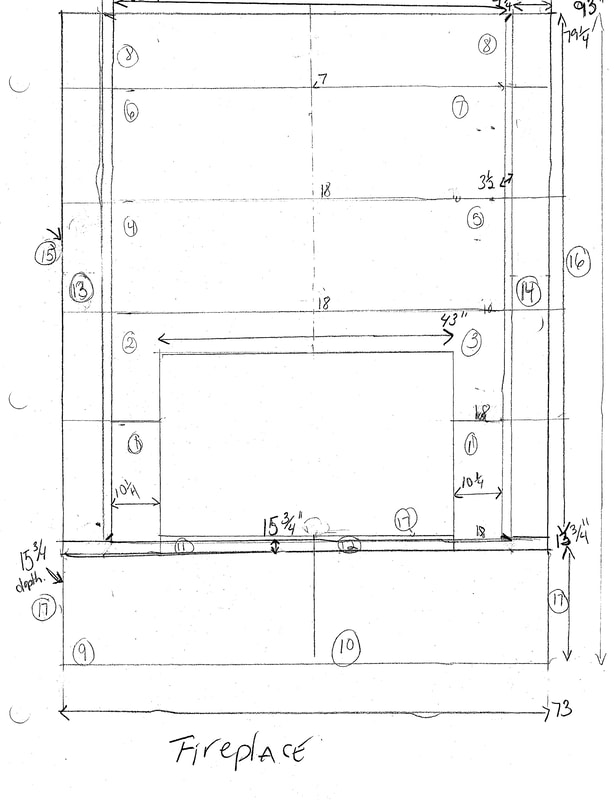
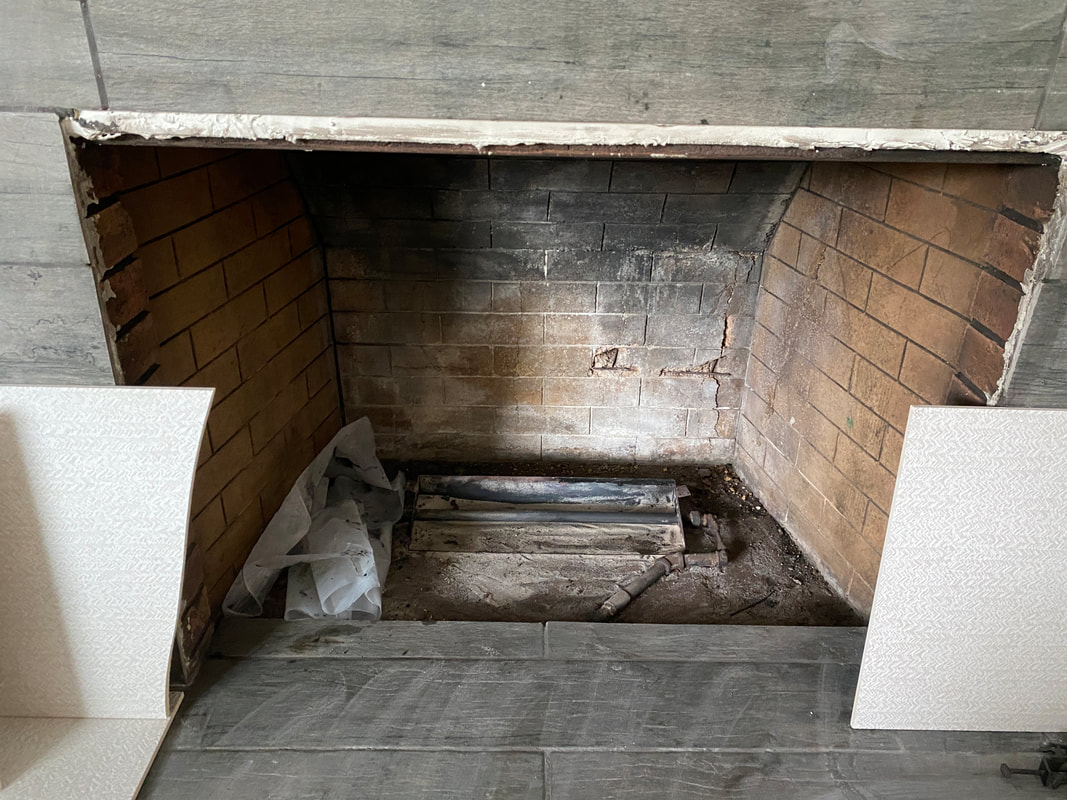
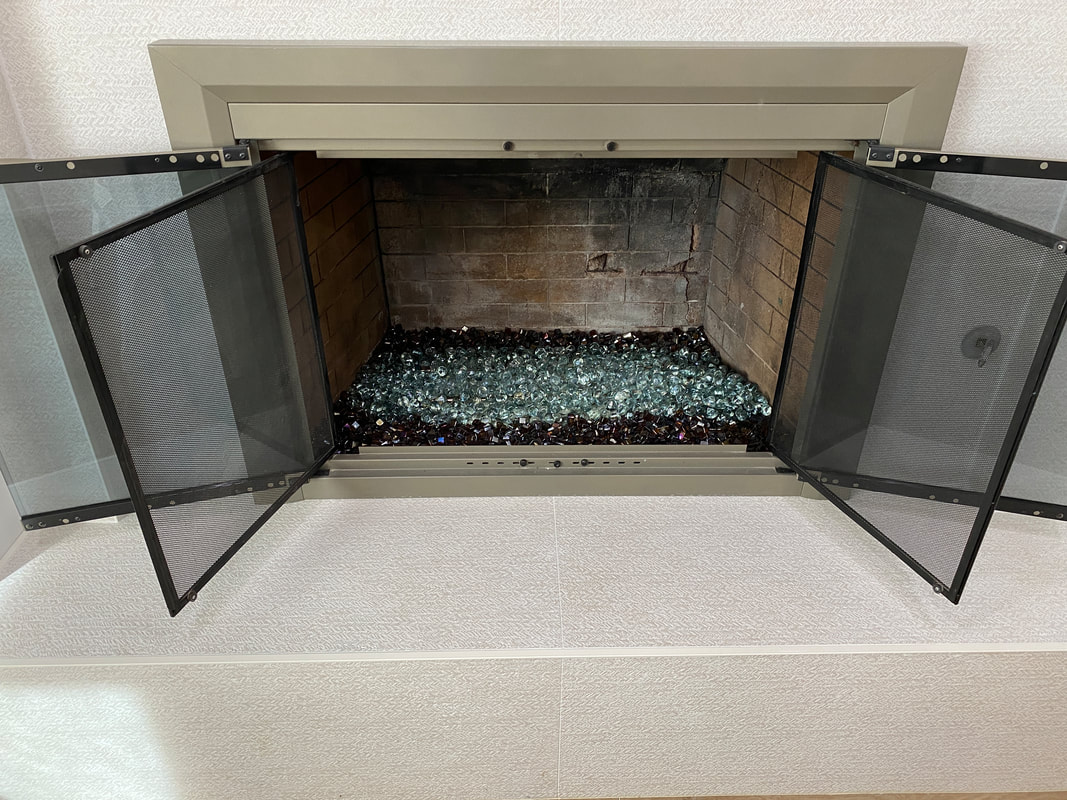
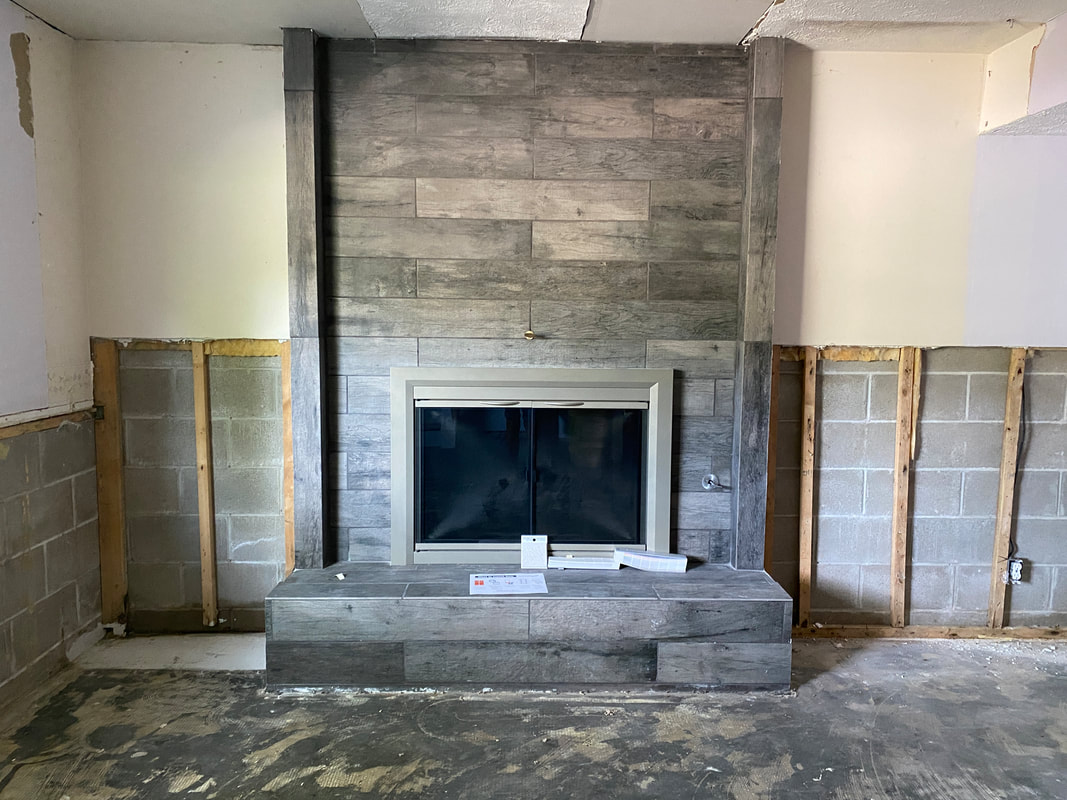
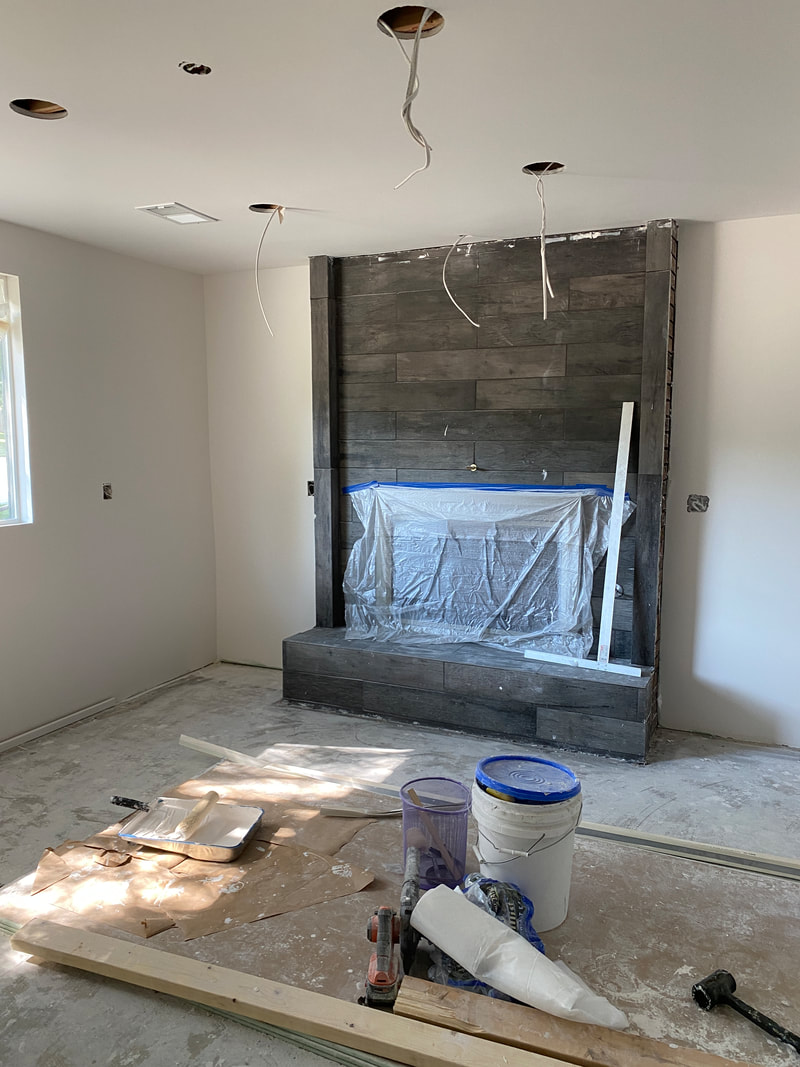
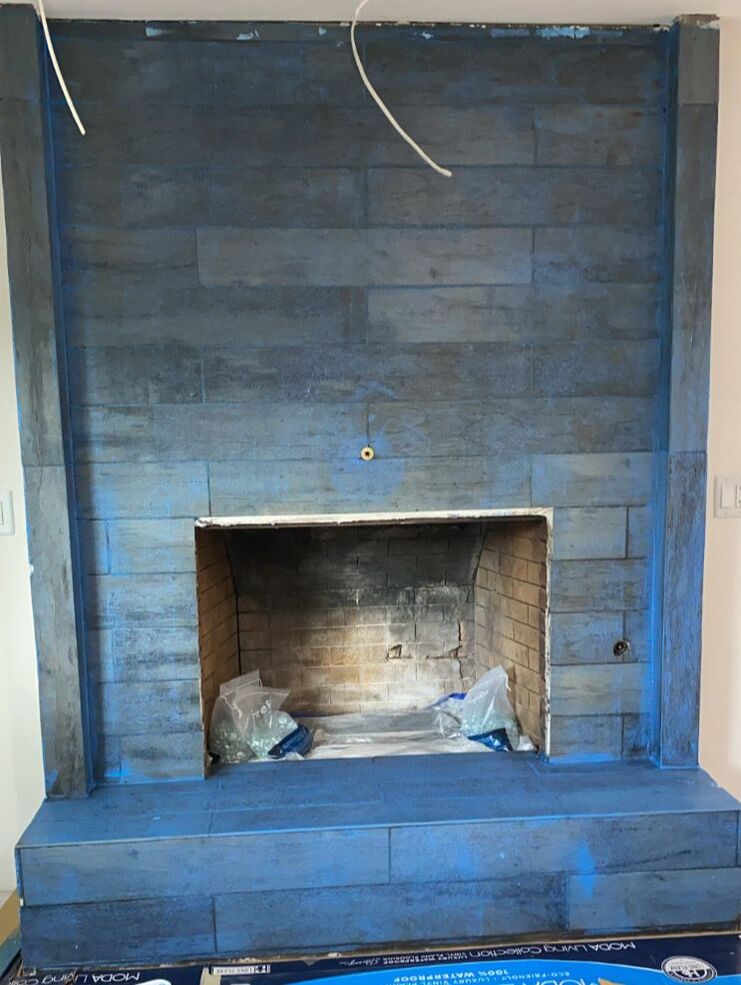
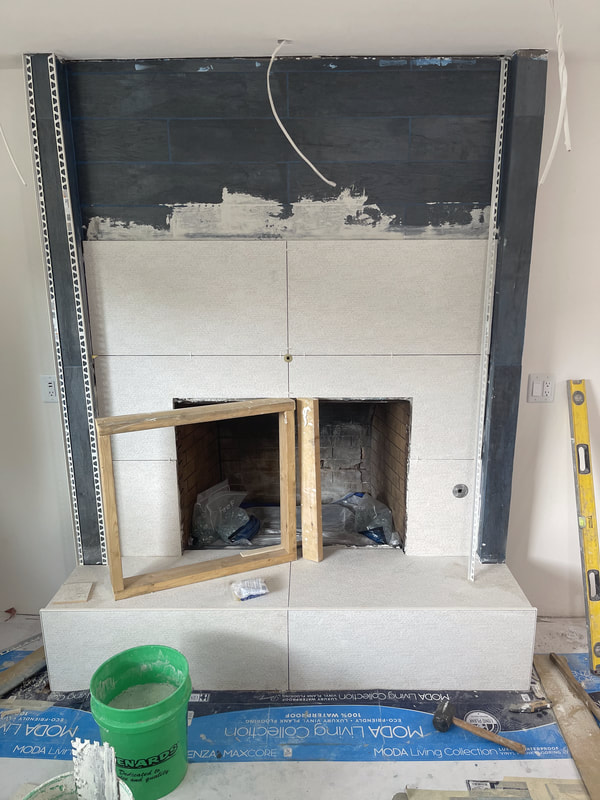
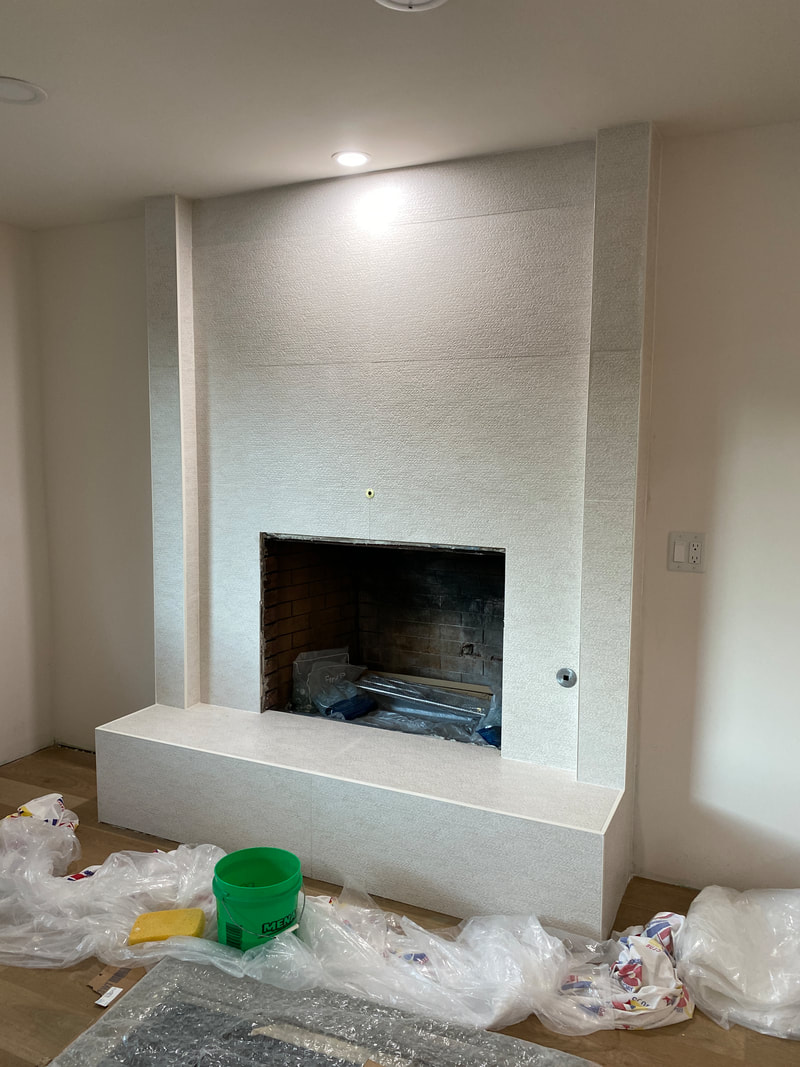
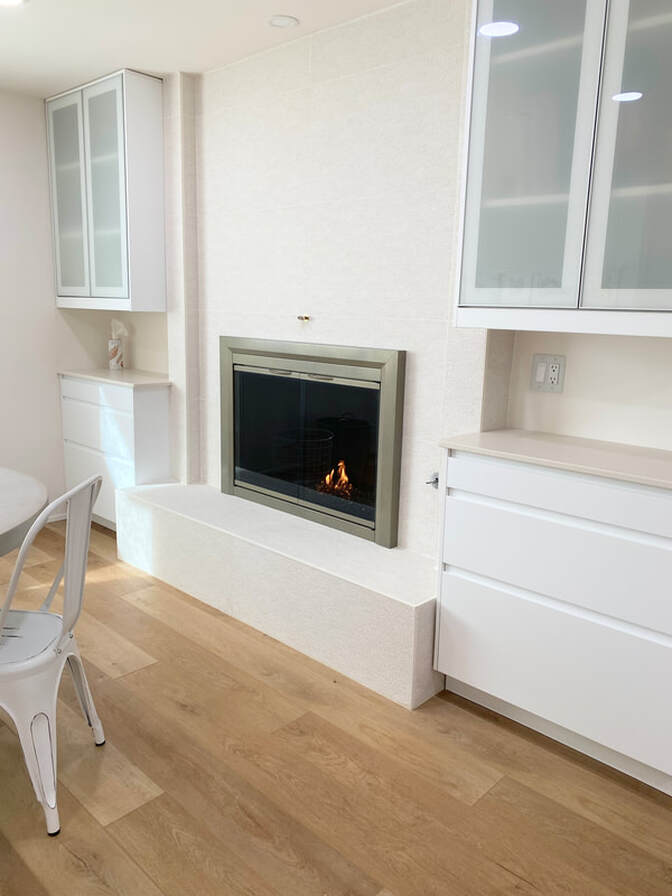
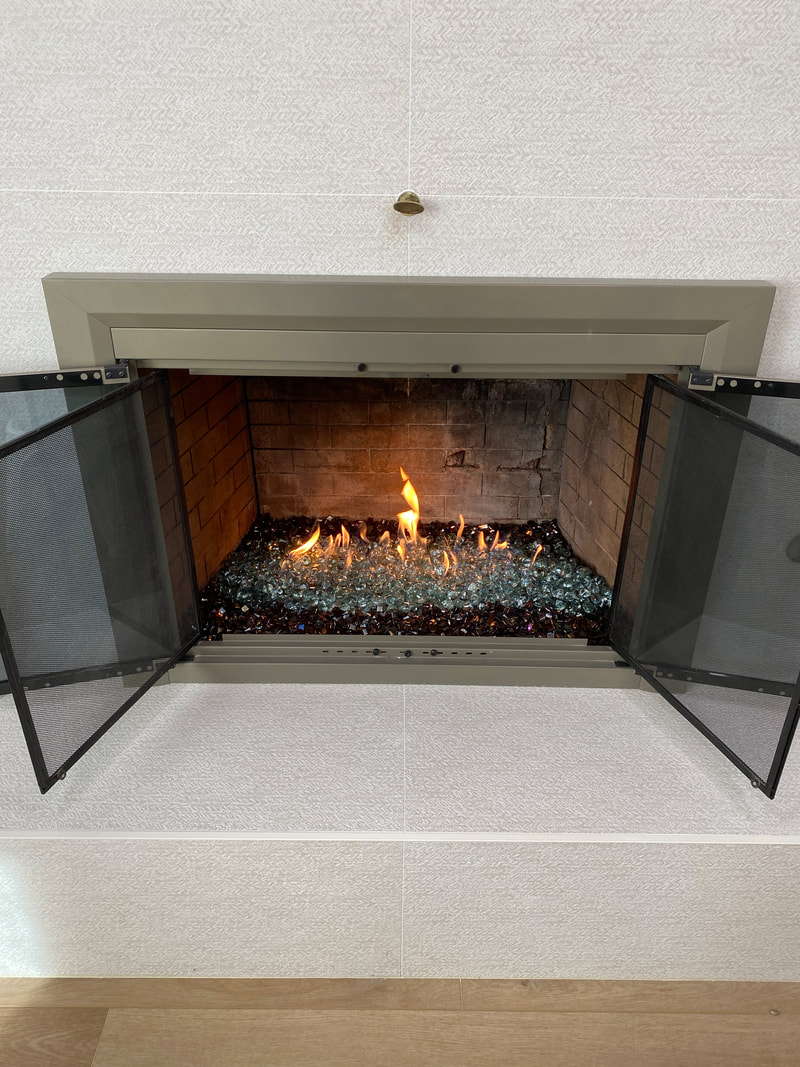
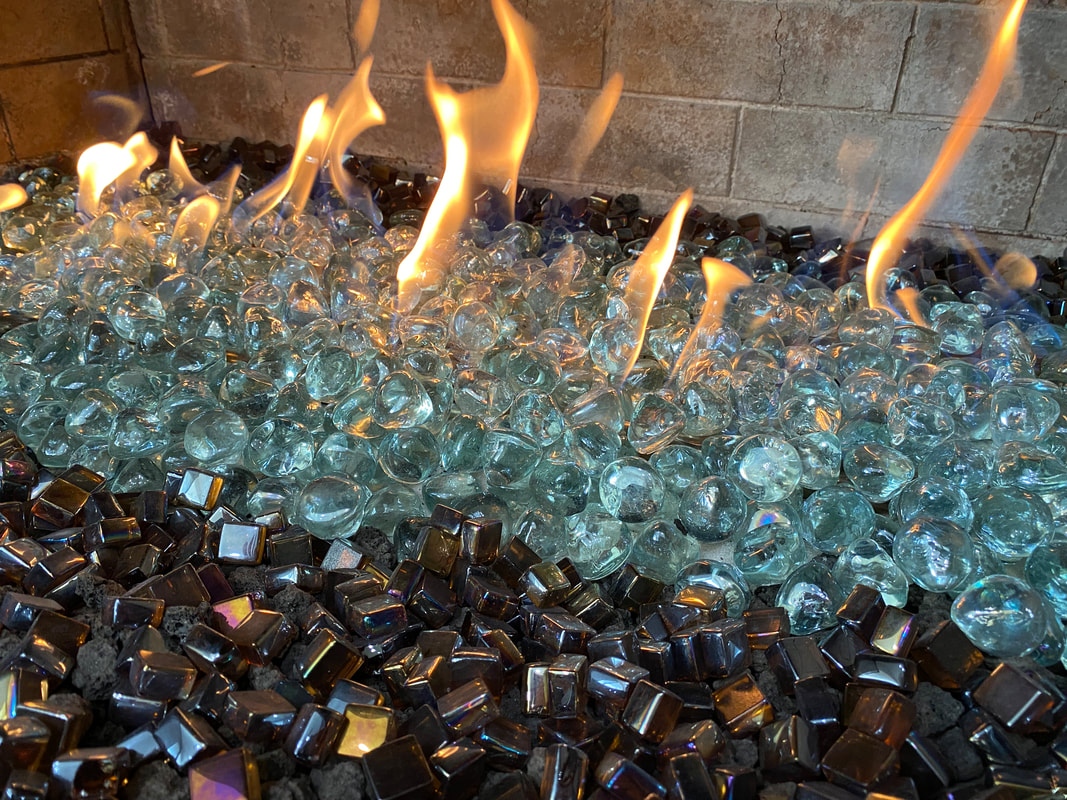
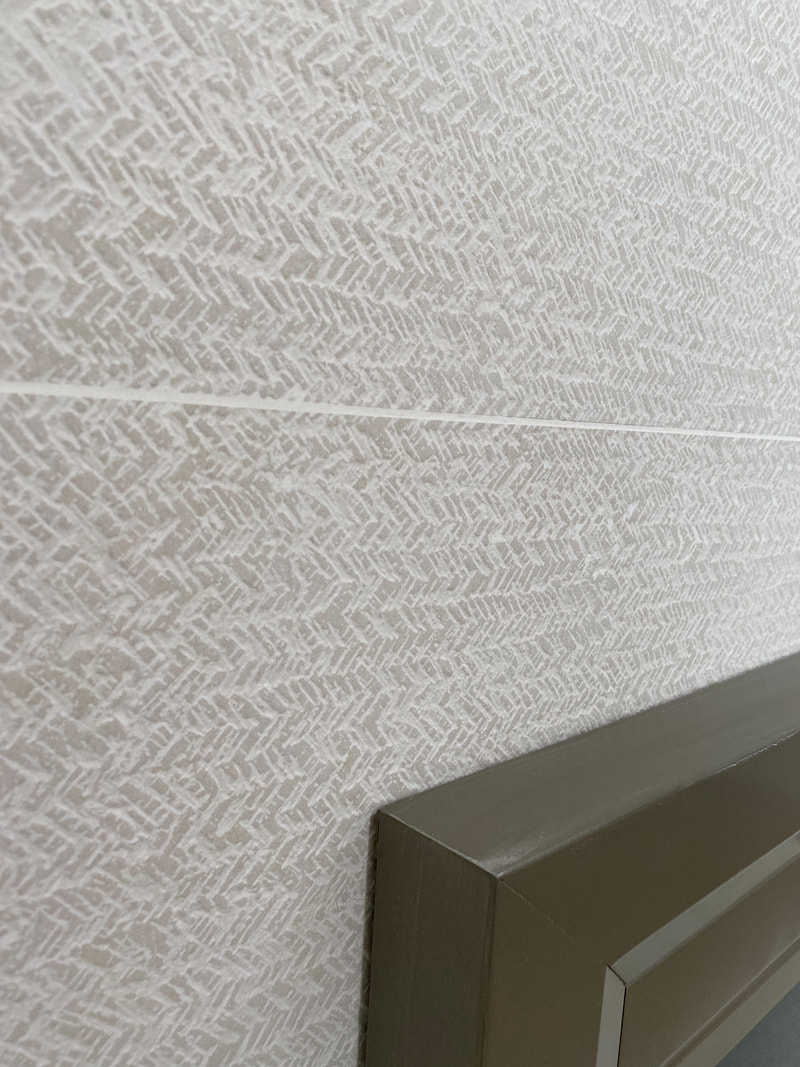
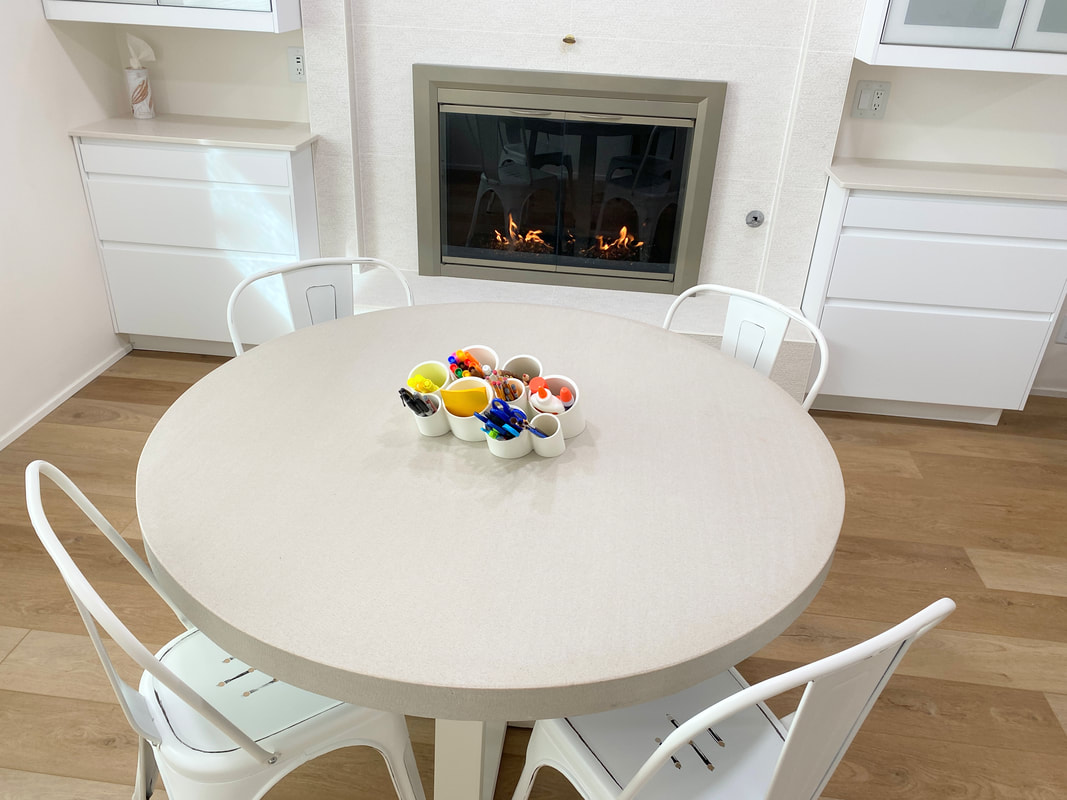
Four or five years ago my husband finally committed his time to updating the fireplace as long as it was super affordable. I was desperate to make some upgrades to this space so I jumped into action before he could change his mind. There was no design plan or forethought. I had no vision. I just went to the home improvement store one day and picked out an inexpensive tile I liked enough and a couple weekends later it was done. The look was a contemporary wood plank tile in medium to dark gray tones. We did the makeover ourselves and it turned out quite handsome. Since everything else around it in the room was still tattered and stylistically disjointed, this one improvement made little impact on the overall vibe of the space. Now armed with this light and airy Midwest Coastal aesthetic it was imperative that there be tons of white and very little dark grays or black finishes. I knew instantly the existing fireplace would stick out and ruin the cohesive look I was going for. It was clear to me this dark, farmhouse looking fireplace had to go. But my husband strongly disagreed. Not only was my husband questioning my design decision but he pulled in neighbors and friends to weigh in. They looked at our existing handsome fireplace and they too questioned the need for the makeover. They asked me, “Are you sure it needs to be covered?”. Each time I answered with an emphatic, “YES.” In the end I chose a gorgeous textured porcelain tile in bone white by Porcelanosa. It came in oversized slabs of 48”L x 17”H and cost over $1,000* just for the tile (not including labor. With new tile, installation materials like the metal Schluter to finish the edges, mortar, grout and labor the new fireplace ate up over $2K of my budget. It was worth the splurge as you will see. I also gave some love to the interior firebox. Simply cleaning off the brick, replacing the gas burner, and throwing out the lame fake logs and sprinkled in sparkling fire glass. , STORAGE & ORGANIZATION
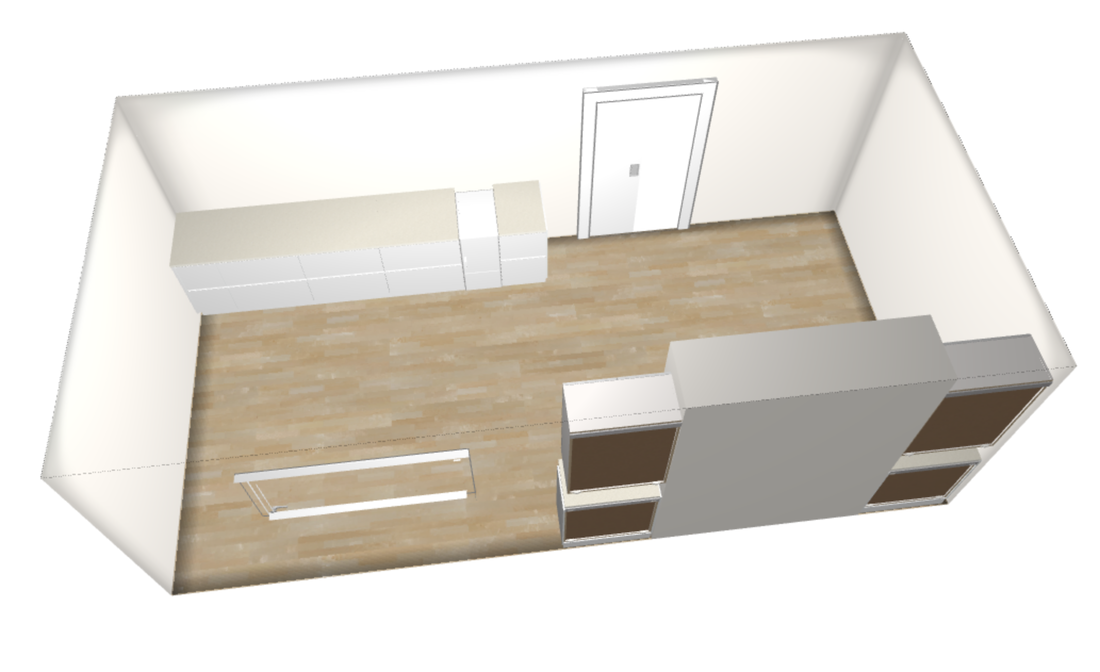
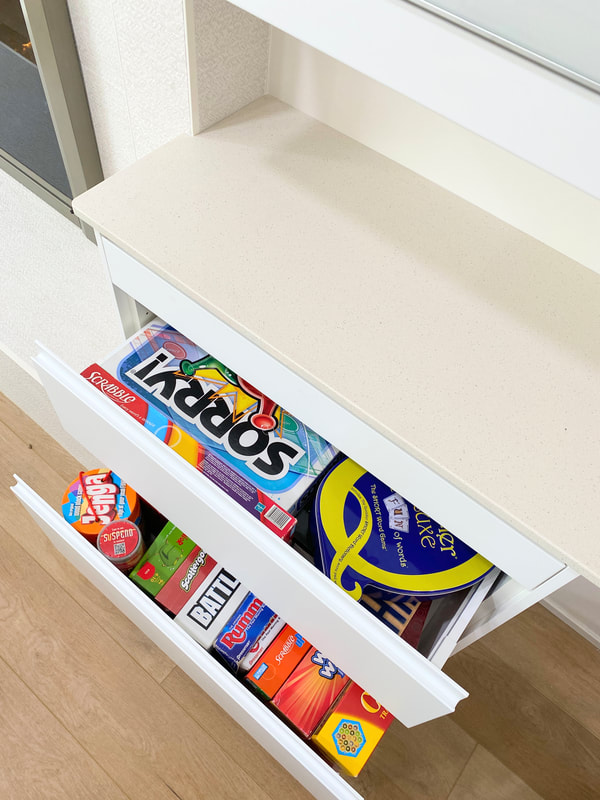
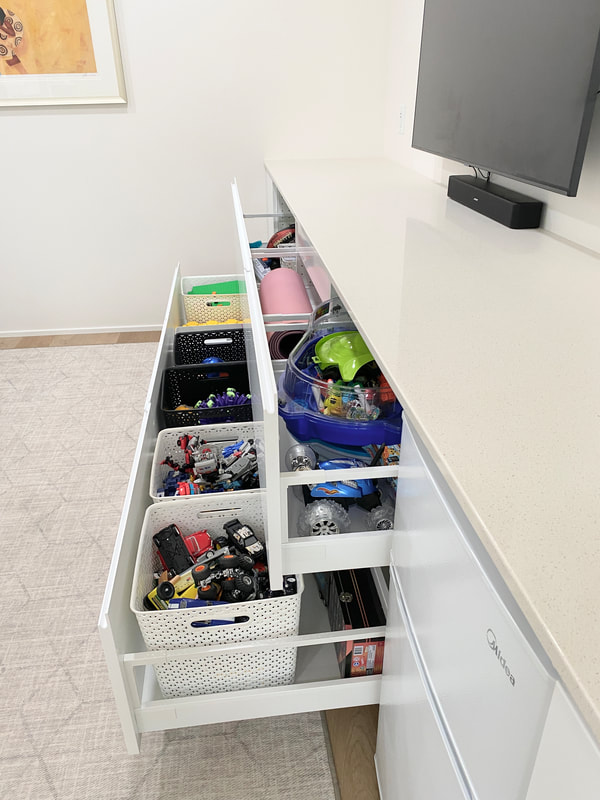
I've talked a lot about the visual aesthetic, but the functionality of this room was lacking too. The biggest functionality issue this remodel needed to address was storage – game and toy storage to be specific. I wanted something that would work for right now and in the future. I also knew I wanted doors to hide stuff away and big draws to easily put stuff away.
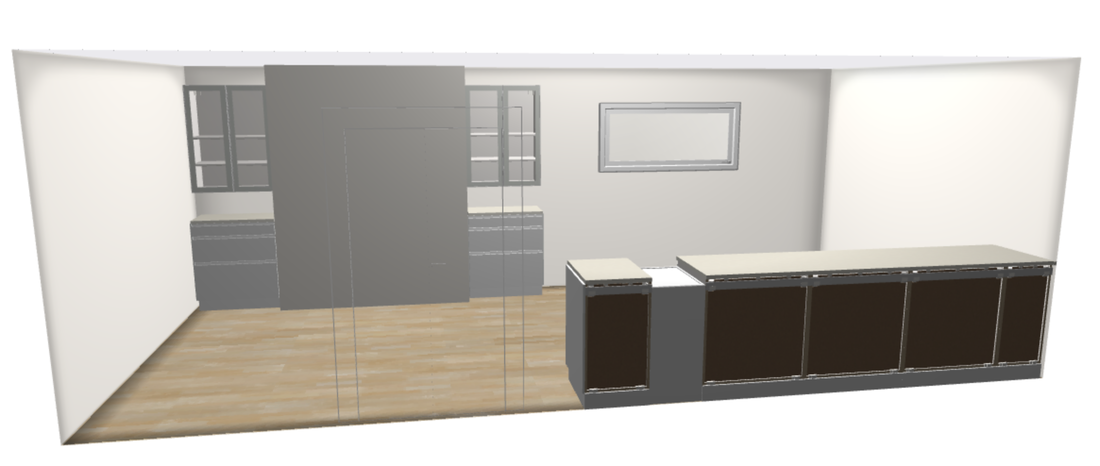
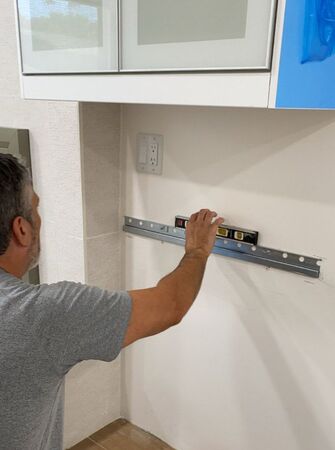
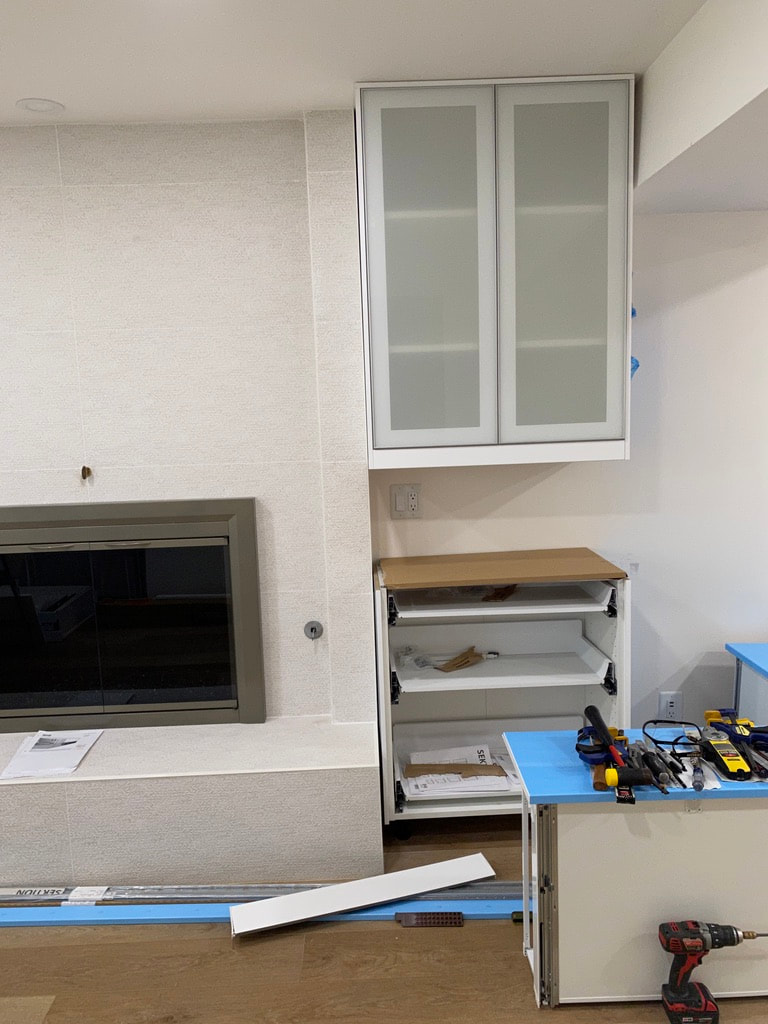
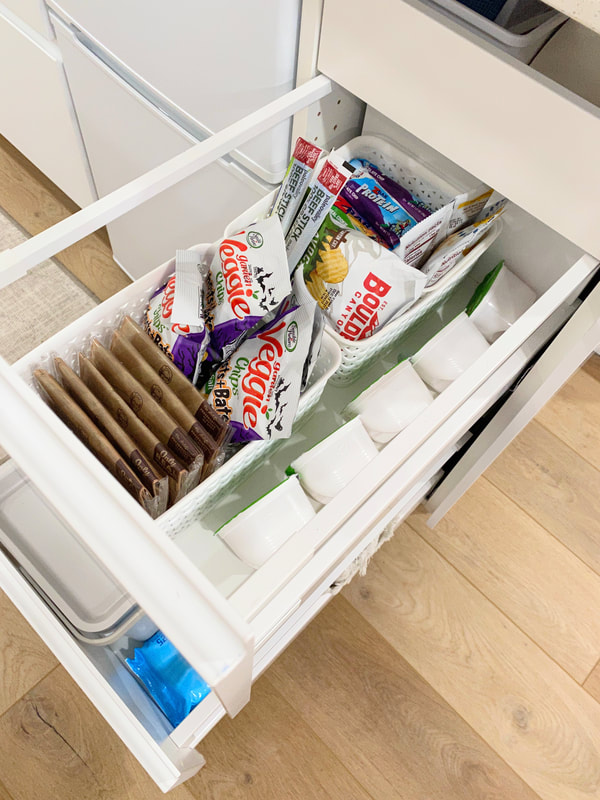
We had board games stacked haphazardly on open shelves and all sorts of toys and crafting materials thrown into several large bins and baskets. Not to mention more baskets of toys both downstairs and in our upstairs living room. Toys daily took over these rooms and then spilled out onto my office floor as well. My goal was to create built-in storage that would hide all the “stuff”. Our youngest daughter is still in high school and would mainly use the new family room to do homework, watch TV, and join us for family game nights. Luca, our youngest in third grade still has lots of toys, but is slowly developing alternative interests and activities that would require less storage in this room. I moved my organizational search away from popular toy type units or stacked bins to wide cabinets with large drawers. In fact, I landed on IKEA kitchen cabinetry for both the tall built-ins and lower cabinets. They can hold existing baskets that are filled with smaller items like cars and Lego, while larger items can be loosely stored, including Bayblade battle stations, yoga matts and blankets. By going with IKEA and installing them ourselves versus a local kitchen cabinet company I was able to make up the money I spent on the fireplace makeover. The local custom cabinet option was slightly higher than the cost of IKEA, a with professional install over $1K. (Huge thanks to Kody Horvey of Up To Kode and his helpful YouTube videos for installing IKEA cabinets. Especially the five part series IKEA Kitchen Cabinet Install Course.) To cut more costs I found a full slab quartz remnant in almost the exact color I wanted. Saving a few hundred dollars more. BARN DOOR
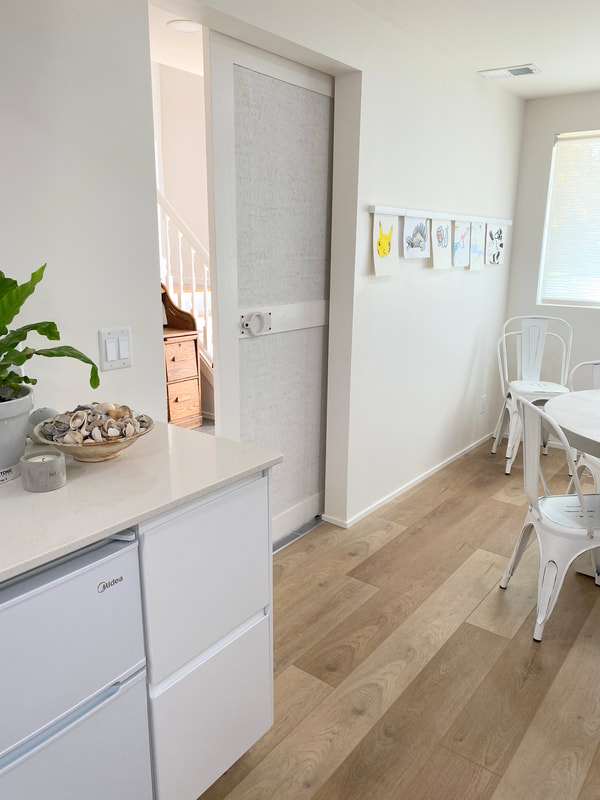
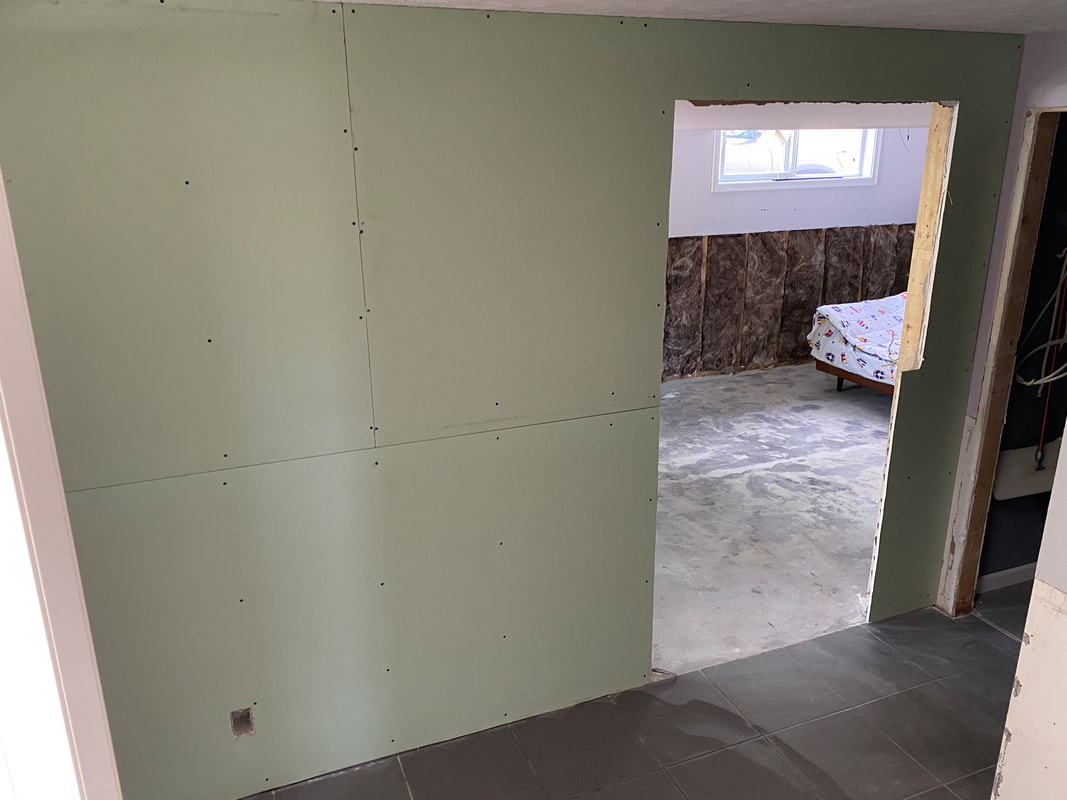
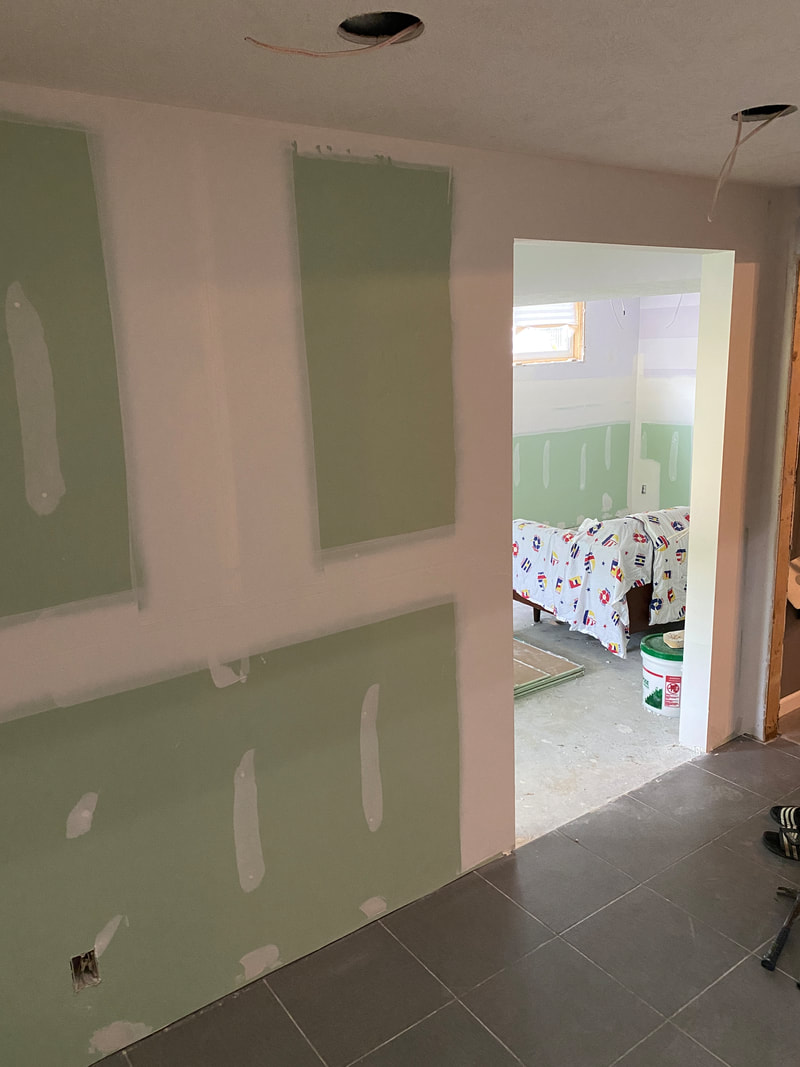
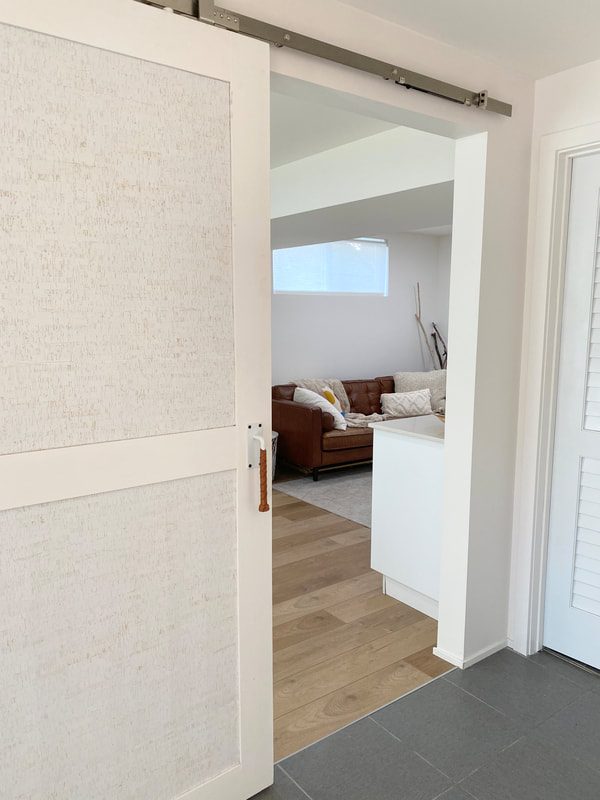
The decision to build a wall between the entryway and family room was simply the right decision. Sometimes opening up a space makes sense. And sometimes defining a space with walls can actually improve the flow of a home. In this case, installing a wall with a sliding barn door created an actual entry for inviting guests into our home, without having to offer them a view into every mess and detail of the rest of the house. It's a place that can offer us some function for dropping mail or getting a last look in the mirror before jetting out the door.
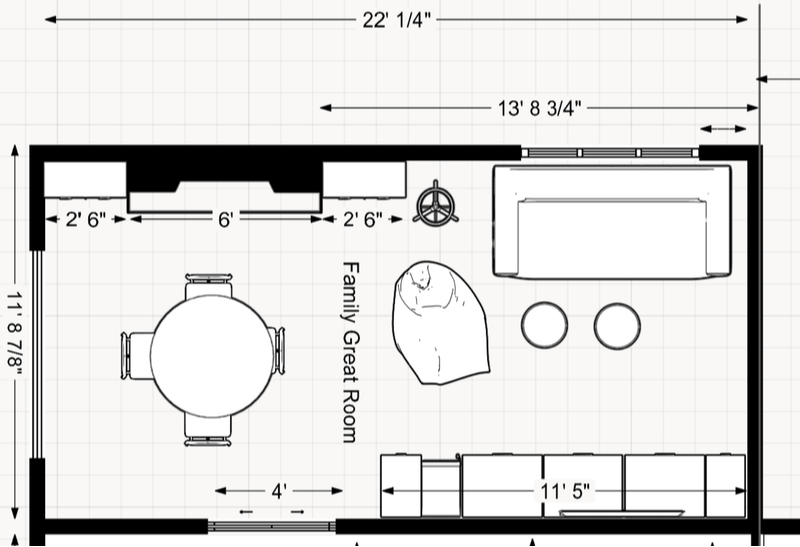
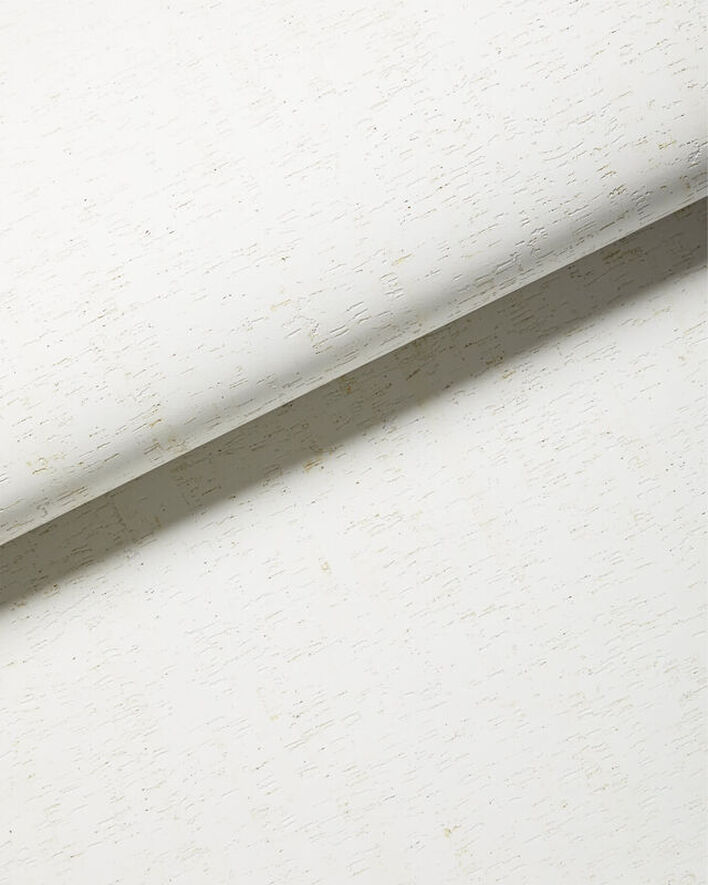
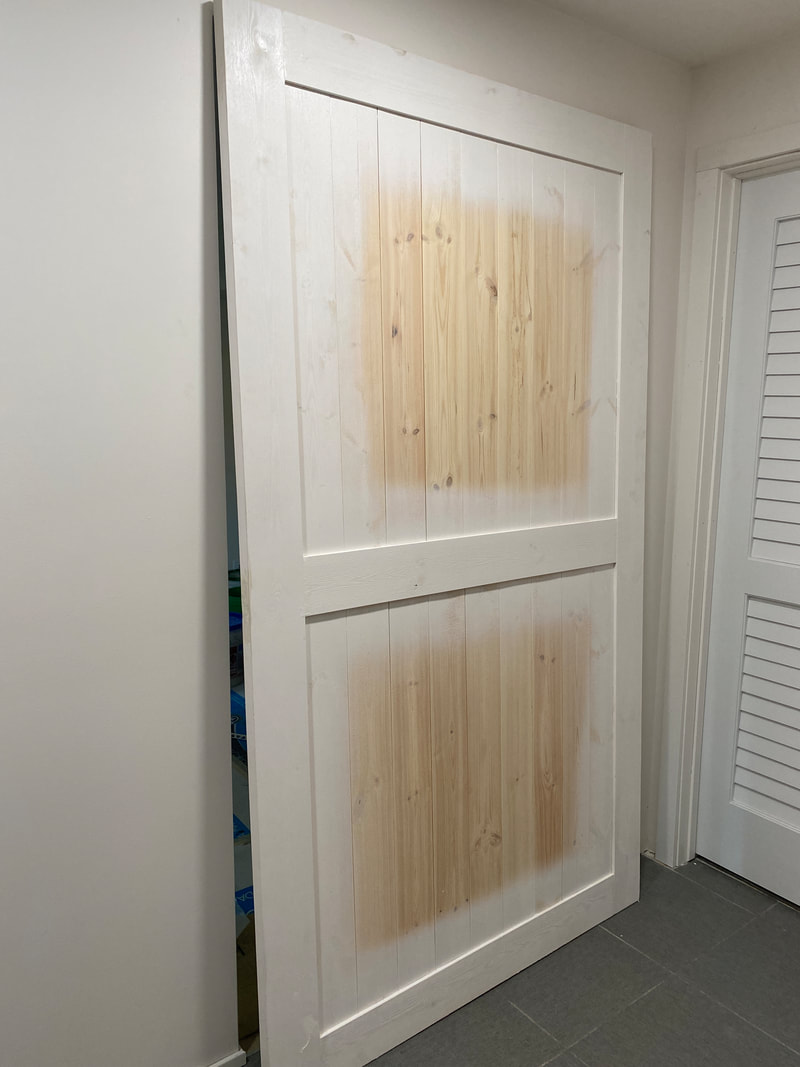
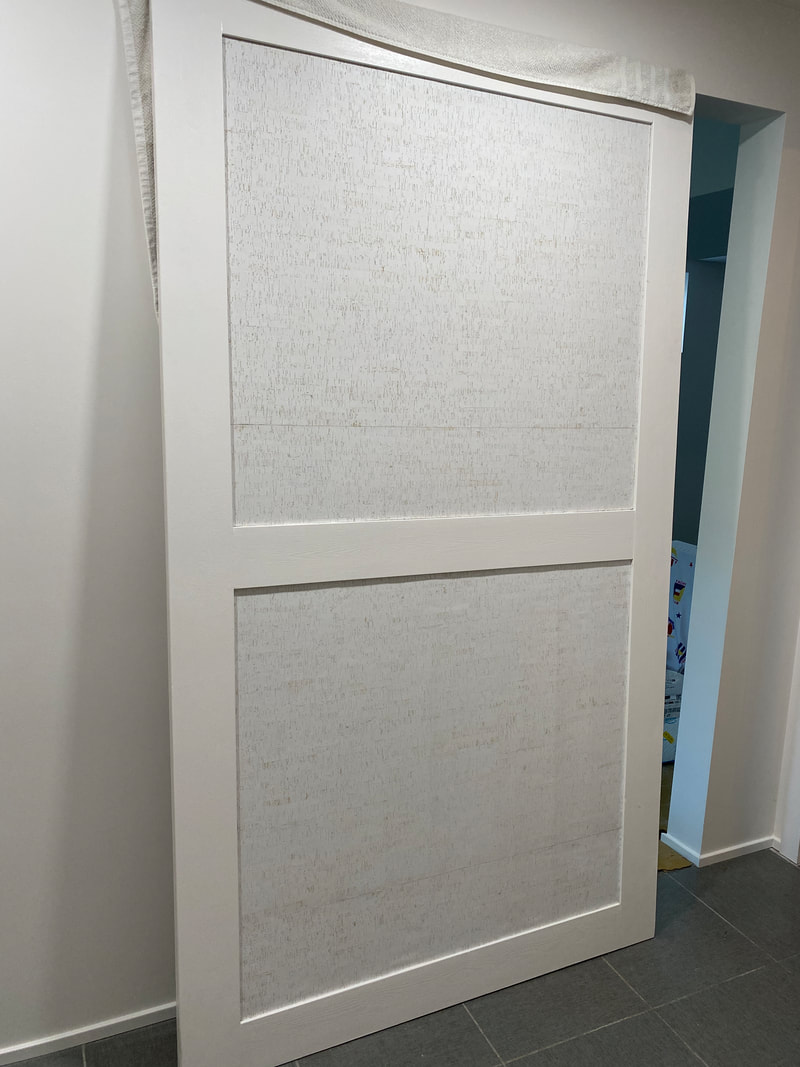
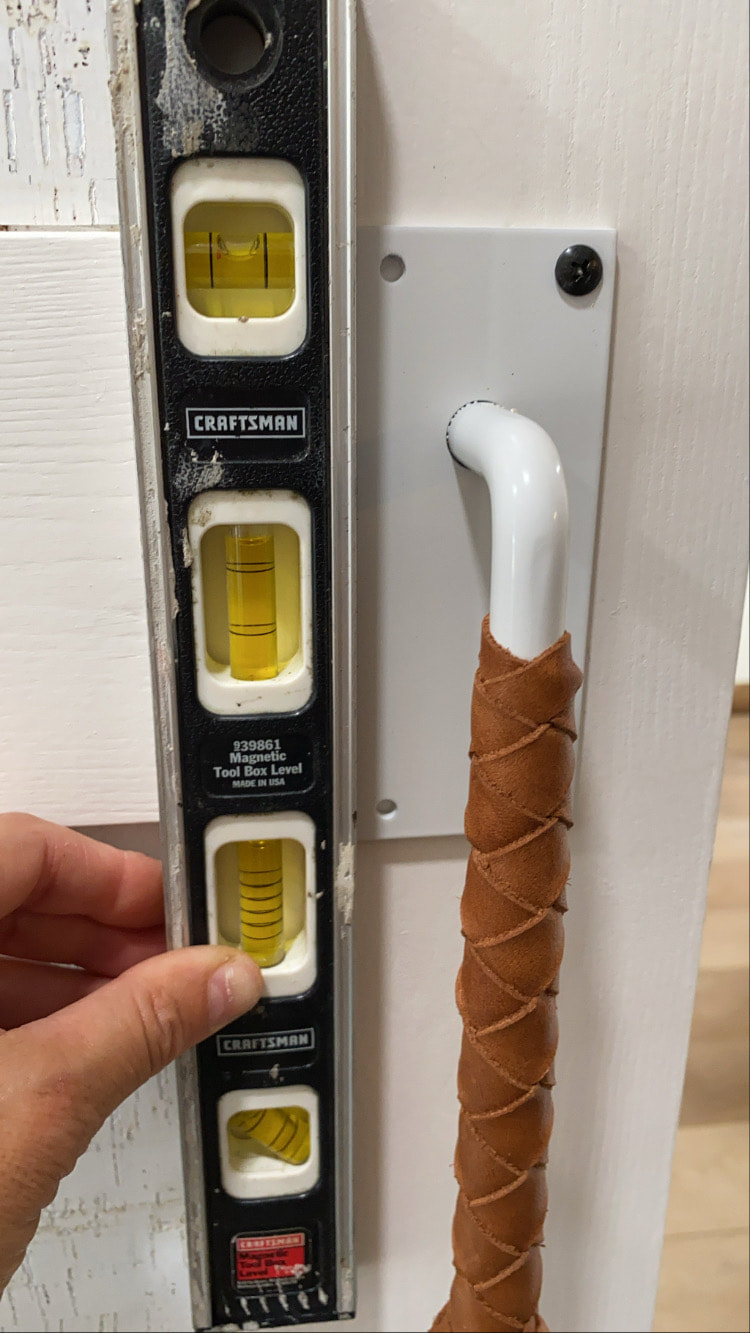
The wall also provides a sound and heat barrier to the family room. The family and entryway was open to the upper level kitchen and other TV area, often becoming too noisy for those in either space to enjoy. We were sure to make the opening for a barn door extra wide at 48”. Calculating a wide opening that we would ensure we were able to get an existing sofa out or new large items into the room. There are always one or two elements of a room that become time sucks. Commonly it is a rug or window treatments. I spent a lot of time on the barn door. I wanted it to be more than just a door, more like a statement piece. I also wanted it to be visually more than a slab door because it is juxtapositioned right next two other interior doors. I started down the rabbit hole of finding the perfect live edge slab visiting sawmills in Omaha and Iowa. The total cost came to about $2K installed and the potential of it warping sent me back to the drawing board. In the end I found a build-it-yourself pine door that I decided I could custom finish. My husband built it and then I refinished it. This was my one DIY project using paint, cork wallpaper and specialty handles. Even with its gorgeous leather handle, this was another place I saved significantly, an approximate savings of $1,500, both on the final door itself and the barn door track. Because the pine door door was quite light it wouldn’t require a more expensive barn door track needed for a heavy wood slab. Window Treatments
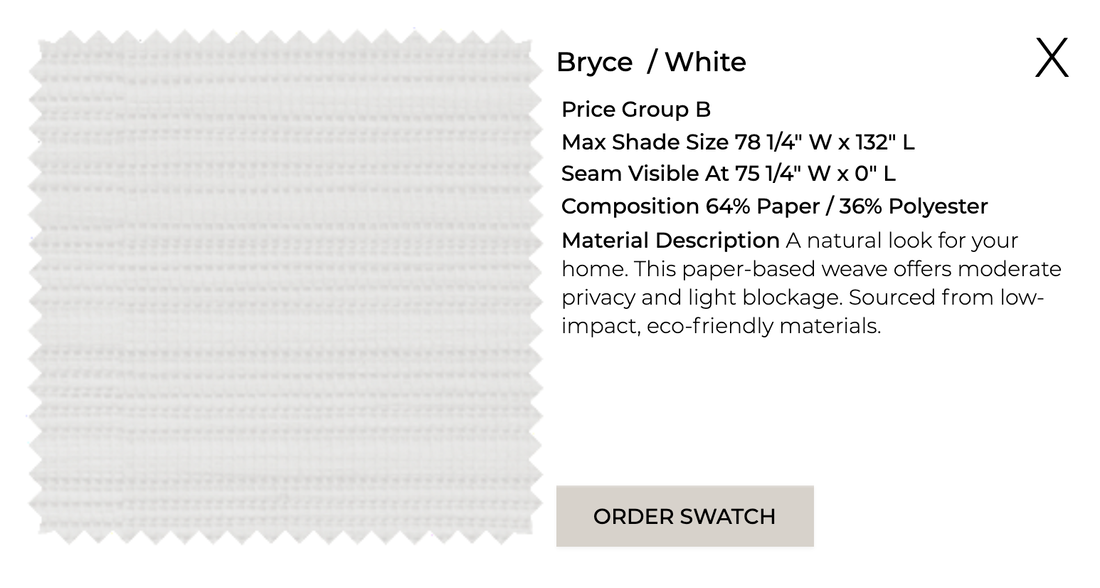
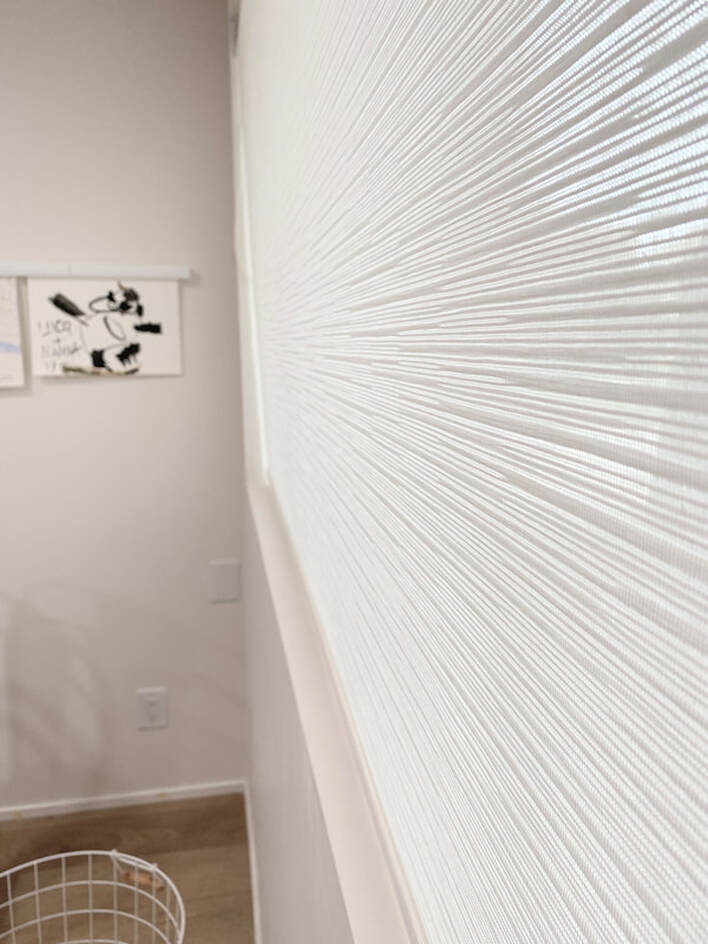
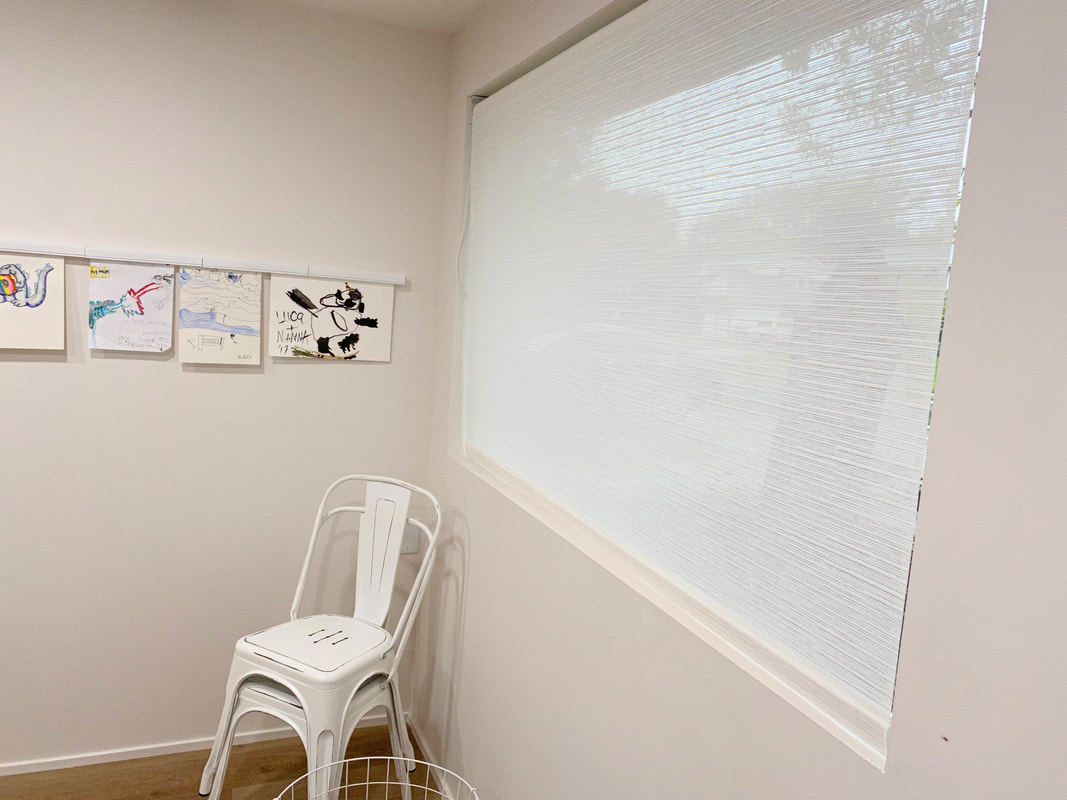
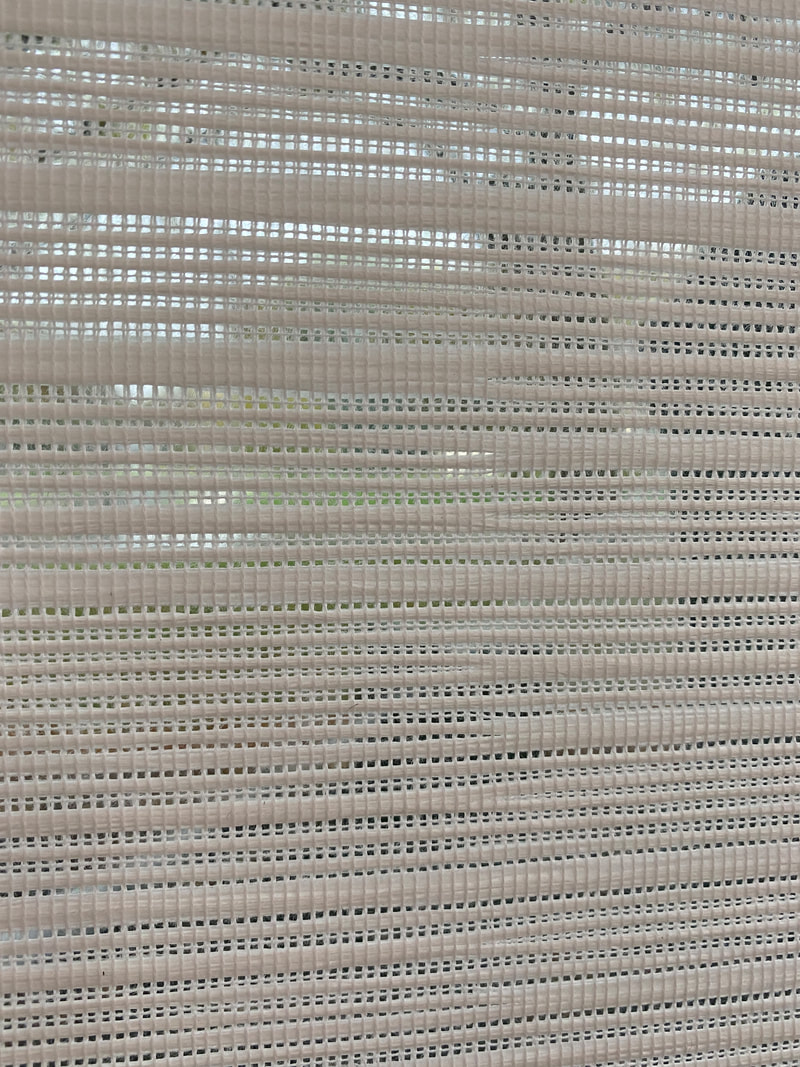
I am not indecisive. I typically know what I want and go for it. So the fact that I went through three brands, in-home design consults and dozens of samples was surprising. I wanted something that would allow light to filter in, provide privacy day and night, be the perfect shade of white to blend with the walls and have enough texture to give it a little interest but not shout “Hey, look at me!" I simply wanted the perfect roller shade that was modern and worked harmoniously with the rest of the room.
I landed on a gorgeous style from *The Shade Store. While I found the material to be a step above those well-known brands it was ultimately the customer services and the installer who made this experience and my choice easy. The Shade Store products might be slightly more than other popular brands, but you get what you pay. Both in product and knowledgeable service from purchase to complete install. BEFORE & AFTERSHOP THIS LOOKComments are closed.
|

