|
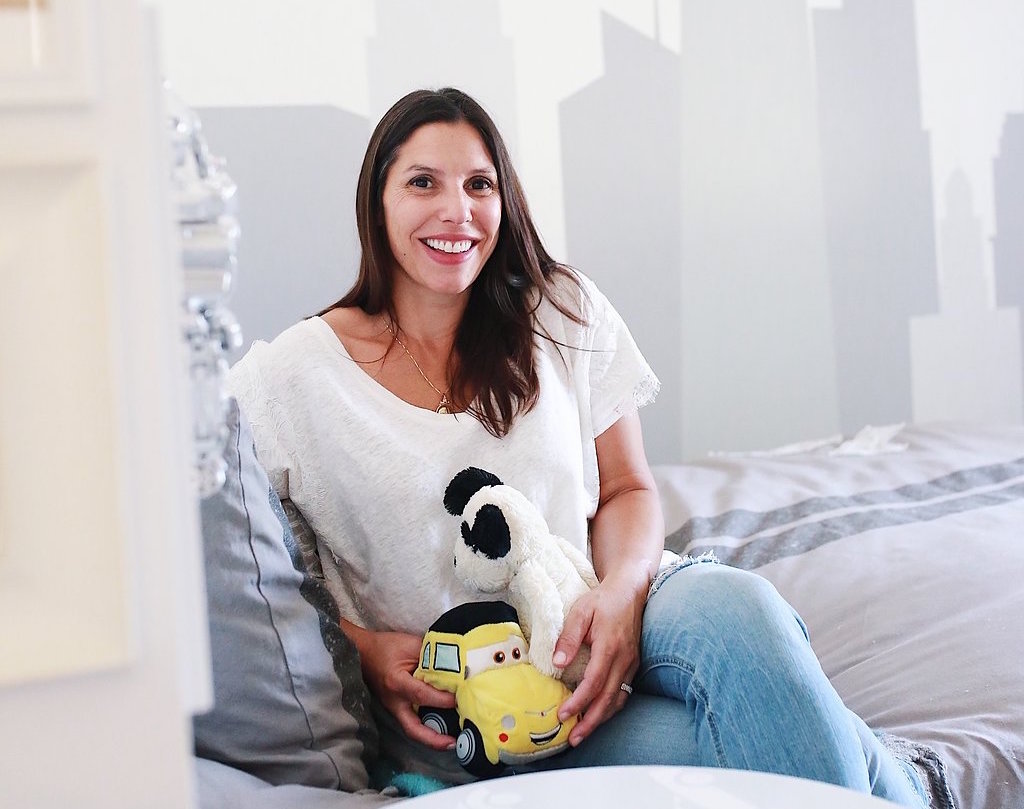
This post may contain affiliate links which help support our blog efforts. I decided it was time to high-jack a blog post to share my personal mom-to-be nursery design story being it is the reason my company YouthfulNest was born. This isn't a snoozy startup story. It's me sharing insights as an anxious, first time mom who nested so hard, trying to make everything perfect, that I ruined my brand new white nursery carpet – months before bringing home my baby. I definitely had an out-of-body experience being a first time mom-to-be. I wanted everything in the nursery to be "perfect" before bringing home my baby. This made me realize just how unique and challenging a baby nursery was to create, even for a seasoned designer. It was my own struggles with overwhelming decisions, budget, room size and functionality which led me to developing a better interior design experience. One that would help other parents do it with more ease and confidence.
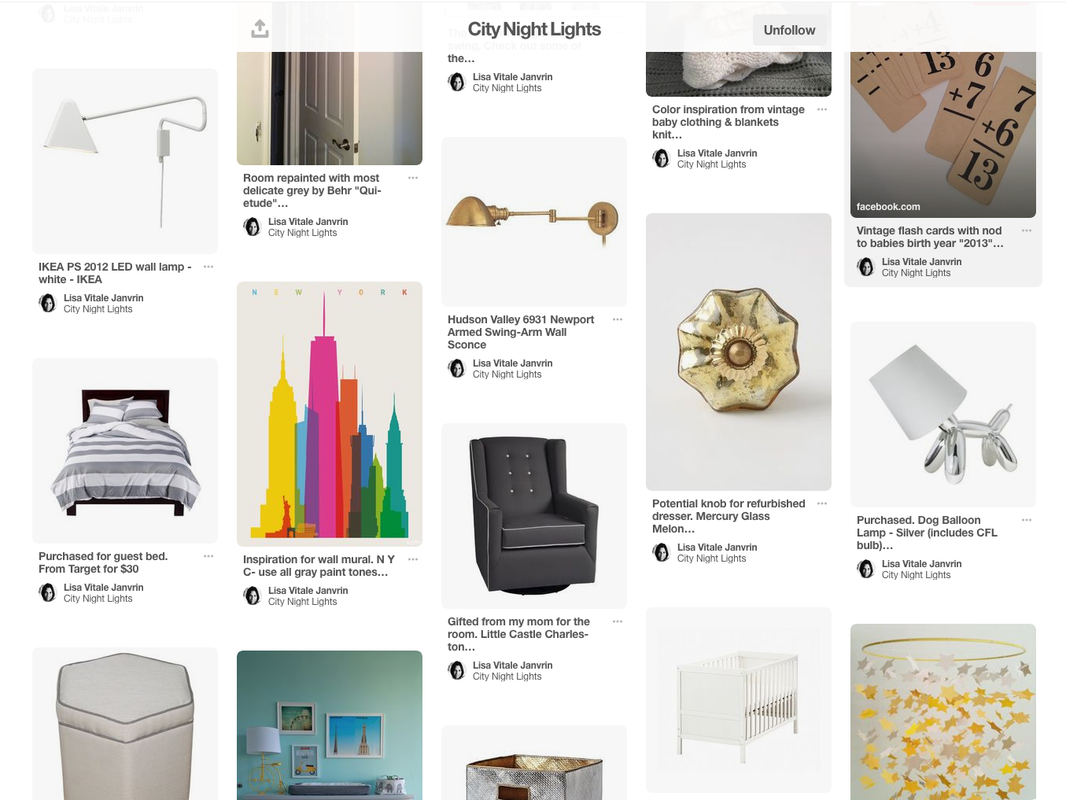
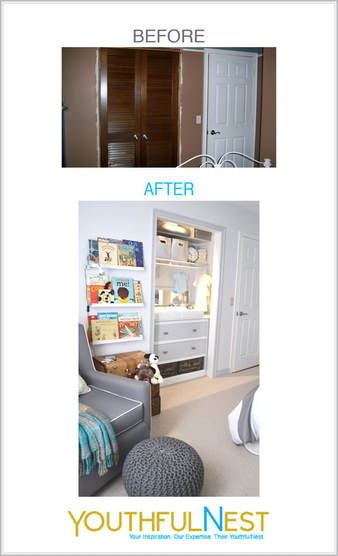
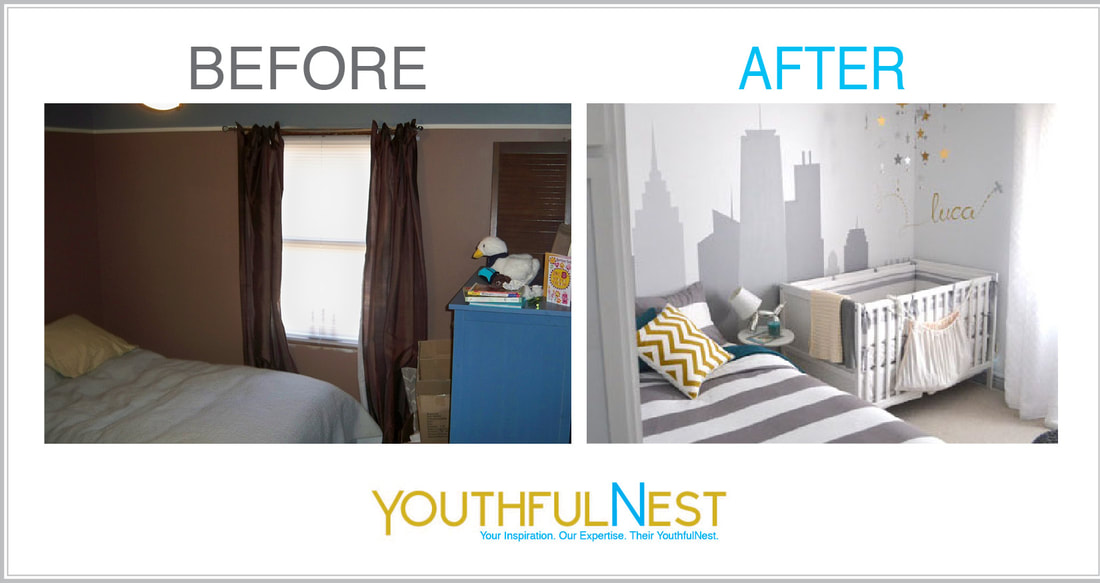
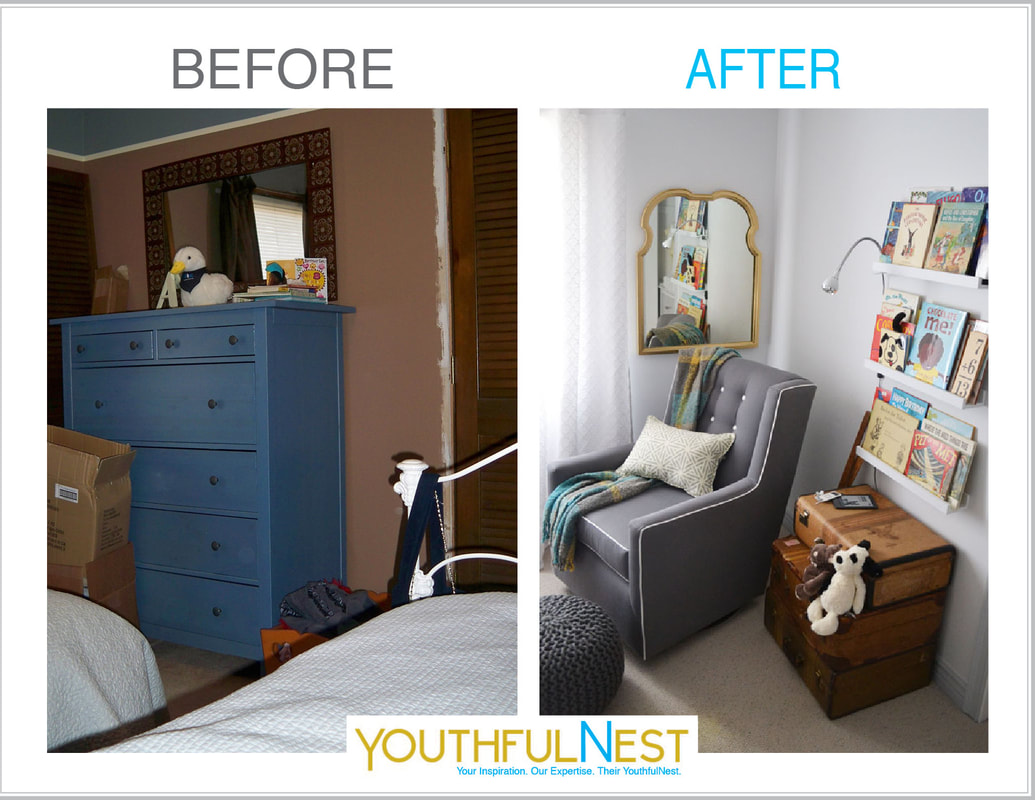
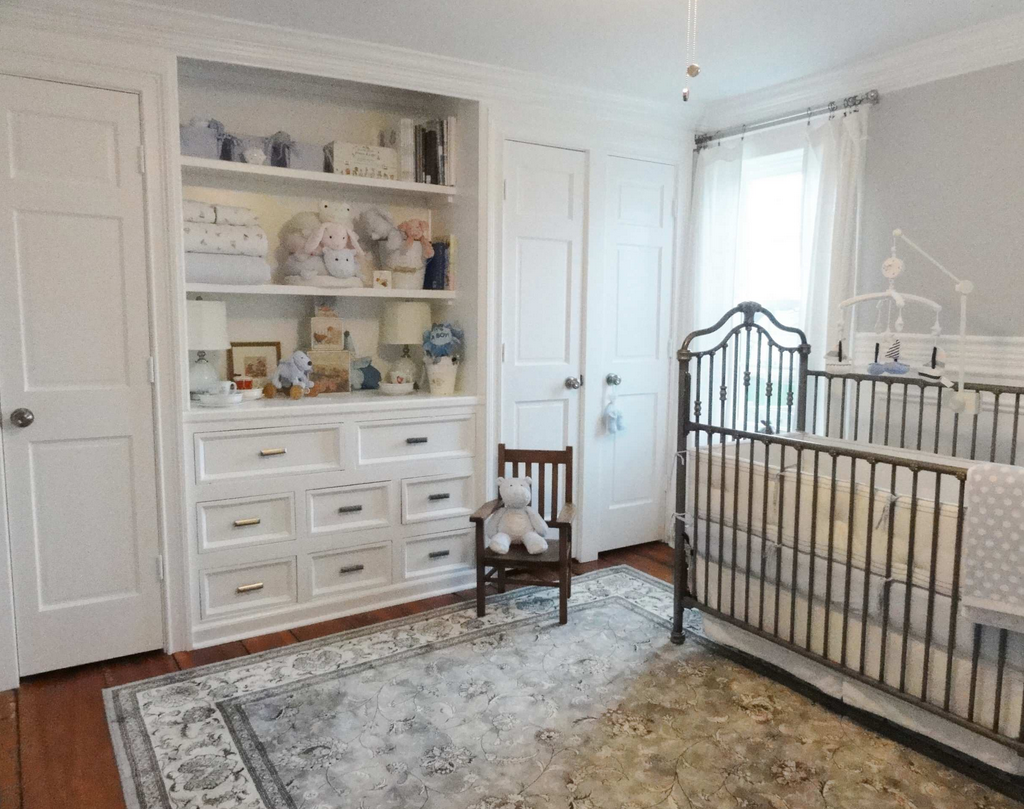
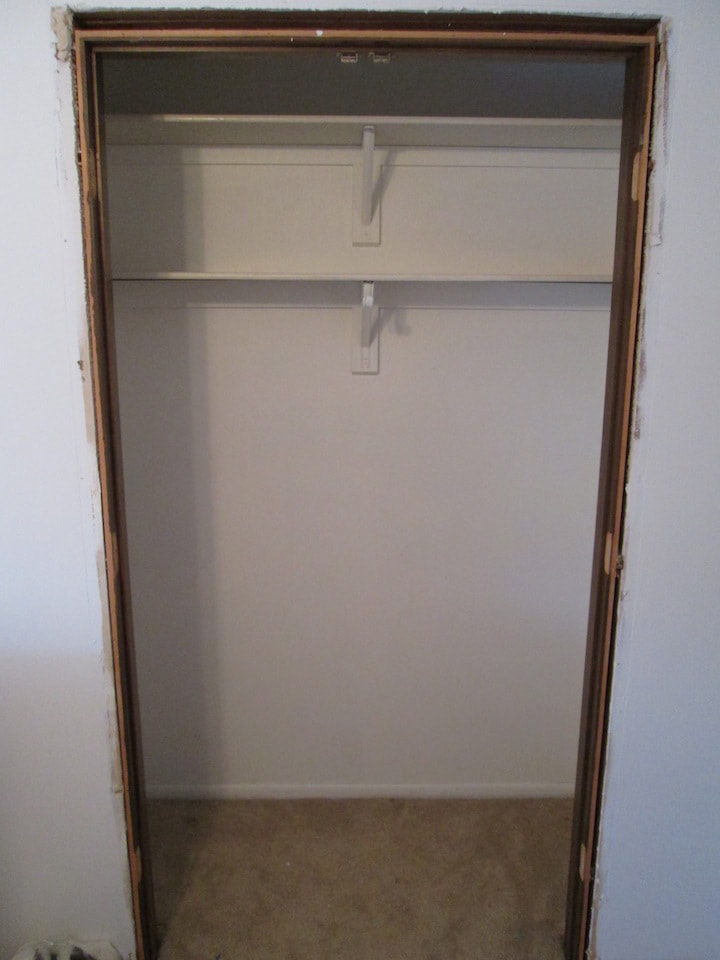
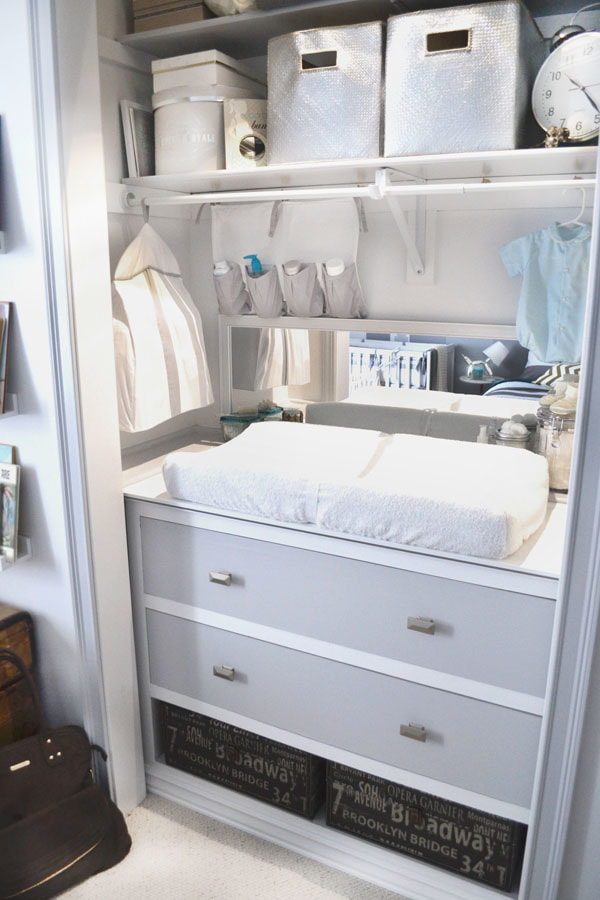
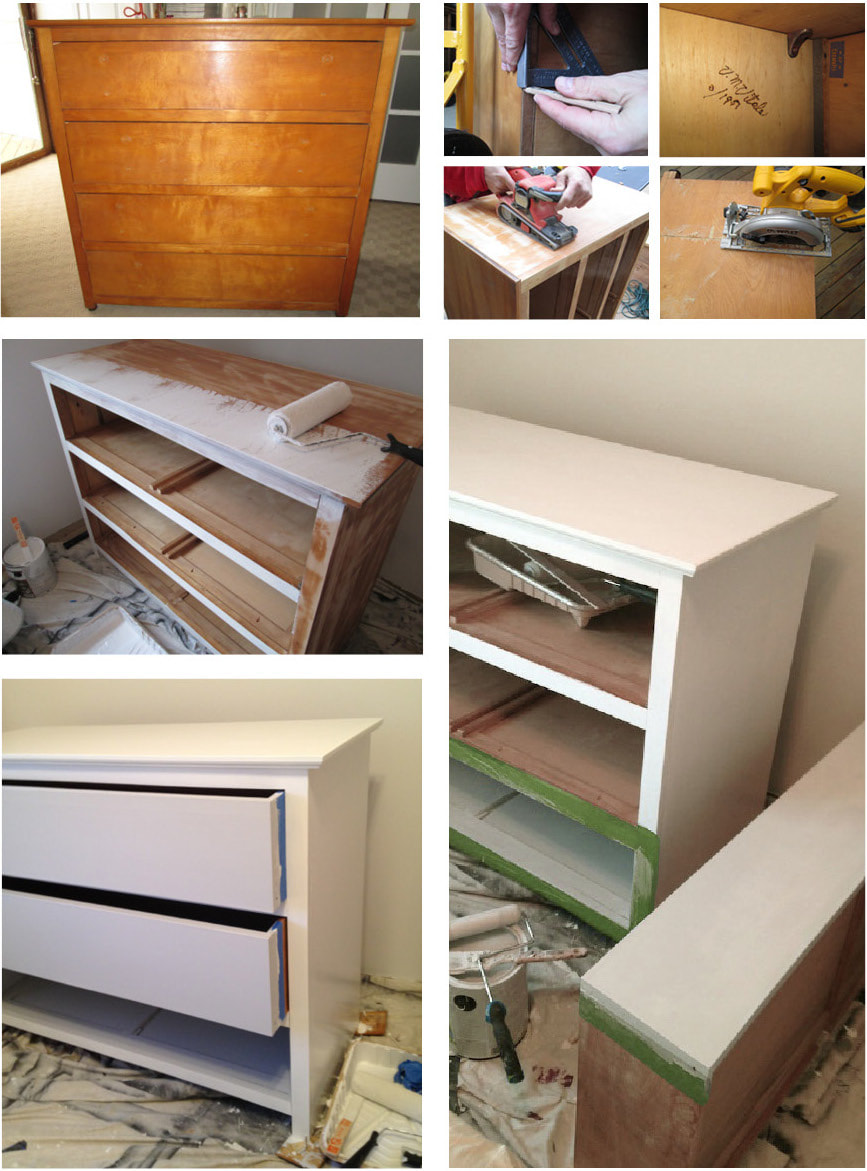
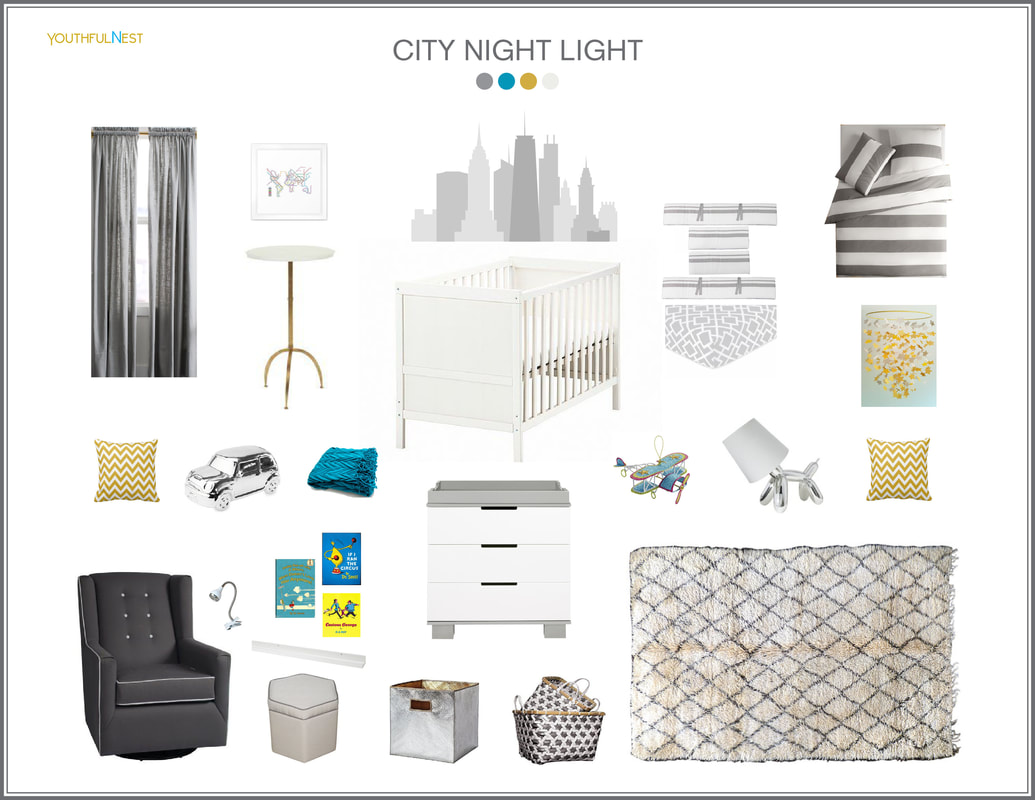
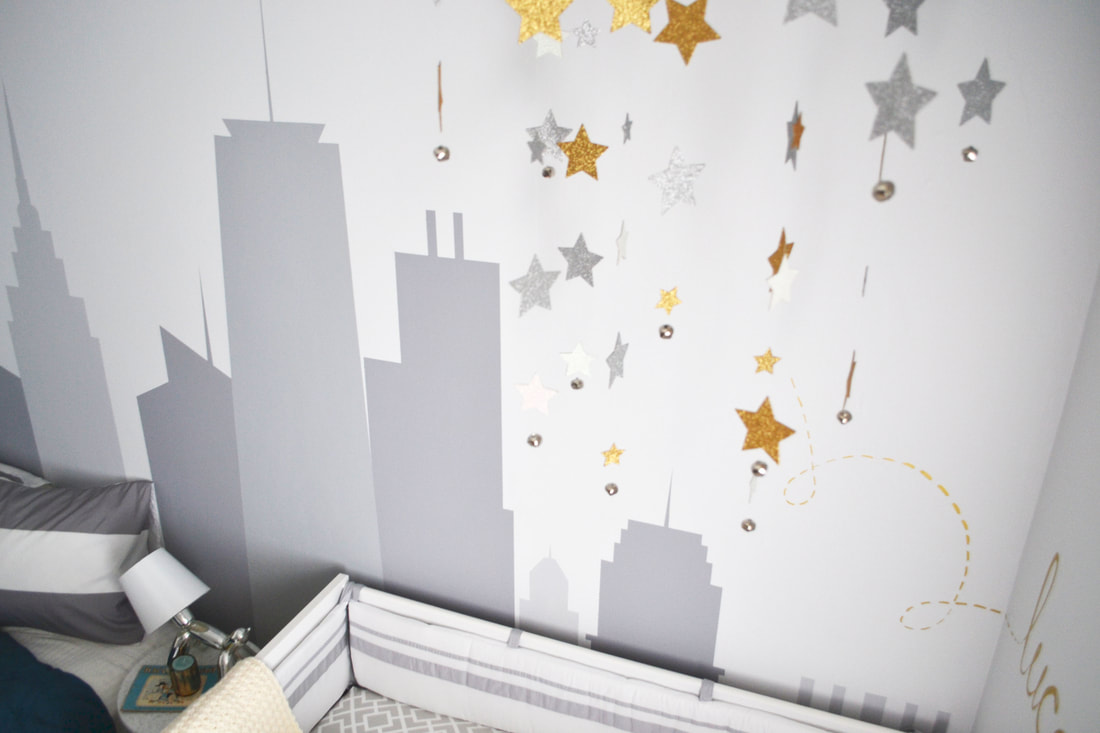
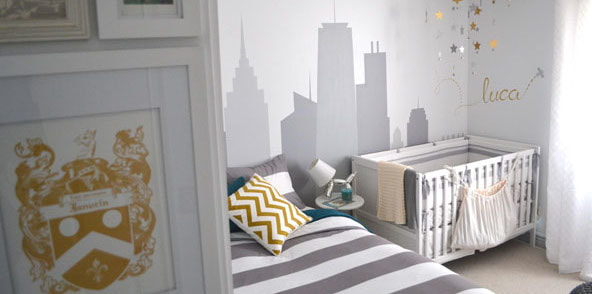
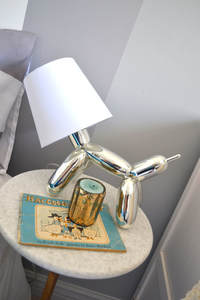
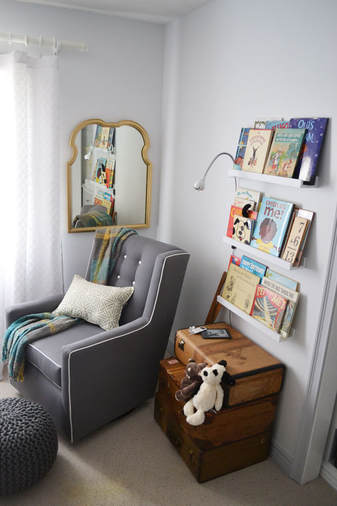
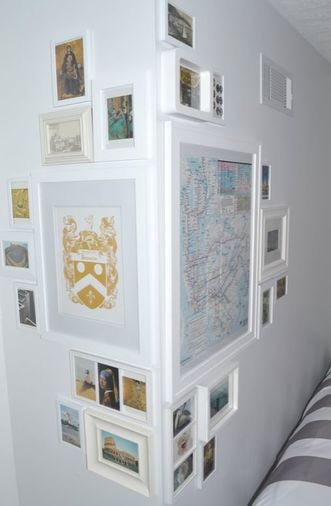
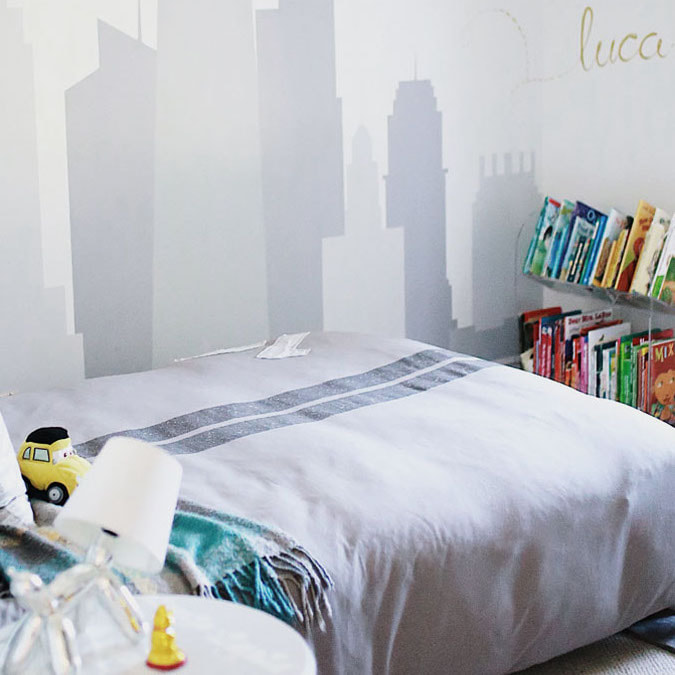
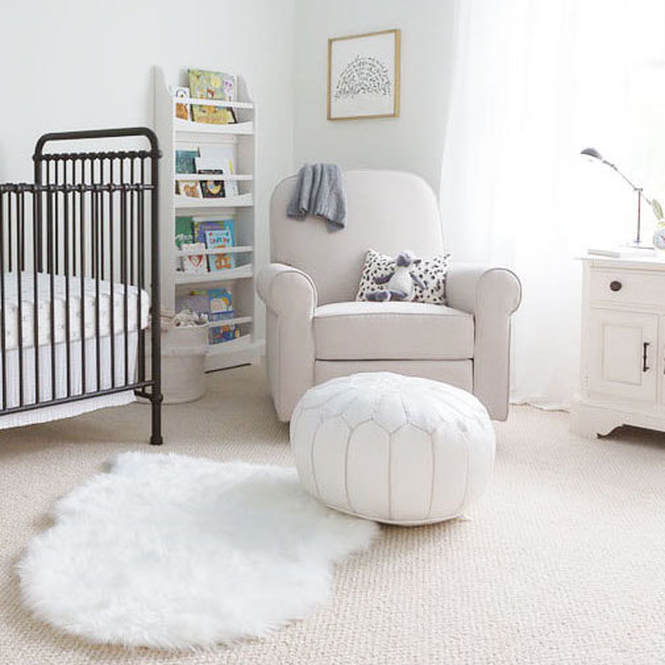
Let's talk about the fun part of designing a nursery, deciding on a style. This meant spending hours, literally hours, checking out trends and products, which meant scrolling through pages and pages of inspiration. I recall one moment where I felt overwhelmed. I shut down my iPad and closed my eyes to simply envision how I would like to feel in this environment. When I'm tired and frustrated what will I need most from this space emotionally? For me the answer would be something very serene and familiar. But also whimsical, I mean it is a space where baby brain and baby poo would rule, so some uplifting and cheery elements would be welcomed additions. Since I live in a city where there is not an abundance of physical retail furnishing stores it meant online shopping and online shipping fees. Fortunately, I had started months in advance so I was able to take advantage of holiday sales and free shipping offers. This is my pro tip number one for staying on budget for any space. (For more on this topic read our post 3 Design Budget Hacks). Did I mention that my husband told me we had no budget for the nursery? Which one could take as meaning no money or meaning skies the limit. In my case it was the former of the two and if I got an approval for $500 that was generous at that time in our lives. Oh, and did I mention that the baby’s and my space would be shared with an older step-son or visiting guests? Yes, this was to be a shared bedroom, all 120 sq feet of it. So like many of our clients I had some room challenges to work through including budget, style and space. Yeah, just a few considerations, ha! Luckily, as per the budget my husband and I are both fans of custom projects and avid DIY’ers. You'll see how our ideas for a custom changing area and lots personalized room décor saved us thousands by doing all the physical prep and install ourselves. When it came to style I didn’t want to create an environment that was too babyish for myself or my then teen step-son. As for space I had to cram in a full size bed, crib, dresser, changing table and glider in a 10’x12’ room. It was my big idea (and my husbands big building project) to re-purpose the double wide closet into a custom built-in to house the changing area, clothing storage and additional storage for overflow items. This solution didn't just save our budget, but also saved a ton of precious floor space. After the project started to come together I was able to convince my husband that now was the time to invest in tackling other room needs. Things like installing trim (there was none); a new ceiling fan (the original one wobbled precariously and was noisy); and even new carpet (the original carpet was no place to do tummy time with a newborn). To make all these upgrades possible we installed all the items ourselves. To add to our good fortune we were also gifted one of the three big nursery must-haves, the glider. We saved on another nursery must-have by purchasing a highly rated IKEA crib that only cost $120. Ok, let's go back a couple steps to those hours I spent combing through Pinterest and Project Nursery for room inspo. I finally landed on "travel" as the room inspiration, but not to be applied in a literal way. Instead it would play out in lots of worldly touches around the room including previously owned personal items and newly purchased décor pieces. The color palette was made up of muted, monochromatic grays with pops of gold, teal and both metallic silver and metallic gold finishes. I purposely incorporated more sophisticated styles of décor elements including the gallery wall displaying our personal travel post card collection; a framed family crest; and a modern skyline mural that covered an entire wall. The space felt really comfortable to me and gained approval from one important teenager who had to share the room. I figured I had a couple years before I would need to consider another kiddos personal style. Since practically living in this room for nearly three years as a new mom to a baby and then capable mom to a toddler, I can’t tell you how many times I've sat in this space feeling a sense of pride. The efforts regarding the aesthetic and functionality of this particular room in our home made a world of difference. It truly made my job as the main caregiver more comfortable and easier. THIS! is what I want for all moms, and this is the main reason I started YouthfulNest. Note: Once my son turned four this past year it was time for a big boy bed. We did transition the room from a nursery to a young boys room, but only in regard to some functionality and minor décor elements. See this transition in our post, 5 Tips for Transitioning from Nursery to Big Kid Bedroom. 1/31/2018 07:44:01 pm
Wow, Lisa. What a wonderful story. Thanks for giving us a window into what those days of prepping for Luca and early motherhood were like for you.
Lid Janvrin
2/20/2018 12:27:48 am
Absolutely! We’re all about sharing the motherhood experience here at YouthfulNest. Enjoy, Lisa Comments are closed.
|

