|
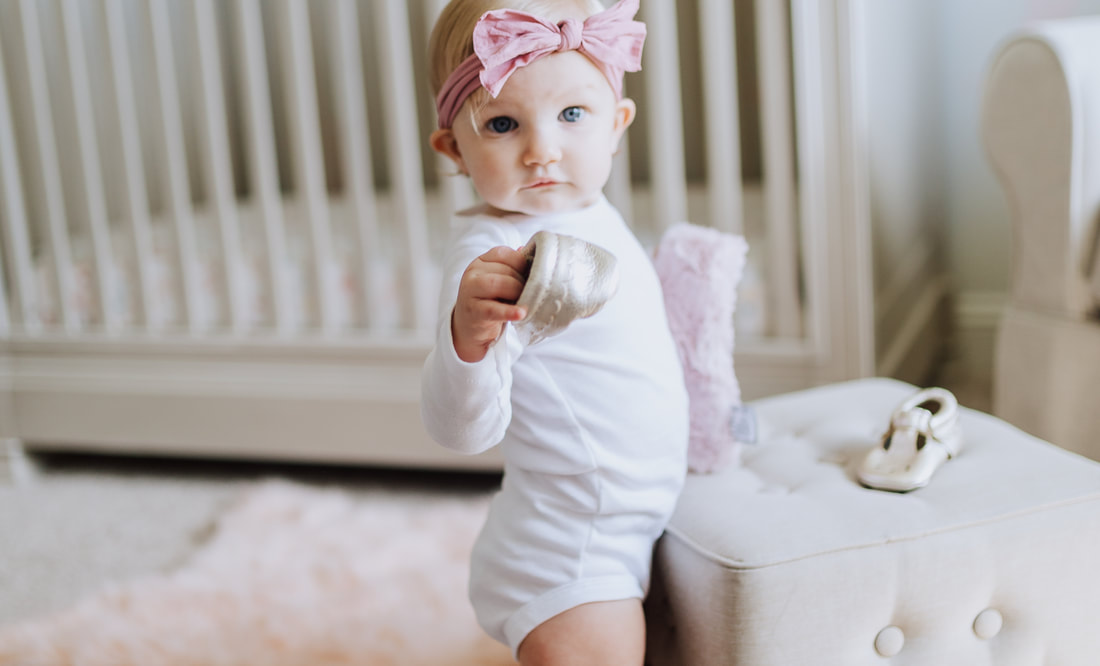
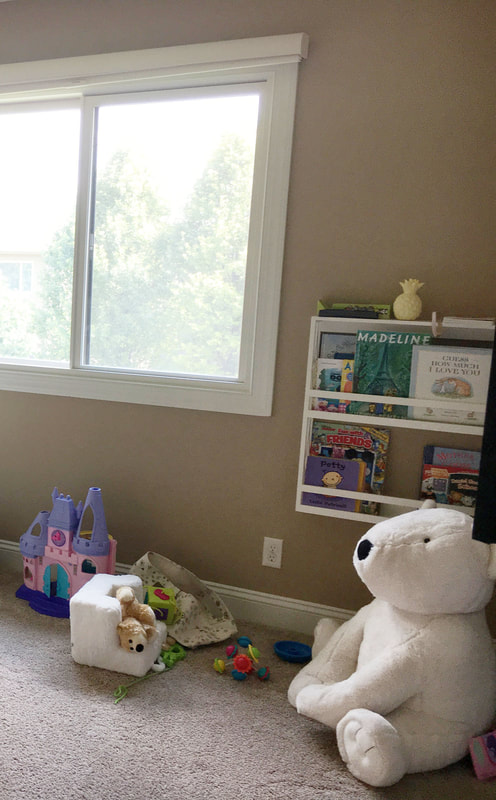
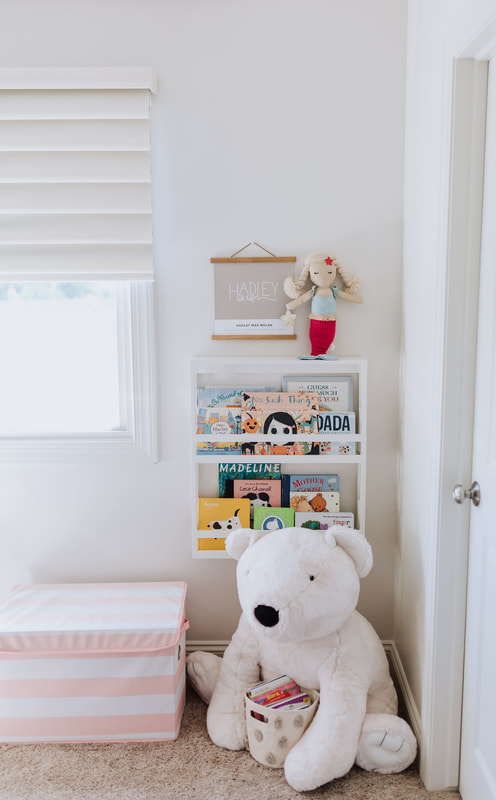
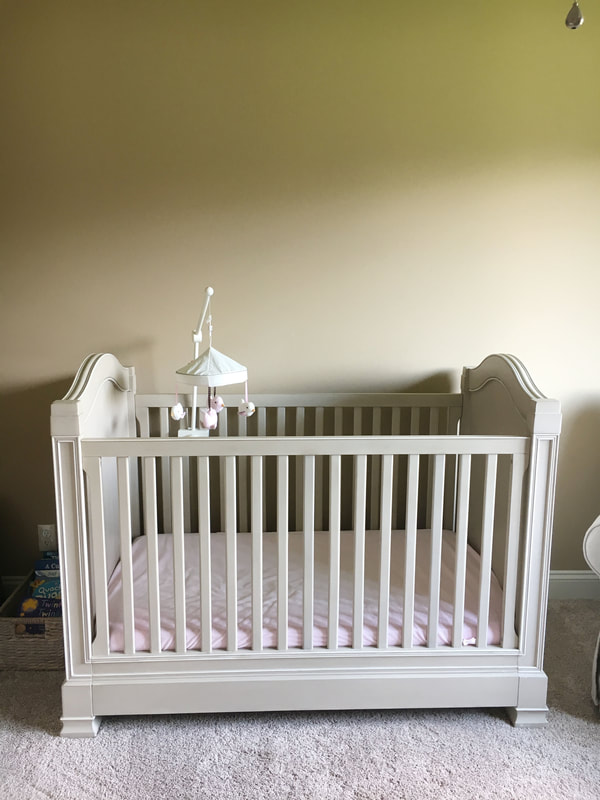
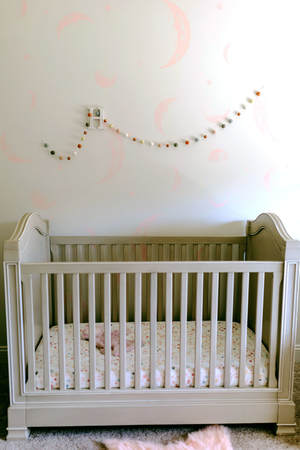
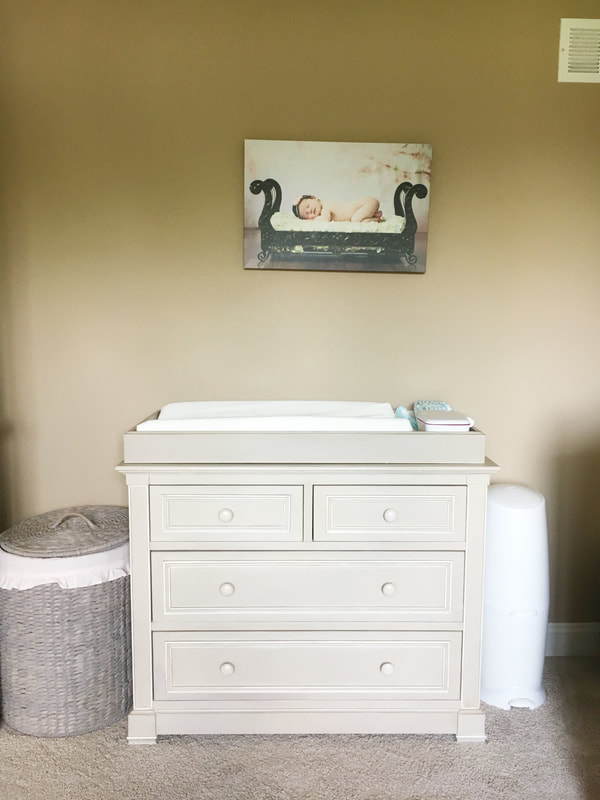
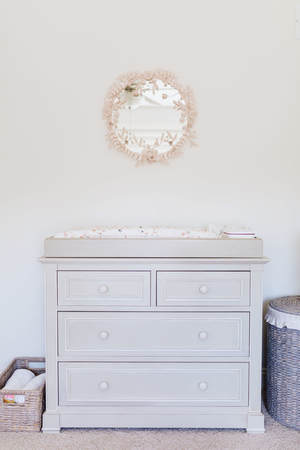
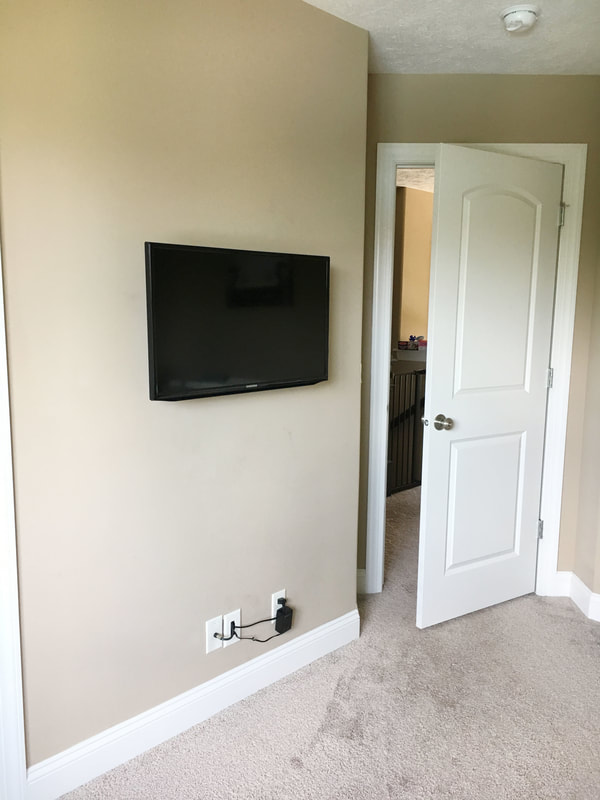
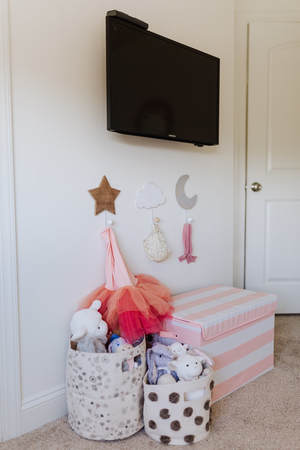
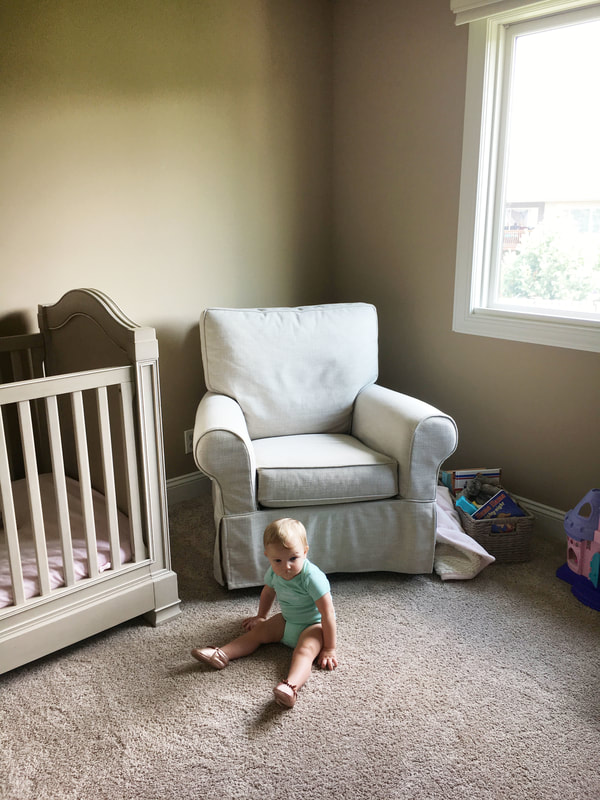
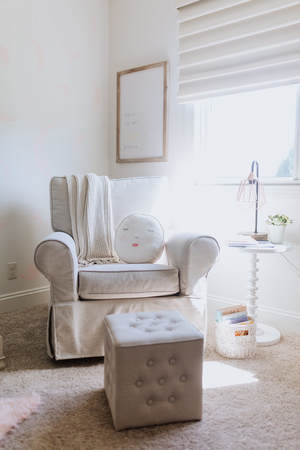
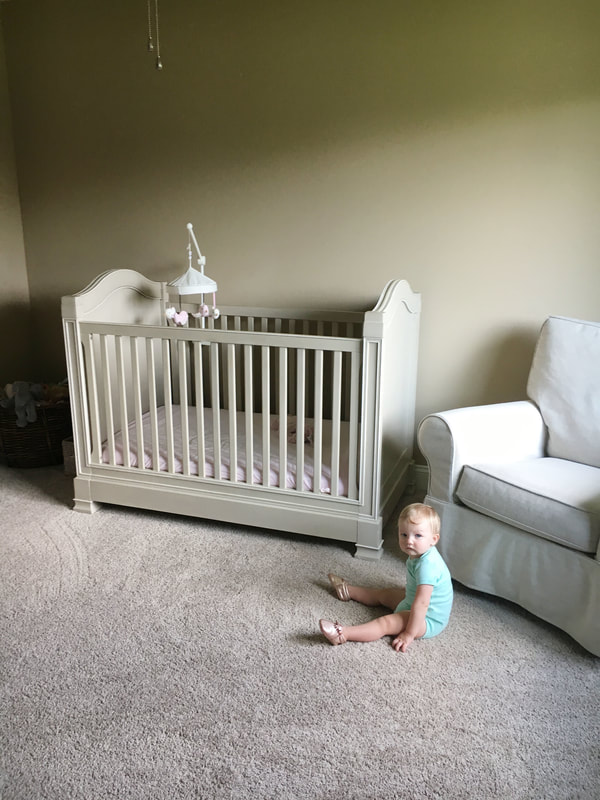
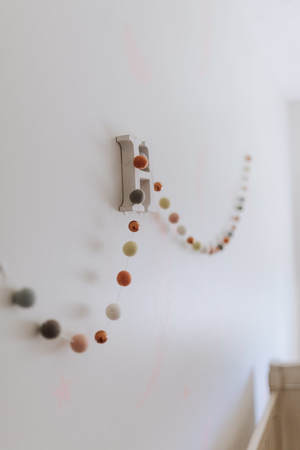
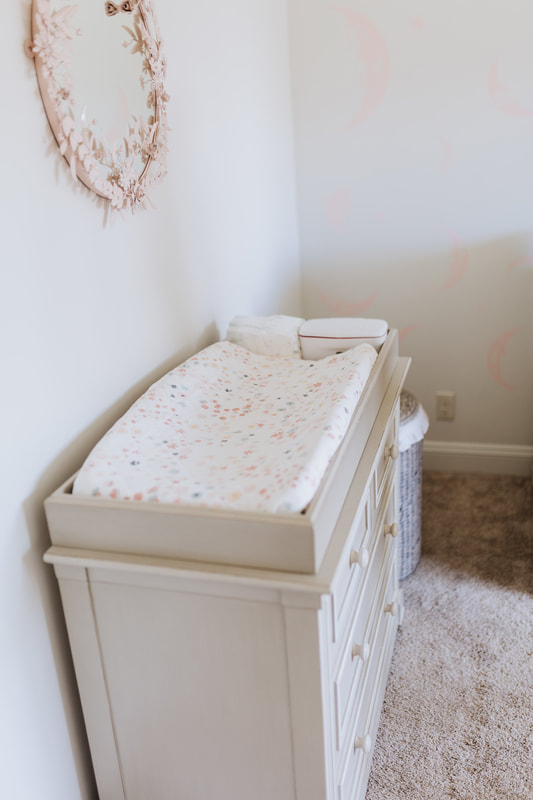
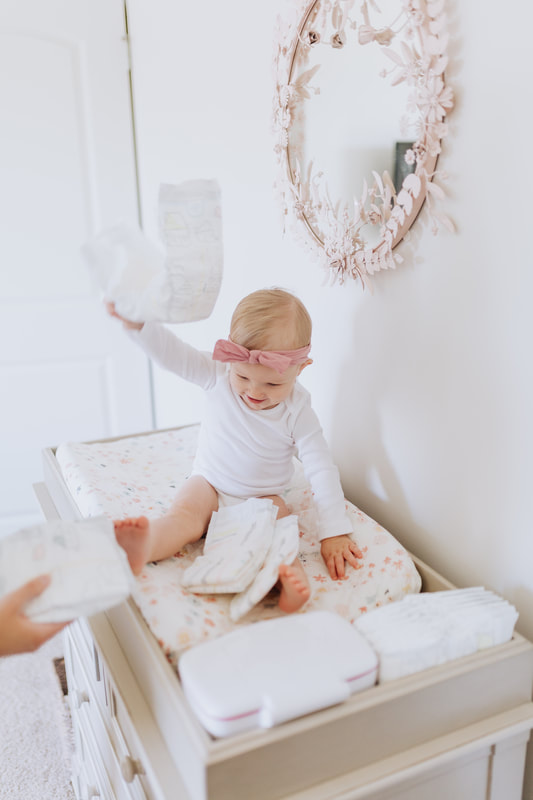
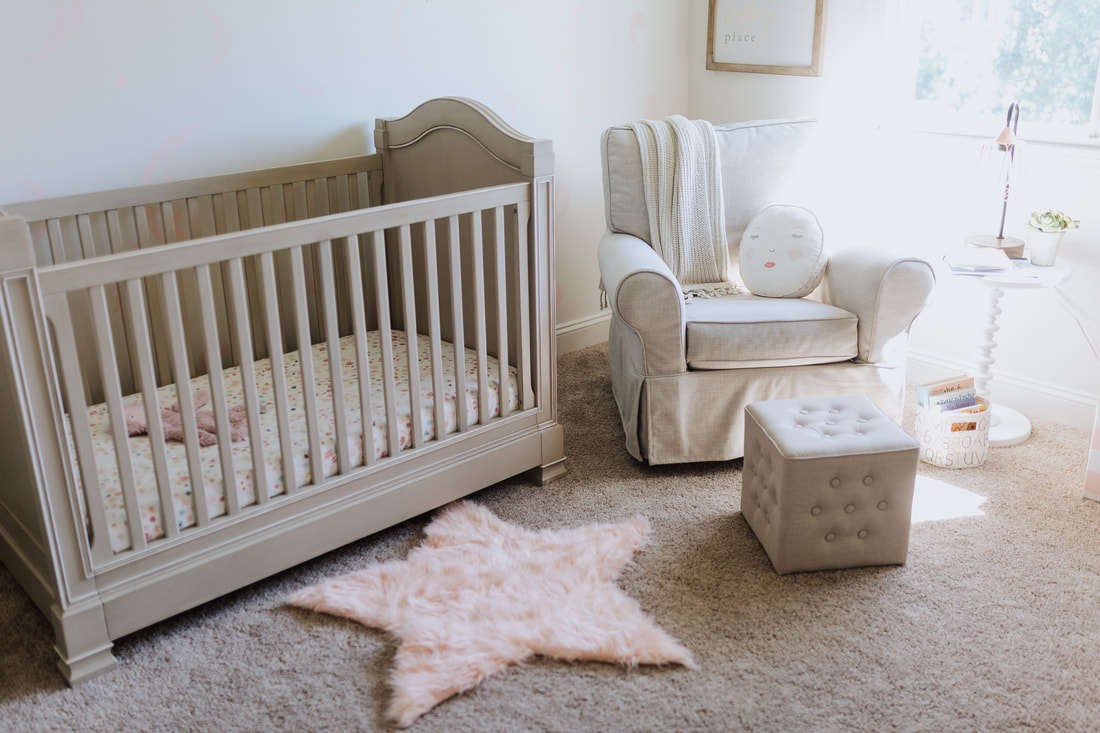
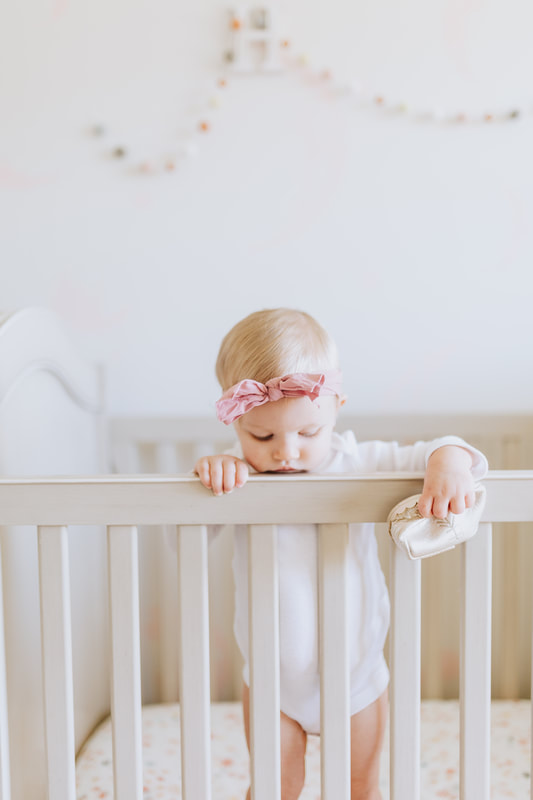
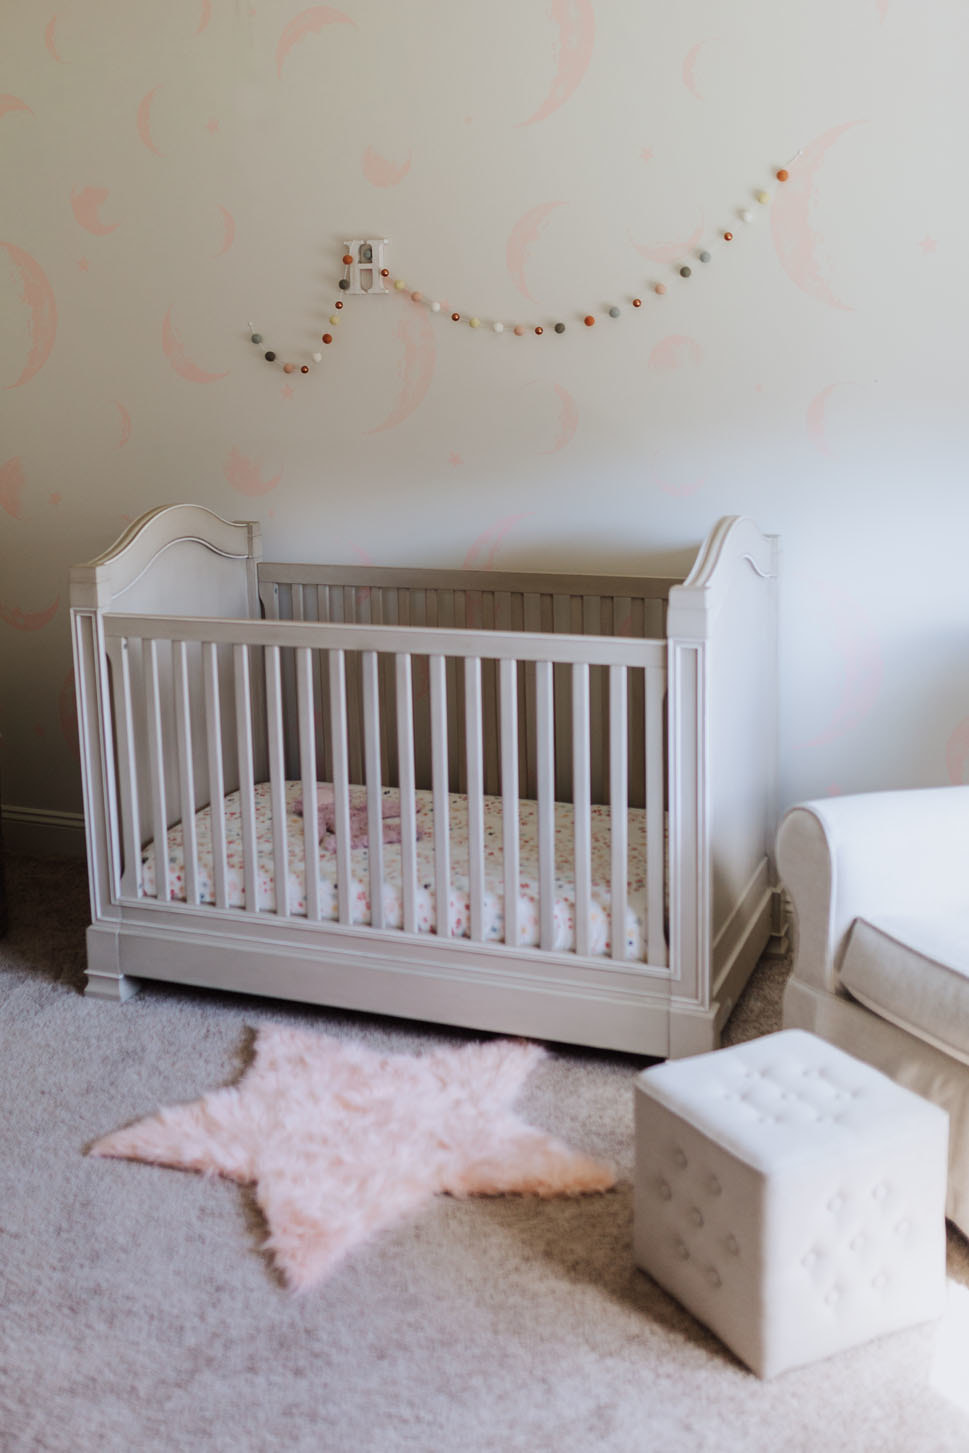
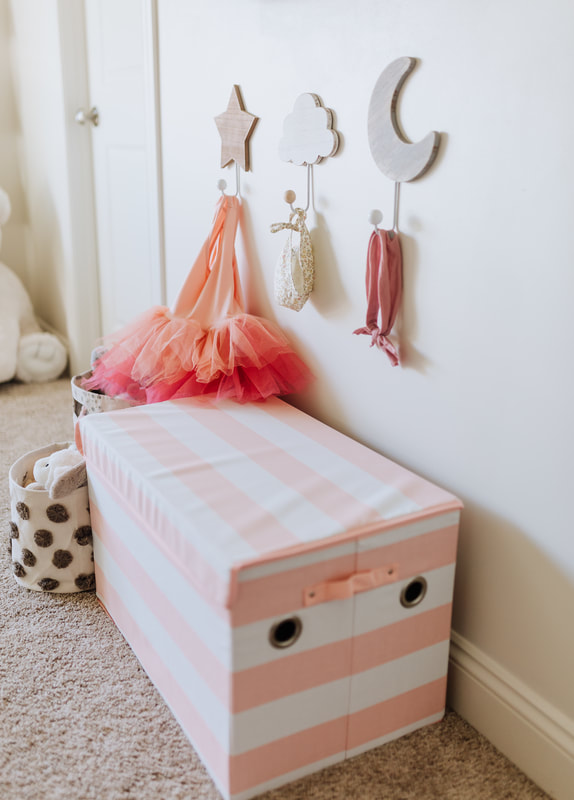
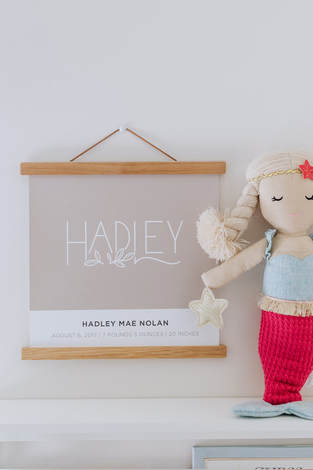
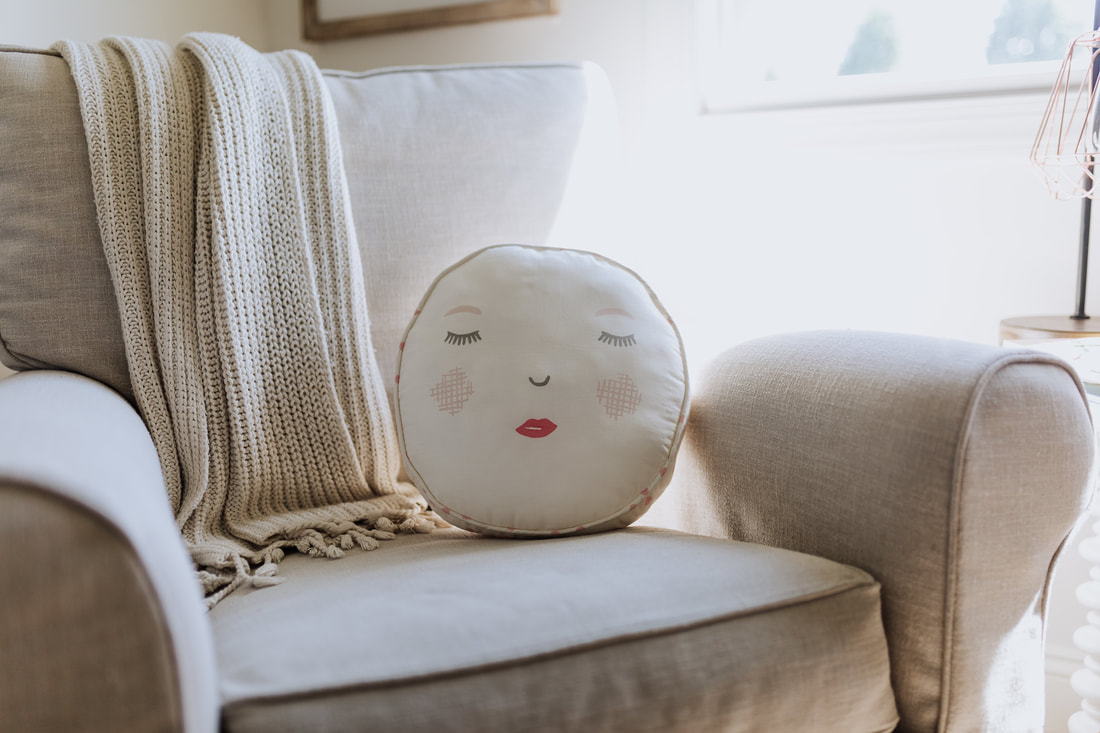
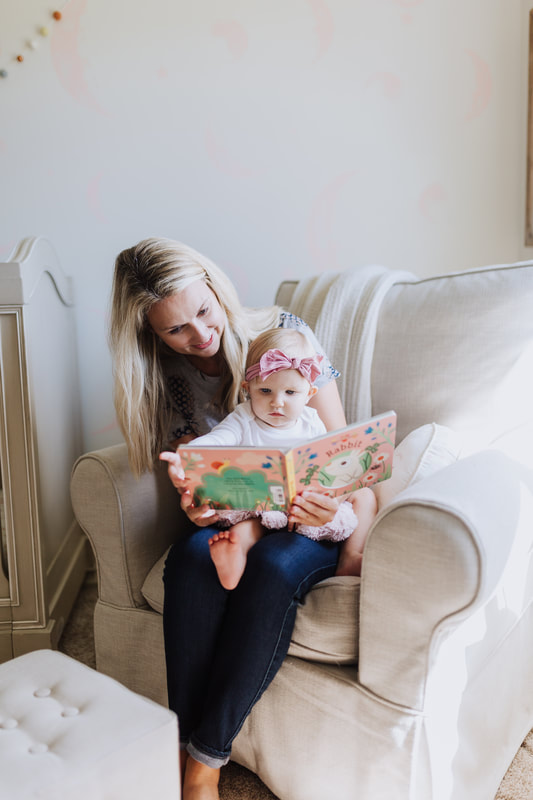
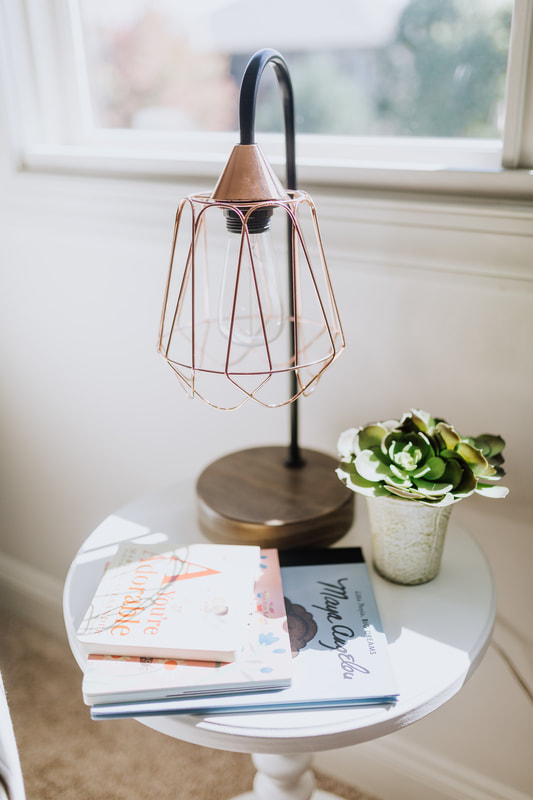
This post is sponsored by some of our favorite brands and retailers, but the content and opinions expressed are our own. This post may contain affiliate links which help support our blog efforts. This is a classic case of the second child. Typically, a second baby gets along just fine with a bit less of their very own and enjoys hand-me-downs of gently worn clothing; lived in strollers; and well-tested toys. And there is absolutely nothing wrong with this scenario. BUT, keeping your first child's newborn photo hung over the second baby's changing table is taking this whole hand-me-down thing a bit too far. That was the case in a client and friend of mine's baby number two's nursery. (It was clearly time for a nursery re-design for this baby number two.) About a year after I designed a big girl bedroom for a friend's daughter, their second daughter Hadley was born. As busy parents now of two little girls, the nursery remained the same as it had been when big sister moved out over a year prior – with big sis's newborn image still hanging over the changing table. One day just after Hadley celebrated her first birthday Kim (mom) and I got to talking and decided it was time to do something about the impersonal space that was the nursery. We discussed plans to freshen it up, bring in some personalized décor and add in significantly more functionality that was missing. I wasted no time and within a week we had a sweet, budget conscious nursery design. Scroll down to learn the six key steps of designing any nursery that were applied to this makeover. 6 Steps for Complete Nursery Makeover Step 1 - Paint What is my favorite way to make a big change in a room with the least amount of money? Paint of course. It is always amazing what a coat of wall color can do to the feeling of a room. For this nursery I wanted to lighten everything up so we covered the walls with a fresh, but cozy hue of white with a zero VOC paint. Be sure and have all the right tools and supplies ready to go to make the project easy and neat. Watch how we did this here. Step 2 - ACCENT WAll I am a huge fan of DIY painted wall murals! They are the perfect way to do something custom just to your taste and they make a style statement with very little money. For this nursery I wanted to add a fresh monochromatic moon design using stencils from Stencil Revolution. There was a little indecision as I started out painting with two colors, but quickly saw that the look was going to be too heavy for such a large wall and the gray looked purplish, not right for the overall room tone nor existing furniture. That’s ok, it’s just paint. So I went over our first attempt with the original wall color and reworked those spots. Did I mention how much I love the flexibility of working with wall paint? Watch how we did this here. Step 3 - CHANGING TABLE The changing table is one of the three most important spots in the nursery. And while this particular nursery has great bones, with a beautiful changing table, and lots of room for storage, it was missing something. Adding a wall mirror over the changing table gets you some stealthy functionality and style. Then complimenting it with a whimsical changing pad cover from PEHR and voilà, simply perfection. I believe there are four reasons to hang a mirror in the nursery. 1) Sneak a stealthy peek to be sure baby is sleeping 2) See you and your baby having fun in the nursery 3) Entertainment for baby 4) Loads of style in just a few minutes Watch how we did this here. Step 4 - STORAGE This nursery started out with minimal storage that included a bookshelf and a laundry basket. But when mom decided that the nursery would double as baby’s play space, reinforcements were called to action. We selected three stylish storage options for different needs. Watch how we did this here. Step 5 - GLIDER As I mentioned this nursery came with a comfy glider that the homeowner loved. But it lacked all the functionality around it necessary to make her mom-job less stressful and more enjoyable. We brought in this missing functionality along with some of the stylish pieces from PEHR and Paynes Gray. Now there are five must-haves that turn glider-time into a proper work station for moms to do their thing. The five necessities are: 1) Side table 2) Task lighting 3) Décor pillow 4) Throw blanket 5) Foot rest Watch future steps on our YouTube channel here. Step 6 - DéCorIn the previous makeover steps we have done all the hard work of adding in tons of functionality to this nursery and now it was finally time to have some fun decorating! For sure this room needed some personalization. To do that I added a precious wall hanging piece with Hadley's name and birth stats custom printed for us by Love Found. I brought in some more of my favorite décor pieces like a machine washable faux fur star rug in blush pink by Kroma Carpets, the perfect floral crib sheet from PEHR and other perfect touches. Watch how we did here. Babylicious in the House "I Absolutely love everything about Hadley’s nursery! I love the look but more importantly I love watching Hadley in her room and the functionality for both her and myself!" - Kim N. After photos by Ashley Wisdom Ross You Also Might Like
Comments are closed.
|

