|
This post may contain affiliate links which help support our blog efforts. This post is sponsored by PrettyPegs.
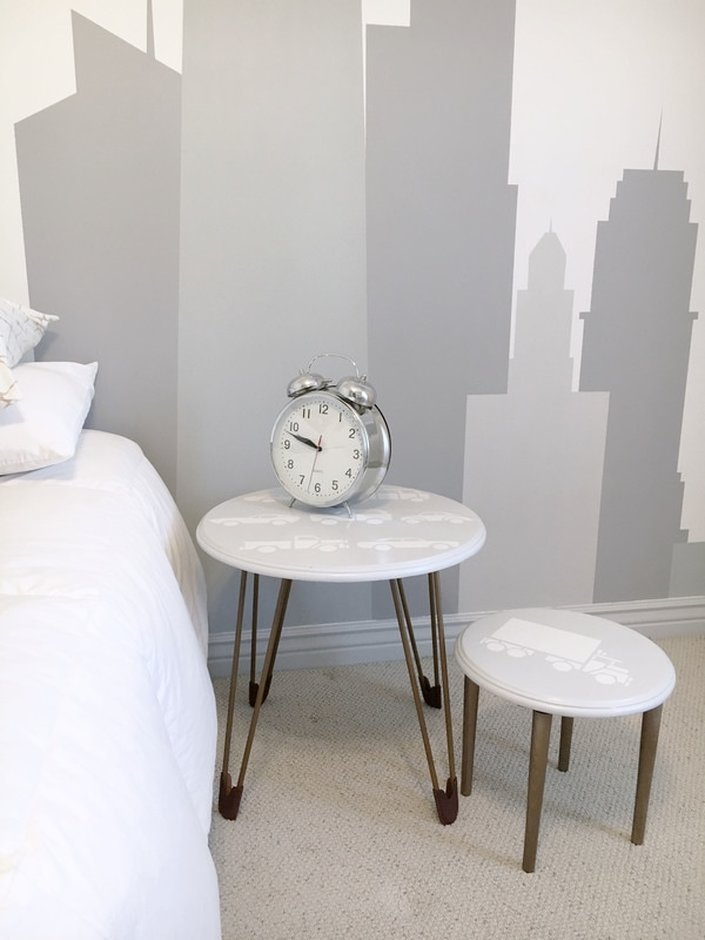
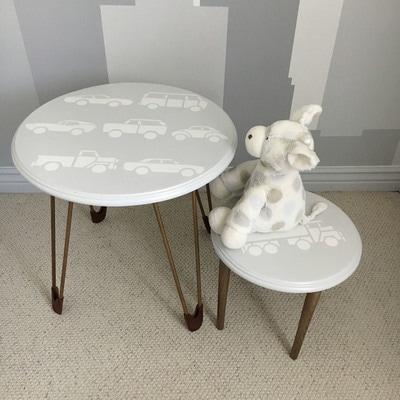
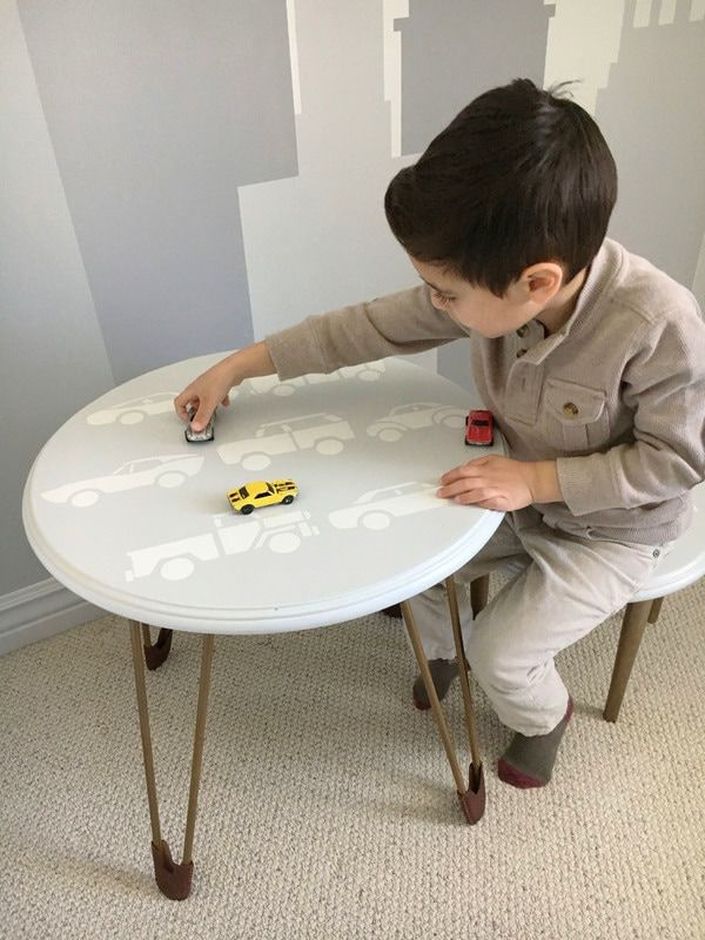
As we geared up to transform my son's nursery into a big boy room I thought about the new functionality I wanted him to have in his room. We don't keep toys in his room, I like that there is one area in the house that isn't covered in toy cars. His nursery was designed as a place to get ready for the day or bed; read books and relax. What I did think would be a nice addition is an upcycled kid's table and chair, the perfect DIY project. I wanted this space to provide the same simplicity and feeling of lightness so there really wasn't much to do, but remove his crib and reposition his new full size bed. I even left the hand-made airplane and star mobile because it adds such a nice element of movement and texture above his NYC Skyline Mural. This seating area is just his size could be a place for resting his piggy bank, those special Lego builds and playing simple card games like Spot It! And since we don't play cars I found a nice way to bring his favorite toy into his room in a creative uncluttered way that also worked well with his "city travel" inspired bedroom design. FROM HAS-BEEN TO HAS-TO-BE-AMAZING!
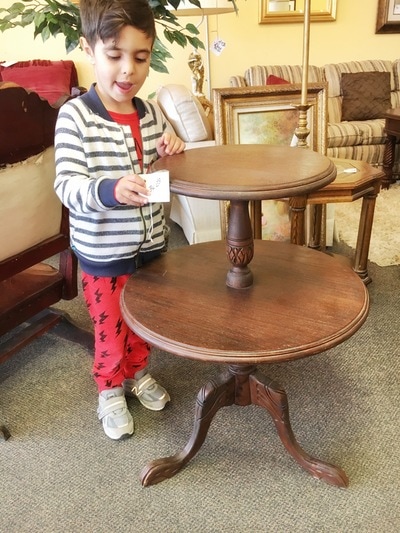
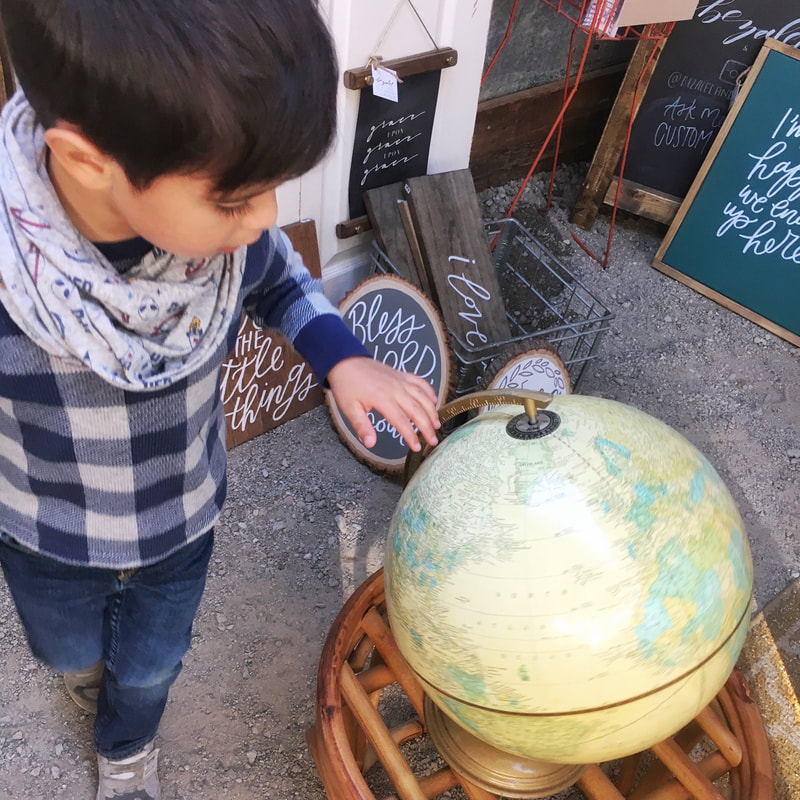
The day we toured the local thrift shops to pick out a used table for his big-boy bedroom Luca was very under the weather and went out and about in his PJ's. Even though he had little energy he still managed to help me shop for just the right piece to refinish.
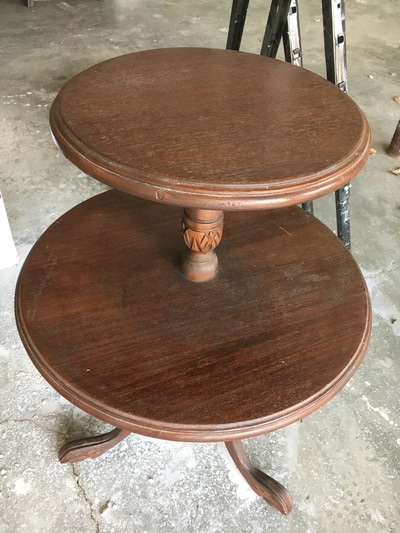
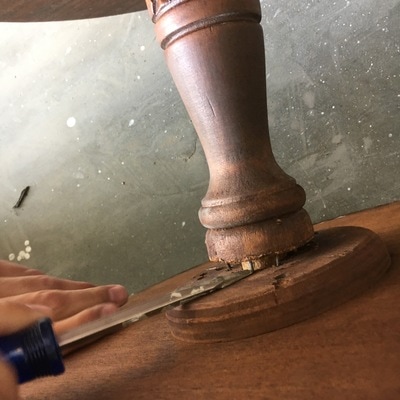
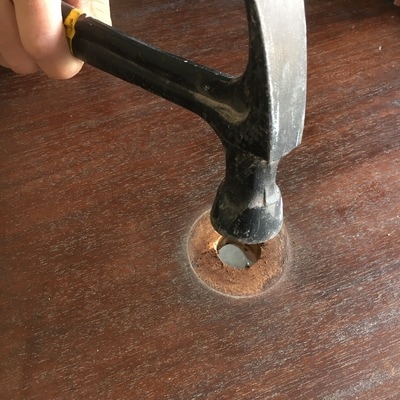
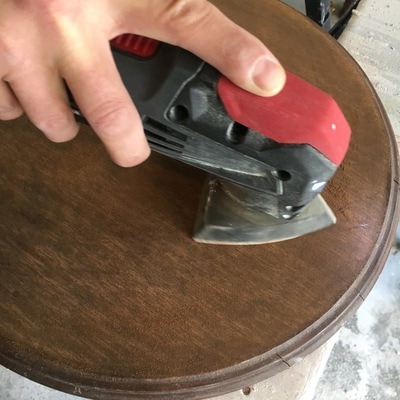
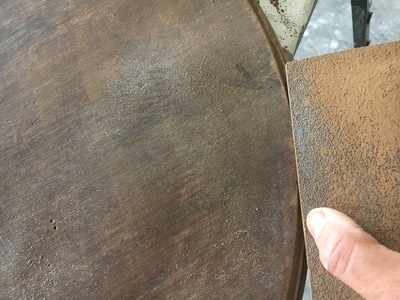
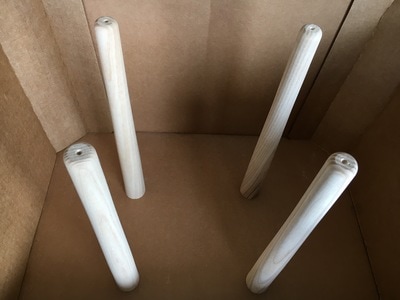
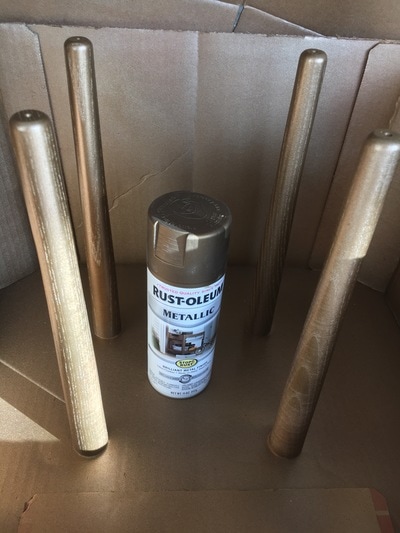
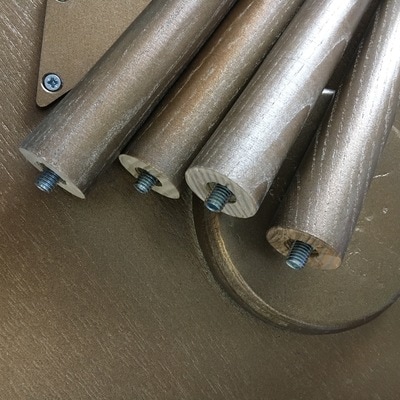
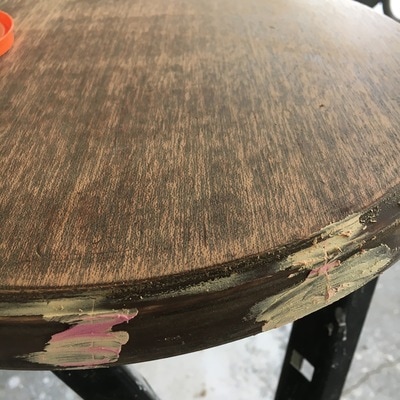
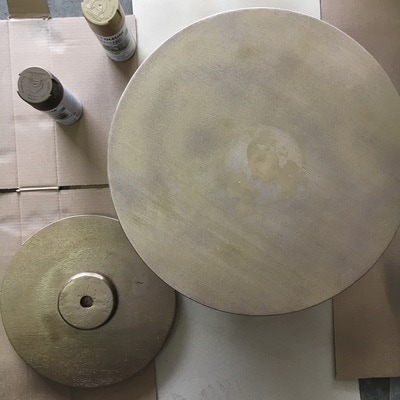
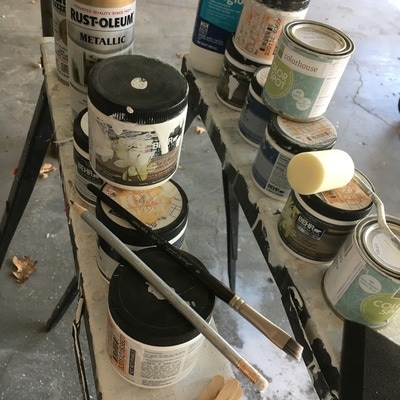
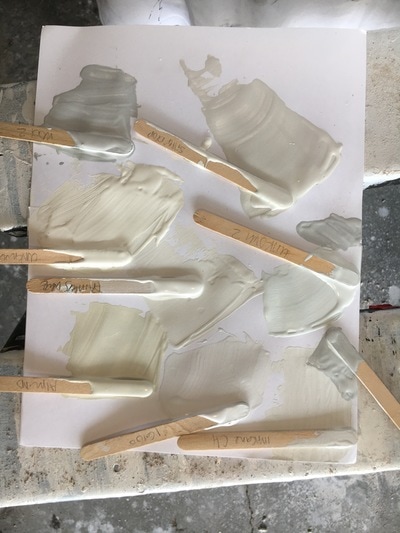
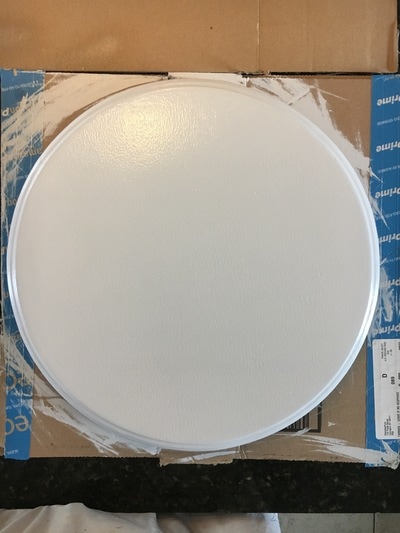
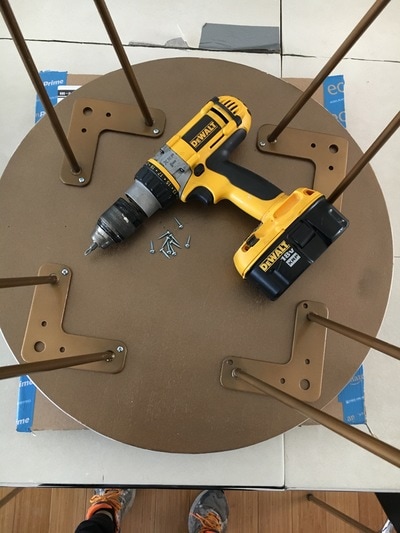
We landed on this wobbly two-tier table that had some nice detailing around the edges, but was surely on it's last leg. That's were PrettyPegs stepped – I finally had the perfect need for some cool new legs. We selected the Harold 480, Bronze and Sigrid, 300 Raw to bring this baby back to life. These legs were the easiest part of the project – they came with all the parts I needed and in ten minutes we were up and running. (Get it legs, running haha!) Now how to give Luca a little something he loved – cars. Since he wasn't able to keep his toy cars in his room I searched the internet for some car stencils and found the perfect vintage stencil books with the right size and stylized shapes I wanted. It cost more than the table, but totally worth it. Keeping the costs down and coloring light I tested out several samples of grays and whites I had from previous projects and landed on a damask look using a two light grays. Next to sanding this was the most painful, I couldn't decide which two to go with. I think I nailed it. From Start To Finish Line
Comments are closed.
|

